


User Manual
Reference number: 4111A-RADAR4600-GBD-R1.1
Date: 27 February 2018
Page 79 of 149
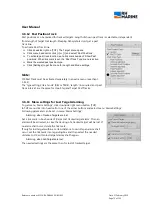
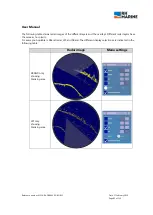
3.6.12
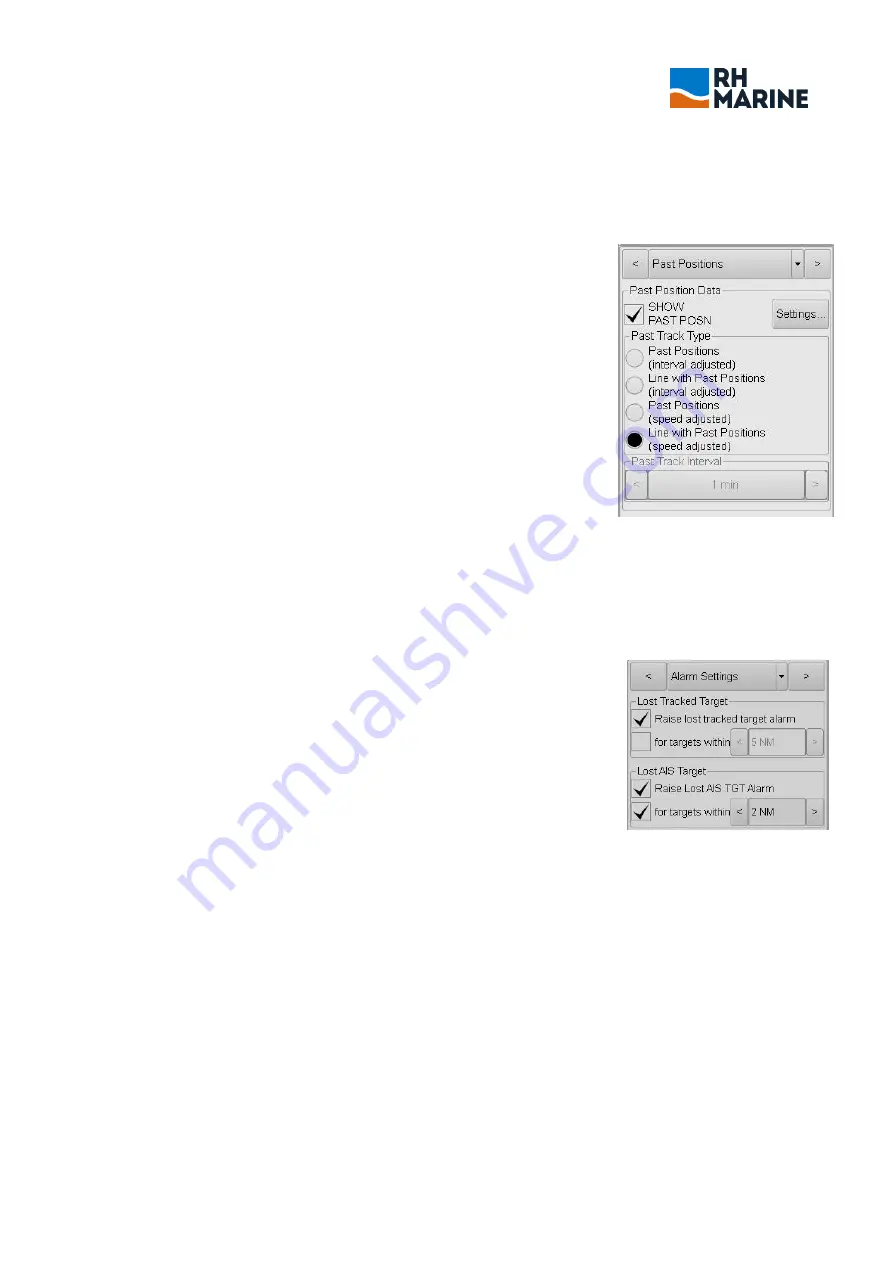
Past Position track
Past positions can be marked for tracked targets. Length of shown past track is selectable, independent
from length of target trail length. Sleeping AIS symbols don’t get a past
track line.
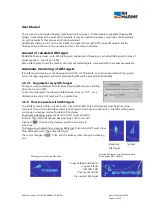
To activate Past Track line:
Click downside right on [TGT]. The Target menu opens.
Click menu head cell or click [<] or [>] and select ‘Past Positions'.
To activate past track function, set a tick mark beside of ‘Show Past
positions’. When tick mark is set, the ‘Past Track Type’ menu is active.
Mark the wanted past position type.
Click [Settings] to get the menu for Length and Mode settings.
Note:
OS Past Track must be activated separately in an extra menu (see chapt.
3.4.14).
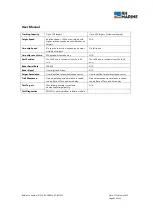
The 'type settings', like 'mode' (REL or TRUE), 'length' (in minutes) and 'past
track interval' are the same for Own Ship and Target Past Tracks.
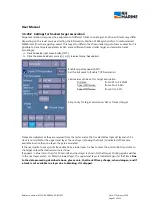
3.6.13
Menu settings for Lost Target Alarming
To get menu ‘Alarm Settings’, click downside right menu button [TGT].
In TGT menu click into head cell or one of the arrow buttons and select menu ‘Alarm Settings’.
Following parameter can be set in menu 'Alarm Settings':
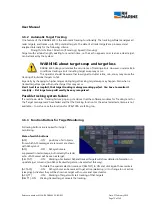
Alarming, when Tracked Targets are lost:
Set a tick mark in box beside of ‚Raise Lost tracked target alarm’. Then an
alarm will be activated, in case the tracking of a tracked target will be lost. If
no alarm shall occur, delete the tick mark.
If only for lost targets within a certain distance to own ship an alarm shall
occur, set the tick mark into regarding box and then select the needed
distance to OS, within lost target alarms shall happen.
Alarming, when AIS Targets are lost:
The needed settings are the same than for lost of tracked target.