37
to abort the work-list and a time control which can be
used to determine the remaining time, as well as the
current time and what time the processing will complete.
If there are no issues with the work-list, instrument or
samples, then the user should not need to interact with
this screen at all.
At the start of the protocol, from pre-washing to sample
transfer, the time remaining control that is seen in the
bottom right corner of Figure 28 will not show any values,
except for --:--. This indicates that no estimated time is
available. Once sample transfer completes however, this
control will be populated by the estimated amount of
minutes and hours until the panel processing is complete.
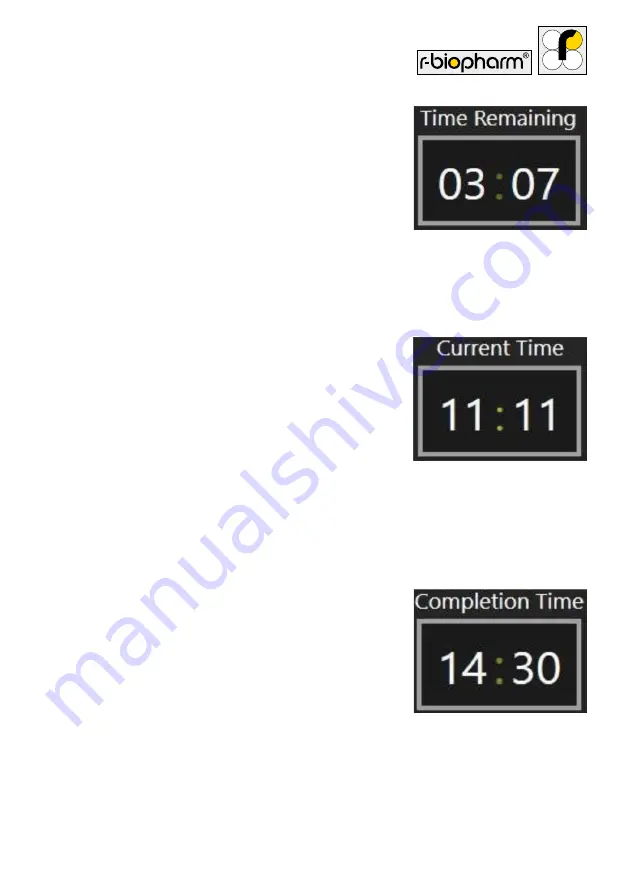
Tapping on the time control box will cause the control to
transform. While ‘Time Remaining’ is shown, a single tap
will transform the control to show ‘Current Time’ (Figure
30). Another tap will transform the control to show the
‘Completion Time’ (Figure 31). A third tap will return the
control to show ‘Time Remaining’.
The time control should be accurate to within 10 minutes
of the actual completion time.
The other interactable control on the processing screen is
the abort button, pictured in Figure 32. Pressing this
button will trigger a confirmation pop-up, which when
confirmed, will begin the aborting procedure for a
work-list.
This involves getting rid of any tips that are being carried
and parking the robotics. At the end, the user scanning
Figure 29:
The time control
when it has values to show,
3 hours and 7 minutes in
this case
Figure 31:
The time control
when it’s set to show the
estimated local time at
which the processing will
finish
Figure 30:
The time control
when it’s set to show
the local time, currently
11 minutes past 11 (AM)


