


Repacking the
Printer
QMS magicolor CX User's Guide
3-58
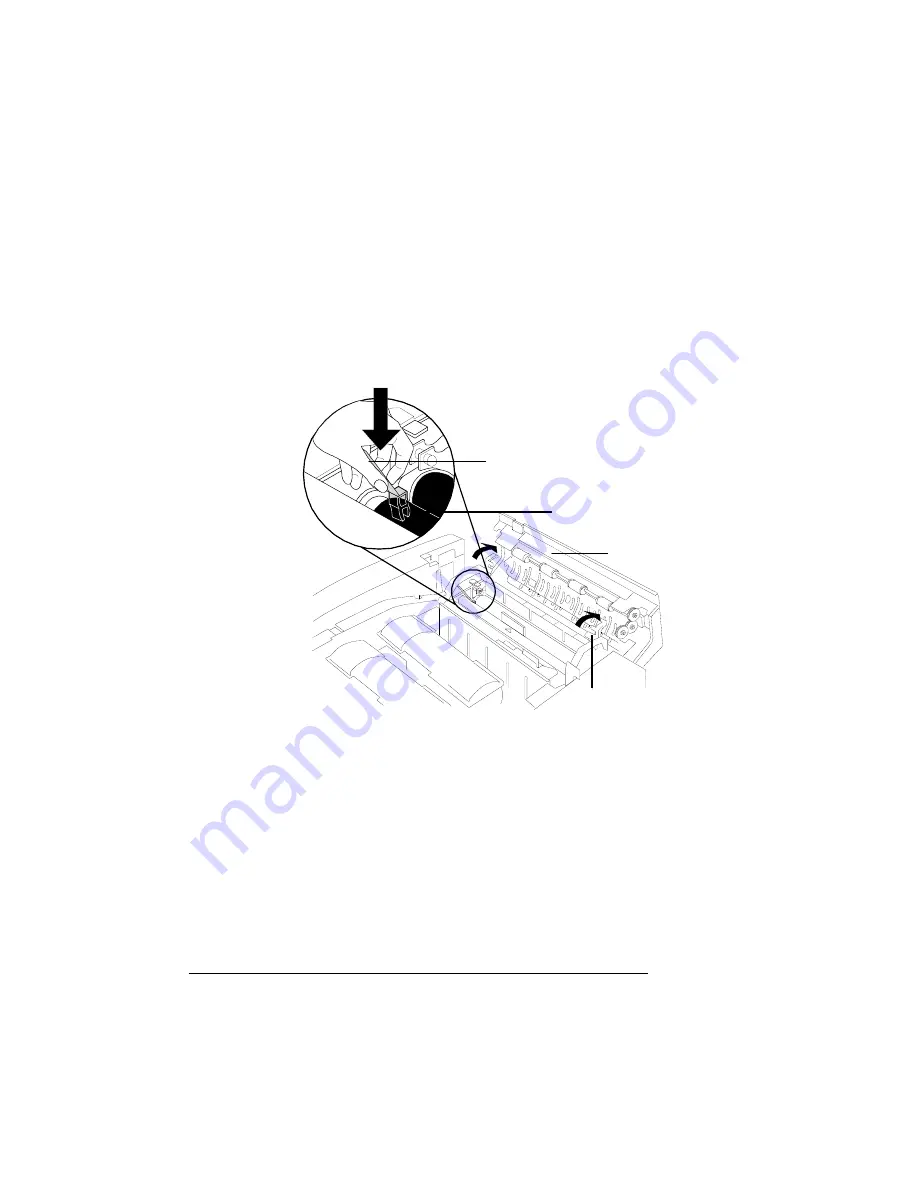
3
Holding one of the pieces down close to its base, firmly slide
the base between the fuser rollers on one end.
4
Repeat the process with the second pressure-release piece
at the other end of the fuser rollers.
When correctly positioned, the pieces fit snugly between the
rollers.
5
Close the pressure-release lever on the end of the fuser unit.
6
Close the separator pawl unit.
7
Close the paper exit-unit.
8
Close the printer’s top cover.
Pressure-Release
Piece (Left)
Paper Exit-Unit
Front View
Fuser Rollers
Pressure-Release
Piece (Right)
Содержание Magicolor CX
Страница 1: ...QMS magicolor CX User s Guide 1800427 001B...
Страница 10: ......
Страница 28: ......
Страница 76: ......
Страница 142: ......
Страница 180: ...Clearing Media Jams QMS magicolor CX User s Guide 4 38 3 Open the paper exit unit Rear View...
Страница 198: ......
Страница 199: ...A QMS Customer Support In This Chapter n Sources of Support on page 2 n QMS World wide Offices on page 5...


