


Chapter 8:
Troubleshooting
217
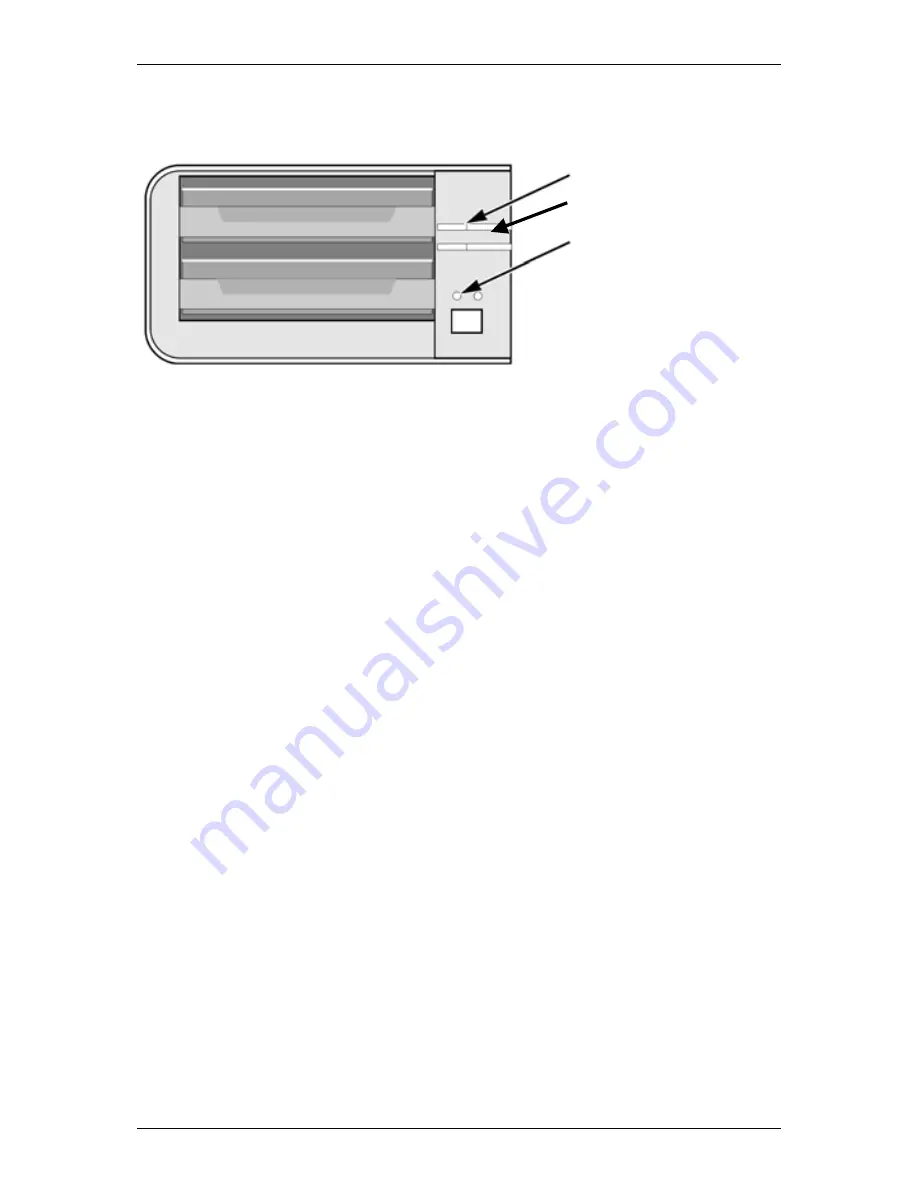
Figure 1. SmartStor Disk and System Status LEDs
8.4 Replacing a Failed Disk Drive
If a disk drive fails, the Disk Status LED is red. See Figure 1. If the disk drive
belongs to a RAID Volume, the Volume goes
Critical
or
Offline
. See “Checking
RAID Volume Status in WebPASM” on page 217.
Replace the failed disk drive with a new disk drive of the same or slightly greater
capacity. You do not have to power down the SmartStor.
1. Open the SmartStor’s front door.
2. Pull out the drive carrier with the failed drive.
3. Remove the failed disk drive from the drive carrier.
4. Install a new disk drive into the carrier.
5. Place the carrier with the new disk drive back into the open slot in the
SmartStor.
If the failed drive belonged to a RAID Volume, the RAID Volume will begin
rebuilding as soon as the new drive is installed.
During the Rebuild, the Disk Status LED show amber. When the Rebuild is
finished, the Disk Status LED turns to normal status color.
If the replacement drive is free, that is, not assigned to a RAID Volume or as a
spare, the Disk Status LED remains dark after you install the new drive.
8.5 Checking RAID Volume Status in WebPASM
To view RAID Volume status:
1. Start
WebPASM.
Disk Activity LED
Disk Activity LED
System Status LED
Содержание SmartStor NAS
Страница 1: ...SMARTSTOR NAS Product Manual Version 1 0 ...
Страница 71: ...Chapter 5 SmartNAVI 67 5 Click the Modify button D 6 Click the folder whose contents you want to backup ...
Страница 127: ...Chapter 5 SmartNAVI 123 Optional To view a photo click the View icon ...
Страница 210: ...SmartStor NAS Product Manual 206 7 The share folder appears on our PC as a mounted or network drive ...


