Chapter 5: TOOLS
102
October 2021
the echo on the main path (the stronger signal).The vertical axis represents
the attenuation of the echo in dB on the main path.
5
Data box with main data regarding echoes. EIn the list of echoes it shows the
power, the delay in microseconds and the distance in kilometres to the
echoes.
6
Signal status (searching/locked/multiplex name).
7
Softkeys menus.
Joystick functions:
•Joystick left/right (Channel/Frequency mode): It changes the channel/
frequency (according to the tuning type selected).
•Joystick left/right (Echoes mode): It changes echo.
•Joystick up/down (Echoes mode): It changes zoom.
Remember to press the joystick to switch between the Echoes (EC) mode and
the Channel/Frequency
(CH/FR)
mode.
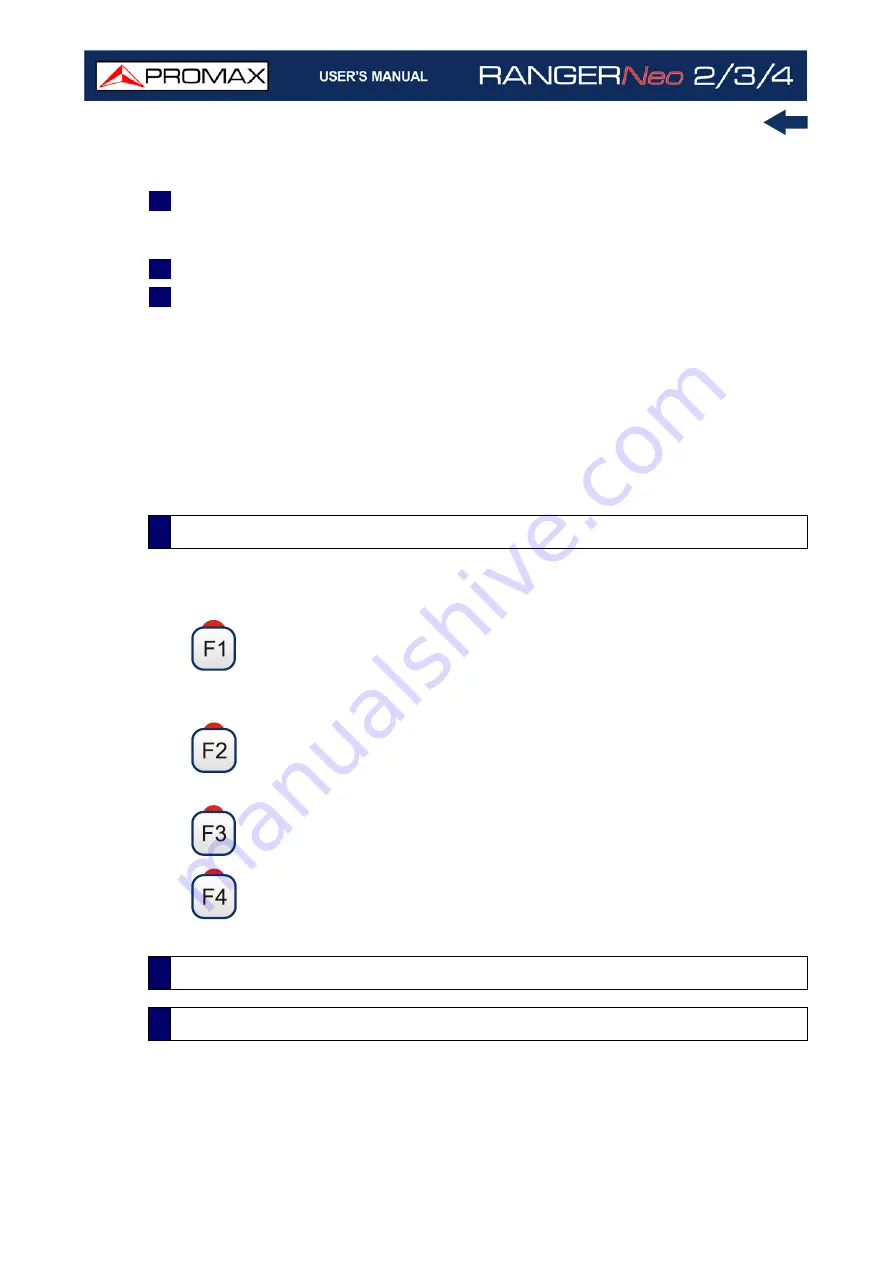
At the bottom of the screen there are four menus available via the function keys.
It displays the channel/frequency where is pointing the cursor, it
allows the user to select a channel or frequency, a channel plan and
access the tuning menu.
It displays the selected transmission standard menu and accesses
the signal parameters.
It displays the Tools menu.
It displays the Advanced menu. The ZOOM option changes the zoom
on the echoes windows. Zooms are 1x, 2x, 4x and 8x.
The MER by Carrier function analyses continuously the measure of the MER value
for each one of the carriers forming the selected channel and they are displayed
in a graphic on screen. This tool is especially useful for the analysis of systems
5.4.3
Menu Options
5.5
MER by Carrier
5.5.1
Description
Содержание RANGER Neo 2
Страница 1: ...RANGER Neo 2 TV AND SATELLITE ANALYZER 0 MI2130 RANGER Neo 3 RANGER Neo 4 ...
Страница 20: ...Chapter 2 SETTING UP 8 October 2021 Figure 4 Side View ...
Страница 21: ...October 2021 9 Chapter 2 SETTING UP Figure 5 Top View ...
Страница 22: ...Chapter 2 SETTING UP 10 October 2021 Figure 6 Front View For Optical Option refer to annex 2 3 2 RANGER Neo 3 ...
Страница 23: ...October 2021 11 Chapter 2 SETTING UP Figure 7 Side View ...
Страница 24: ...Chapter 2 SETTING UP 12 October 2021 Figure 8 Top View ...
Страница 25: ...October 2021 13 Chapter 2 SETTING UP Figure 9 Front View For Optical Option refer to annex 2 3 3 RANGER Neo 4 ...
Страница 26: ...Chapter 2 SETTING UP 14 October 2021 Figure 10 Side View ...
Страница 27: ...October 2021 15 Chapter 2 SETTING UP Figure 11 Top View ...
Страница 30: ...Chapter 2 SETTING UP 18 October 2021 RF Menu Figure 13 RF Tuning 2 7 Menu Tree ...
Страница 31: ...October 2021 19 Chapter 2 SETTING UP Figure 14 Tools Menu ...
Страница 32: ...Chapter 2 SETTING UP 20 October 2021 Figure 15 Advanced Menu ...
Страница 33: ...October 2021 21 Chapter 2 SETTING UP WiFi Menu Figure 16 ...
Страница 34: ...Chapter 2 SETTING UP 22 October 2021 IPTV Menu Figure 17 Figure 18 ...
Страница 35: ...October 2021 23 Chapter 2 SETTING UP Installation Management Menu Figure 19 ...
Страница 36: ...Chapter 2 SETTING UP 24 October 2021 Preferences Menu Figure 20 ...
Страница 37: ...October 2021 25 Chapter 2 SETTING UP Settings Menu Figure 21 Figure 22 ...
Страница 101: ...October 2021 89 Chapter 4 RF SIGNAL TUNING Figure 68 DAB Spectrum 2 3 Figure 69 DAB Spectrum 3 3 ...
Страница 102: ...Chapter 4 RF SIGNAL TUNING 90 October 2021 Figure 70 DAB 1 3 Figure 71 DAB 2 3 4 6 4 5 TV Mode ...
Страница 259: ...October 2021 247 Chapter 10 WEBCONTROL Figure 162 Spectrum Graph Monitoring Deviation Detection ...
Страница 303: ...October 2021 291 Chapter i OPTICAL OPTION Figure 174 Auxiliary Input Signal Selection Figure 175 Band Selection ...
Страница 336: ...Chapter v RACK OPTION 324 October 2021 Figure 200 Side View Figure 201 Back View ...


