- 49 -
0900-GB_AUFBEREITER WECHSELN_3843
GB
REPLACE CONDITIONER
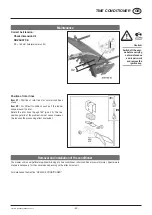
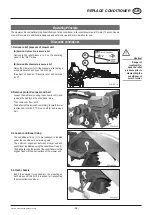
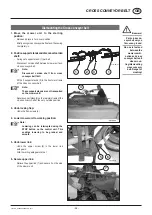
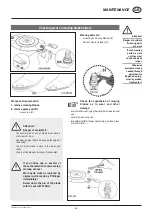
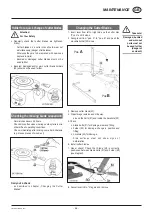
5. Open retaining bolt
The conditioners are each attached to the mower unit
with 2 retaining bolts.
Standard (A): Screw + sleeve
Non-standard equipment (B): Spring-assisted quick
closure.
6. Disconnect lubricating line:
(The lubricating line is only attached when using
the roller conditioner!)
Close shut-off valve of central oil lubrication on coupling
jack (pos. A)
For connecting and disconnecting, push out the
connection of the lubricating line on the mower unit.
7. Remove conditioner
Install conditioner
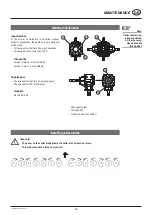
1. Clean
Clean the conditioner/swath former and the mower unit thoroughly especially the connecting points.
2. Push conditioner or swath former into mounting of mower unit.
3. Close retaining bolt
Standard (A): Screw + sleeve
Standard equipment (B): Spring-assisted quick closure.
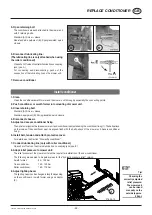
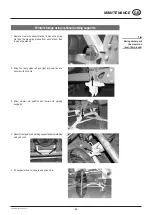
4. Disconnect chassis
5. Adjust and secure conditioner fixing
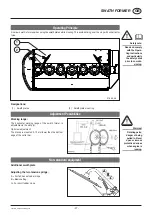
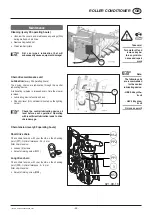
The optimum alignment between mower unit and conditioner is adjusted using the conditioner fixing (1). The belt pulleys
on the inside of the conditioner must be aligned flush with the belt pulleys of the mower unit. Secure conditioner
fixing!
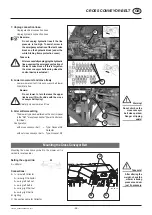
6. Install belt, tension and attach protective cover.
For details see the Section “Dismantle conditioner”
7. Connect lubricating line (only with roller conditioner)
Open shut-off valve of central oil lubrication on coupling jack (pos. E)
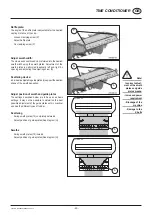
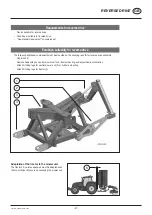
8. Adapt relief pressure to mower unit:
The relief pressure of the mower unit must be reset after installation of the new conditioner.
The following are deemed to be guide values for the “hydraulic pressure relief” version:
Swath former:
90 - 100 bar
Tine
conditioner:
130 - 140 bar
Roller conditioner:
160 - 170 bar
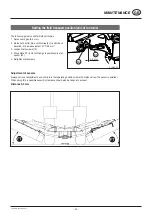
9. Adjust lighting beam
The lighting beam can be changed in length depending
on the conditioner or swath former using an adaptor
(Z).
A
B
Tip!
Checking the
correctly adjusted
relief pressure:
The mower unit
can be raised
manually on the
outside (approx.
80 kg).
1
278-09-70
Z

