Page 65 of 163
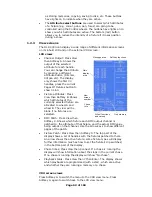
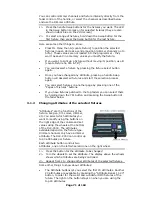
The top bank of 30 sliders does not have buttons and is accessed using
the Swop button of the slider below while the YPL button is held down
acting as a “shift” key.
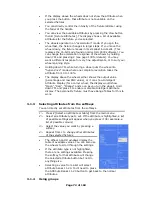
The fixture page buttons are located just to the right of the wheels.
Fixtures 1-30 are on page 0--, Fixtures 101-130 on page 1--, 201-230
on page 2—and 301-330 on page 3--. You can change the fixture page
at any time.
The DLC-C003 also allows you to allocate fixtures and dimmers to
Groups, which can be useful if you usually select the same set of
fixtures together. Groups are described in the next chapter.
2.1.2
Patching dimmers
Each dimmer channel is allocated to one handle. If you want to link
dimmers together, you can allocate several to the same handle.
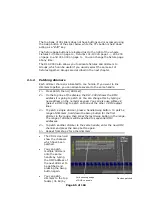
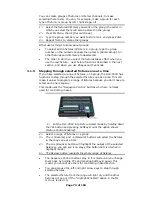
1> Press Patch, then A [Dimmer]
2> On the top line of the display, the DLC-C003 shows the DMX
address it is going to patch at. You can change this by typing a
new address on the numeric keypad. You can also use softkey E
[Select a DMX line] to patch onto one of the other 3 DMX output
lines.
3> To patch a single dimmer, press a handle Swop button. To patch a
range of dimmers, hold down the Swop button for the first
dimmer in the range, then press the last Swop button in the range.
The range of dimmers will be patched to sequential DMX
addresses.
4> To patch another dimmer to the same handle, enter the new DMX
channel and press the Swop button again
5> Repeat from step 2 for other dimmers.
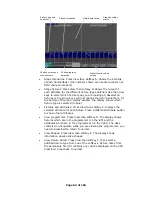
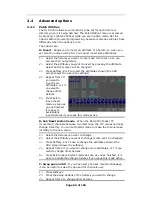
•
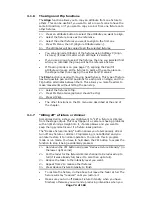
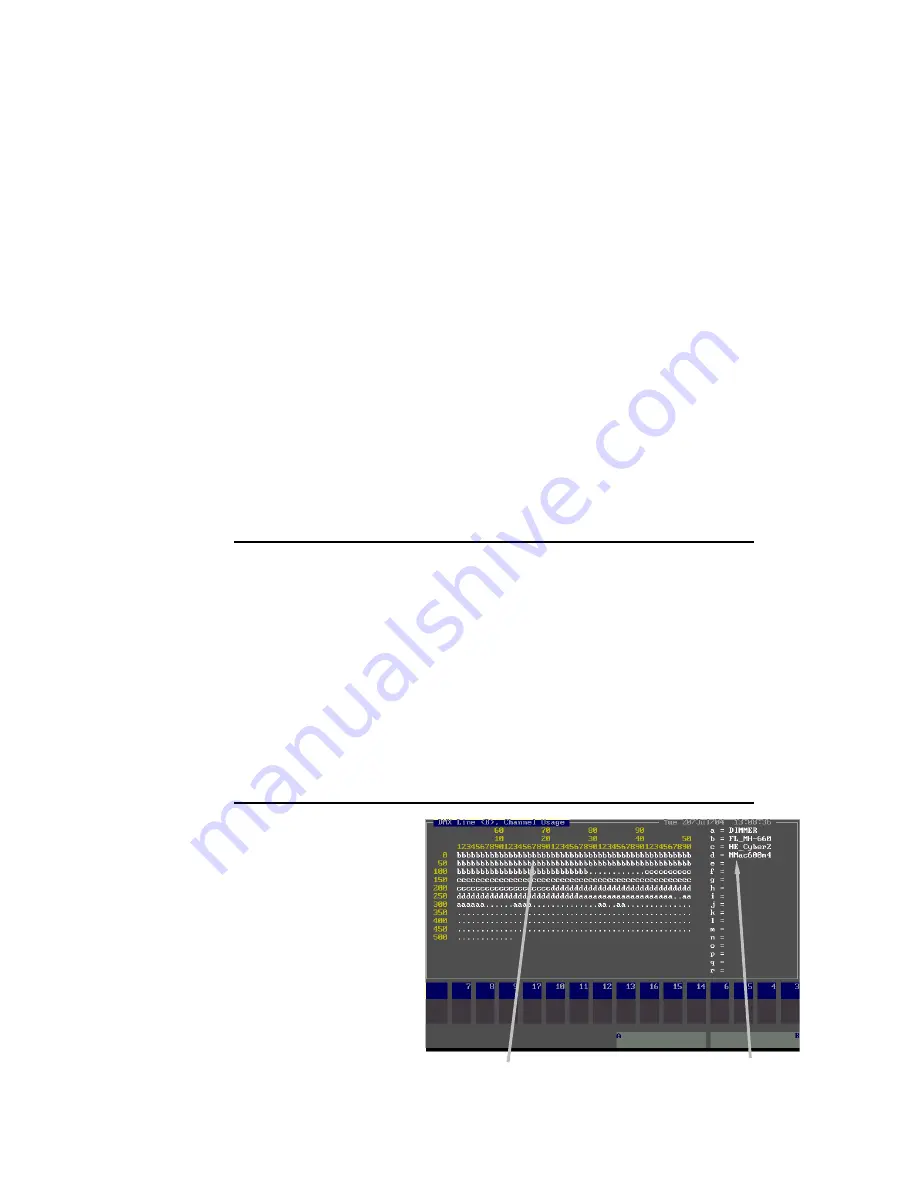
The VDU screen will
show the channels
which have been
patched.
Devices patched
Grid showing usage
of DMX channels
•
You can patch
multiple dimmers
onto the same
handle by typing
the DMX address of
the next dimmer to
be patched and
pressing the Swop
button again.
•
You can patch
dimmers to the top
faders (31-60) by

