46
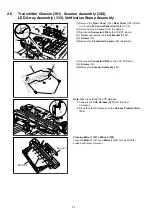
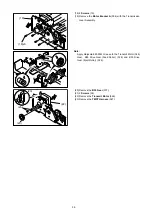
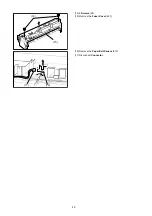
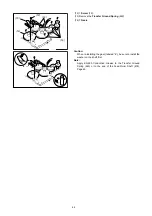
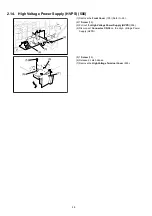
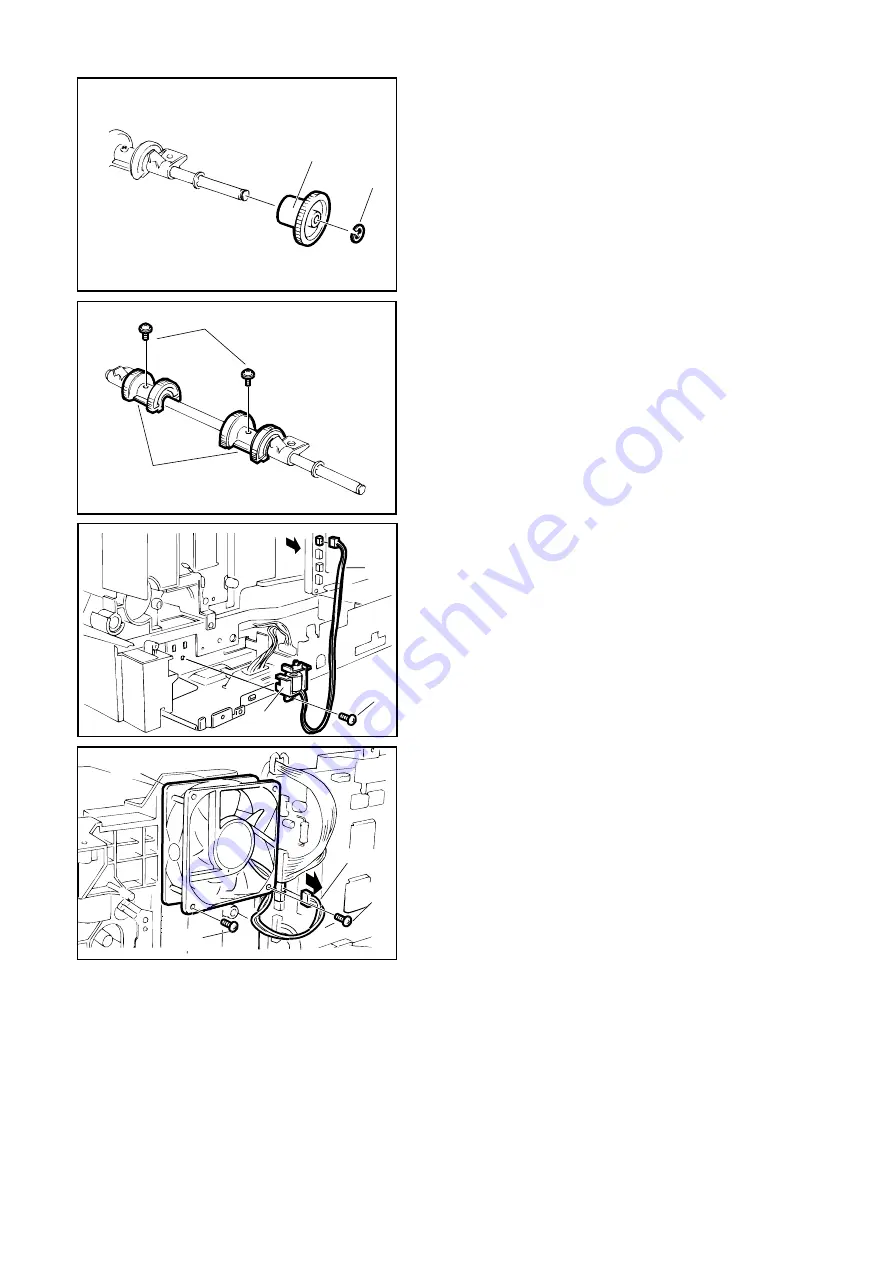
(10) Remove the E-Ring (5Z).
(11) Remove the Clutch Gear Assembly (660).
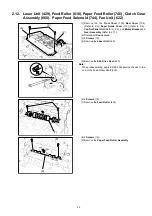
(12) 2 Screws (23).
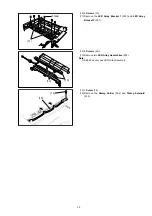
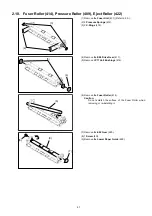
(13) Remove the Paper Feed Rollers (746).
Note:
The Paper Feed Rollers can be accessed from the bot-
tom of the machine after removing the Paper Cassette.
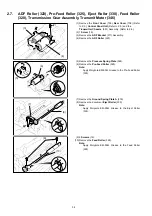
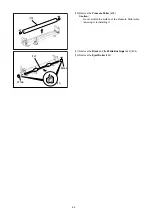
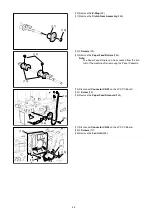
(14) Disconnect Connector CN55 on the LPC PC Board.
(15) 1 Screw (19).
(16) Remove the Paper Feed Solenoid (744).
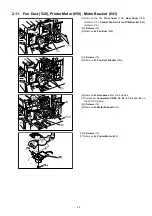
(17) Disconnect Connector CN54 on the LPC PC Board.
(18) 2 Screws (1Y).
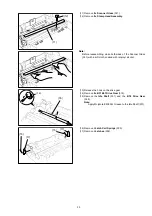
(19) Remove the Fan Unit (622).
(11)
(10)
(12)
(13)
(14)
(15)
(16)
(18)
(18)
(19)
(13)
(13)
(18)
(13)
(13)
(18)
(13)
(13)
(17)
Содержание Panafax DX-2000
Страница 2: ......
Страница 27: ...27 9 1 Screw 19 10 Release two Latch Hooks 11 Remove the SNS Assembly 121 9 10 11 ...
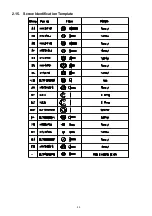
Страница 49: ...49 2 15 Screw Identification Template ...
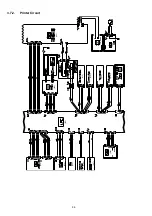
Страница 56: ...56 3 7 2 Printer Circuit 429 650 622 744 607 665 555 506 432 408 405 433 502 610 610 610 621 507 507 639 ...
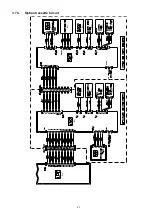
Страница 57: ...57 3 7 3 Option Cassette Circuit 555 748 728 744 928 953 730 731 731 952 944 930 931 931 ...
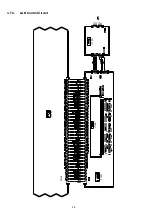
Страница 58: ...58 3 7 4 LAN Control Circuit 522 CN50 1102 1104 1101 N C N C RD N C N C RD TD TD ...
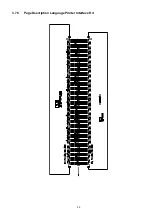
Страница 59: ...59 3 7 5 Page Description Language Printer Interface Kit ...
Страница 287: ...314 B Supplies Order No Picture Description DZHT000004 Verification Stamp UG 3313 Toner Cartridge ...

