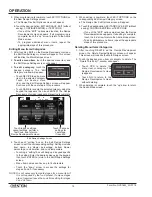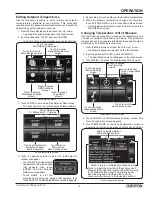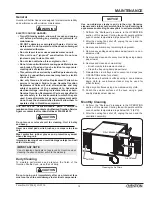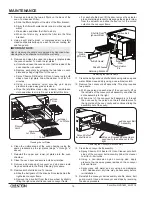
Form No. OVS16M_LC-0719
9
OPERATION
General
Use the following information and procedures to operate an
Ovention
®
Shuttle
®
Oven.
WARNING
Read all safety messages in the IMPORTANT SAFETY
INFORMATION section before operating this equipment.
In the event of emergency, unplug unit.
CAUTION
BURN HAZARD: Some exterior surfaces on unit will get
hot. Avoid unnecessary contact with unit.
Use caution and be aware of pinch points when slider
assembly is moving.
Menu Item Information
Shuttle Ovens are designed to provide unequaled flexibility and
efficiency. Each oven has the capability of storing 1024 custom
menu items. Menu items can be organized into Categories that
group together similar items, such as different varieties of pizza.
A total of 128 Categories can be created, with each Category
able to contain 128 specific menu items. All Categories and/or
menu items appear on the Menu screen.
NOTE: It is not necessary to use Categories. The oven can be
set up using specific menu items only.
At initial startup,the Menu screen will show either sample menu
items or customer-specific, preloaded menu items. If the Menu
screen shows sample menu items, these menu items can be
used to help develop specific menu items appropriate for the
installation. Refer to the “Programming Menu Items” procedure
in this section for instructions on creating menu items.
Startup
NOTE: The Shuttle Oven can be set up to cook from left-to-
right or right-to-left. This manual is written to reflect an
oven set to cook from left-to-right.
1. Move the Power switch for the ventilation assembly to
the “On” position. It is located on the left side of the heat
shield, near the front.
2. Move the Standby switch on the control box up to the “On”
position.
• The touchscreens will energize. One touchscreen
shows the name of the oven and current software
version (Logo screen). The other touchscreen shows
the available setpoint temperatures.
LEFT TOUCHSCREEN
RIGHT TOUCHSCREEN
Touch desired setpoint temperature.
Startup Screens
3. Touch the desired setpoint temperature.
• The oven heaters, air blowers, and cooling fans will start
up. Allow 10
–
15 minutes for the oven to reach setpoint
temperature.
• The left touchscreen shows the selected setpoint
temperature and the current cavity temperature.
• The right touchscreen shows the selected setpoint
temperature and the estimated time remaining to reach
setpoint temperature.
LEFT TOUCHSCREEN
RIGHT TOUCHSCREEN
Touch to return to Startup Screens and select a
different setpoint temperature.
Preheat Screens
When the oven reaches setpoint temperature, the oven begins
a temperature stabilizing period (a countdown screen appears).
Oven Stabilizing Screen
After the oven temperature stabilizes, the Main Recipes screen
appears on one of the touchscreens. The oven is now ready for
cooking.
LEFT TOUCHSCREEN
RIGHT TOUCHSCREEN
Main Recipes Screen
NOTE: The Menu items shown are for example only.
Depending on the configuration of the oven, the Main
Recipes screen will show either sample menu items or
customer-specific, preloaded menu items.


