5-3
Section
L: Data Link
76
1, 2, 3...
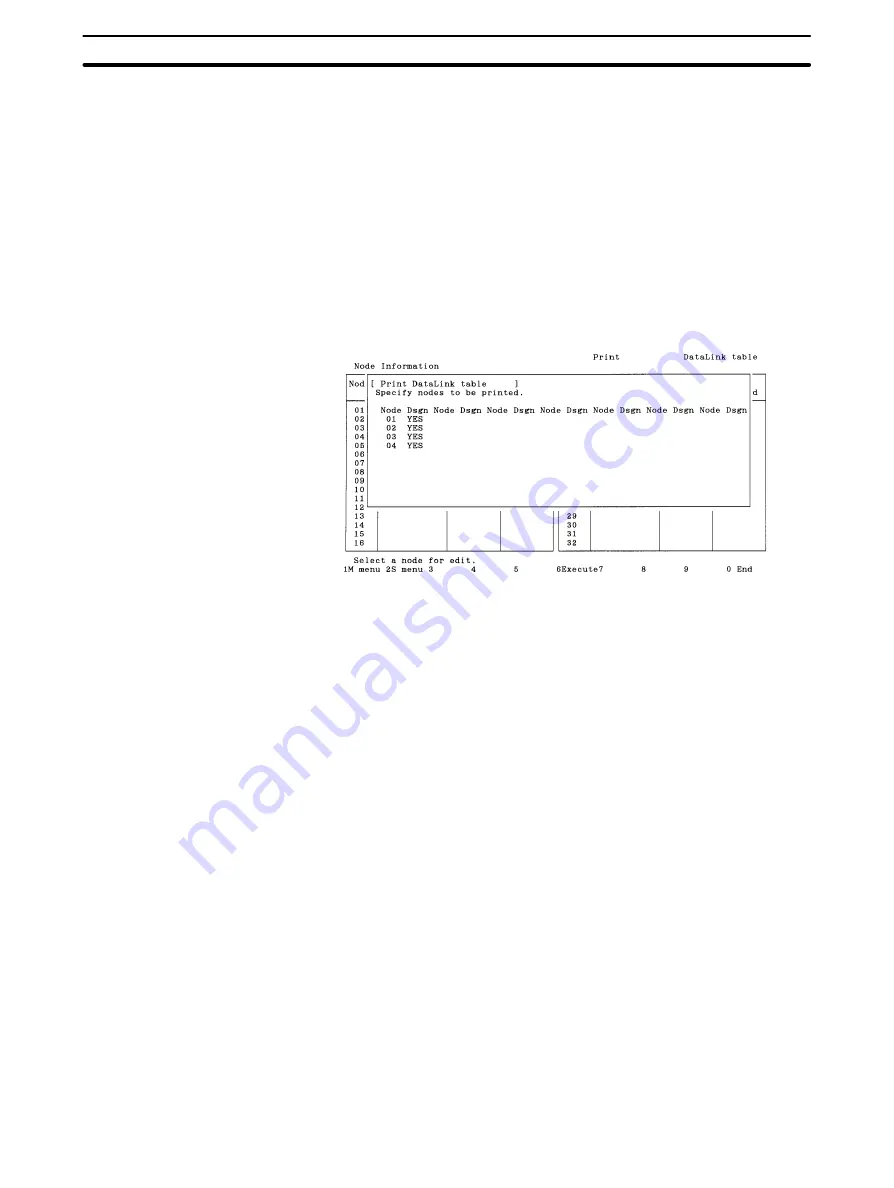
1. Select “P: Print table” from the Data Link Menu. The following window will be
displayed to prompt you to specify the nodes for which the data link tables
are to be printed.
This window displays the nodes for which the number of nodes set in the
data link table in the memory is not zero. These nodes are displayed in as-
cending order of node address and YES is displayed at each node address
to represent the nodes for which data link tables are to be printed.
2. Select the nodes to be excluded from printing. Use the Cursor Keys to move
the cursor to the node to be excluded from printing, then press the Enter Key.
YES will be erased to deselect the node.
To reselect a node for printing, move the cursor to the node unmarked with
YES, then press the Enter Key again. YES will be displayed to reselect the
node.
3. After specifying all the target nodes for print processing, press the F6
(Execute) Key. Data link table printing will start and the print status display
window will appear. Data link tables will be printed in ascending order of
node address.
To cancel the printing, press the F9 (Cancel) Key.
“Printing” will be displayed during printing.
When printing for all the specified nodes is completed, the print status dis-
play window will close and the processing will automatically terminate.
During printing, the print position will be automatically adjusted so that the
data link table for one node is not split.
The contents of the data link table being printed are the same as those dis-
played on the Node Information List and Data Link Table Screens. The pres-
ence or absence of the “Offset” column also depend son the data link table
conditions.


