5-3
Section
L: Data Link
59
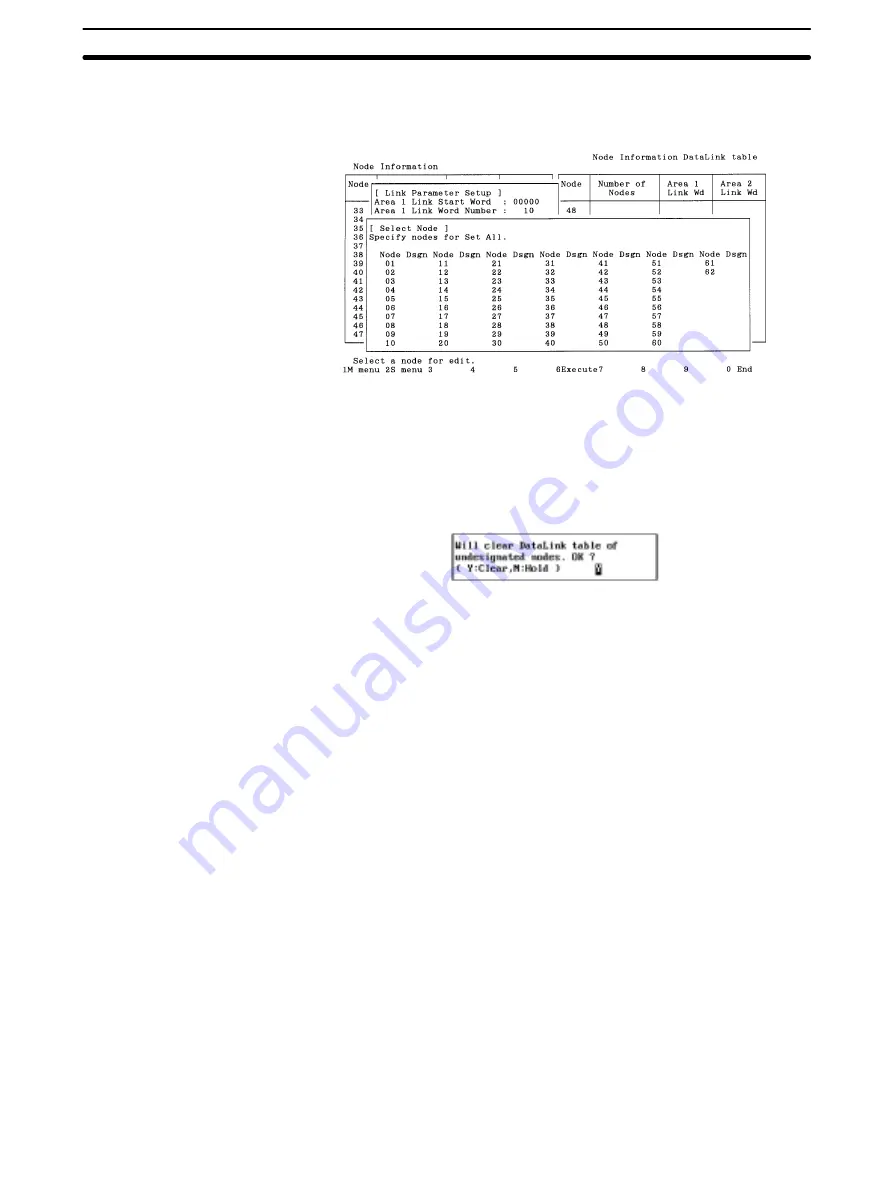
After the necessary items have been specified, press the F7 (Execute) Key to
display the following window in which the nodes to participate in the data link can
be selected.
Use the Cursor Keys to move the cursor to the nodes to participate in the data
links, then press the Enter Key. “Yes” will be displayed. An unmarked node will
not participate in the data links. Press the Enter Key at a node marked with “Yes”
to erase the “Yes.”
Press the F6 (Execute) Key to display the following window to prompt you to
specify whether the data link tables for the nodes not participating in the data
links are to be cleared or retained.
Press “Y” and then the Enter Key to erase the data link tables for the nodes not
participating in the data links and create data link areas (similar to the one for
automatically set data links) at each node participating in the data links.
Press “N” and then the Enter Key to retain the data link tables for the nodes not
participating in the data links and create data link areas (similar to the one for
automatically set data links) at each node participating in the data links.
Press the Escape Key to cancel the execution and return to the Node Informa-
tion Screen. The execution can also be canceled by pressing the F1 (Menu) Key,
the F2 (Menu) Key, or the F10 (End) Key. The following screens are displayed
when these keys are pressed.
F1: Main
Menu
F2: Data Link Menu
F10: Node Information Screen
5-3-5 Copying Data Link Tables — Y: Copy Table
“Y: Copy table” is used to copy a data link table for one node to other nodes.
When a similar data link area is to be used for other nodes, the data link table for
each node can be easily created by copying the original data link table and then
making changes.
Note
1) Once this copy function is executed, the existing data link table at the des-
tination node will be lost. Be sure to check table data at the destination node
before executing the function.
2) “Y: Copy table” copies data link tables in the computer memory. To actually
set the data link table for a node, select “T: Transfer table” from the Data Link
Menu. Also, save the data link tables as a file by selecting “S: Save table”
from the Data Link Menu. Otherwise, the table data will be cleared when the
Controller Link Support Software is exited.


