5-3
Section
L: Data Link
60
3) Executing “Y: Copy table” also changes the node model specified in “Device
Info set” at the destination node to the same node model as the source node.
1, 2, 3...
1. Select “Y: Copy table” from the Data Link Menu.
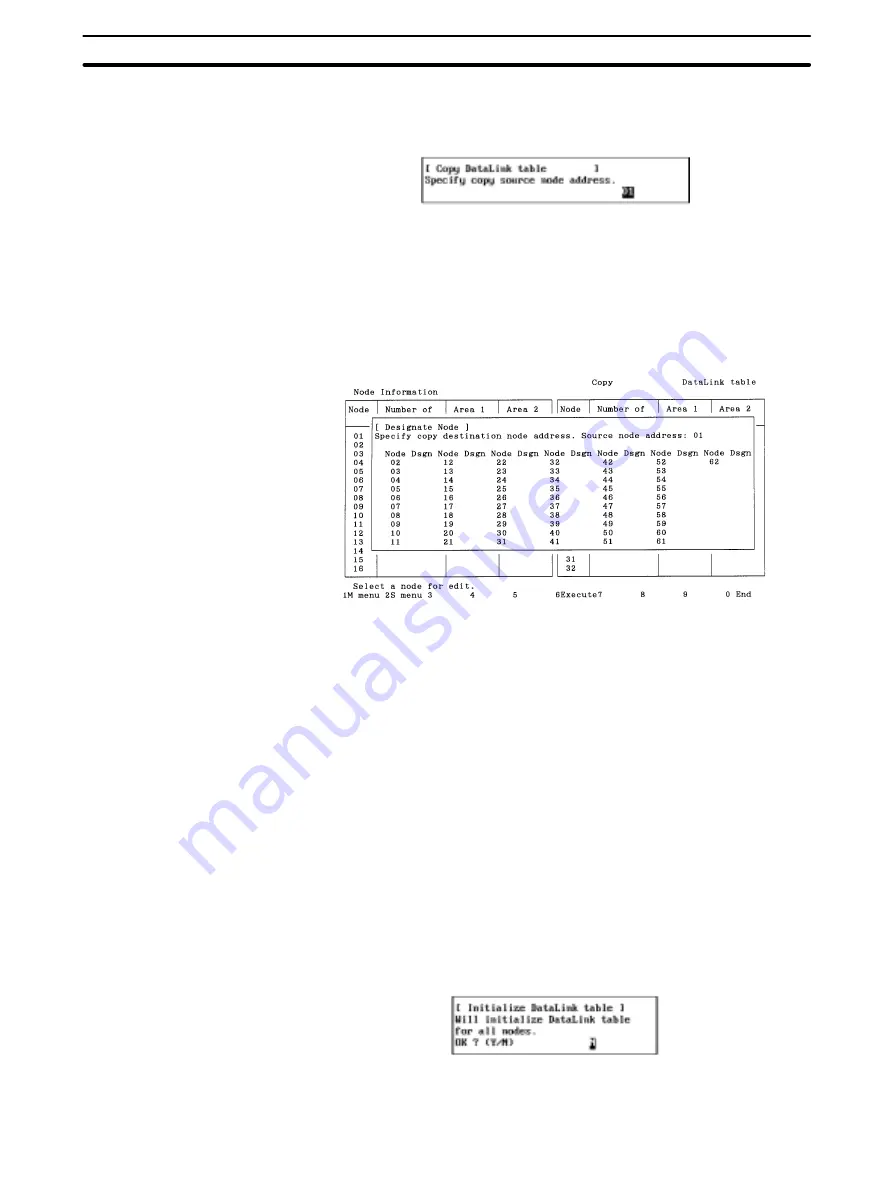
2. Specify the source node address. Specify the node address with Numeric
Keys, then press the Enter Key. Any number between 1 and 62 can be speci-
fied.
If the number of nodes set in the data link table for the specified node is 0, an
error message will be displayed.
The following window will be displayed to prompt you to specify the destina-
tion node address.
3. Specify the destination node address. Use the Cursor Keys to move the cur-
sor to the copy destination node address, then press the Enter Key. “Yes”
will be displayed to represent the copy destination.
To deselect the copy destination node (or erase “Yes”), move the cursor to
the node address marked with “Yes,” then press the Enter Key again. “Yes”
will be erased to deselect the copy destination node.
4. After specifying all destination nodes, press the F6 (Execute) Key. The data
link tables will be copied.
5-3-6 Initializing All Data Link Tables — C: Initialize Table
“C: Initialize table” is used to initialize all data link tables.
When data link tables are to be created from scratch, initialize the data link tables
for all nodes before beginning.
Note
1) “C: Initialize table” initializes the data link tables in the computer memory.
2) Executing initializes the data link tables for all nodes. Initialization proces-
sing sets the “Link start word” field of area 1 to 00000, the “Link start word”
field of area 2 to D00000, and other settings to defaults.
1, 2, 3...
1. Select “C: Initialize table” from the Data Link Menu.
2. Press “Y” and then the Enter Key. The data link tables for all nodes will be
initialized.


