3-6
Section
Creating and Editing Master Parameters
72
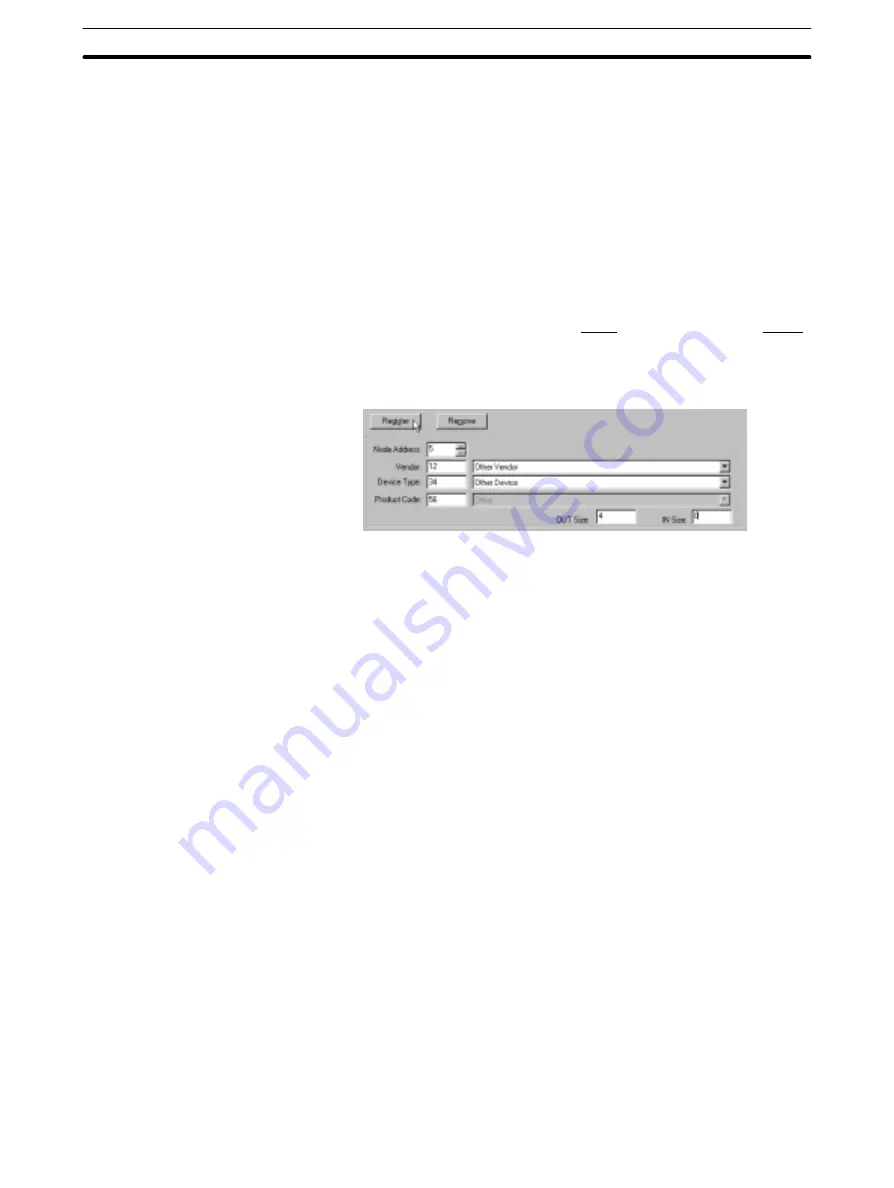
iv) When an OMRON Slave is being registered, select the Slave’s model
number from the right column of “Product Code” input area. The cor-
responding product code will appear automatically in the left column
of the input area.
When another company’s Slave or an unlisted OMRON Slave is
being registered, select “Other” from the right column of “Product
Code” input area and input the product code manually.
(When another company’s vendor code is input, the product code is
automatically set to “Other.”)
v) Input the number of output bytes and input bytes occupied by the
Slave in the “OUT Size” and “IN Size” input areas. The setting range
for the number of bytes is 0 to 64, and one of the OUT Size and IN
Size settings must be non-zero.
(Be sure to set the number of I/O bytes, not the number of I/O words.)
vi) Click on “Register” to register the node with the specified node
address. (If a node address registered to another node has been spe-
cified, the other node’s information will be overwritten.)
2. Remove Slaves as needed.
To remove a registered Slave, click on the Slave to select it and then click on
“Remove.”
Note With the “Create Master Parameters” command it doesn’t matter if
there are Slaves remaining that aren’t allocated remote I/O, but the
“Master Parameter Wizard” allocates remote I/O to all of the regis-
tered Slaves, so any unneeded Slaves should be removed.
3. Once all of the necessary Slaves have been registered and the unneces-
sary Slaves have been removed, click on “Next.”


