2-3
Section
PCMCIA Card Installation
27
Verifying Driver Resources
1, 2, 3...
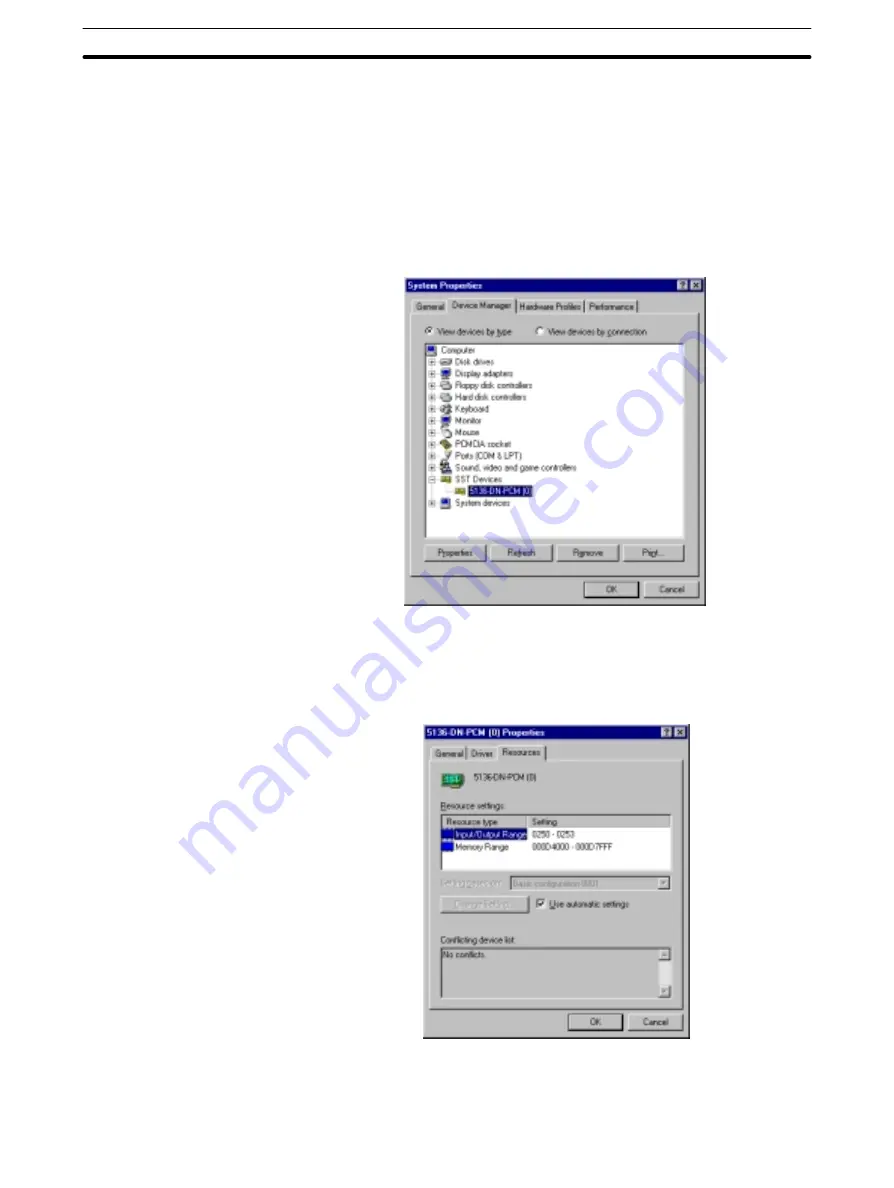
1. After Windows 95 is restarted, check that the driver has been installed cor-
rectly, as follows:
Click on the “Start” button, select “Control Panel” from the “Settings” menu,
double-click on the “System” icon in the Control Panel window, and select
the “Device Manager” tab from the top of the System Properties window
(refer to page 19). Check that “SST Devices” has been added, then click on
“+” to the left of “SST Devices” to check that “x” or “!” is not displayed at
PCMCIA Card driver “5136-DN-PCM(n)” where “n” is the PCMCIA slot num-
ber.
2. Verify the resources currently being used, as follows:
Double-click on “5136-DN-PCM(n)” to display the 5136-DN-PCM(n) Prop-
erties window and select the “Resources” tab from the top of the window.
The automatically set “Input/Output Range” and “Memory Range” values
will be displayed.
This completes installation of the PCMCIA Card driver. Write down the val-
ues of “Input/Output Range” and “Memory Range” because these are
needed later when installing the CompoBus/D Configurator.


