312
10
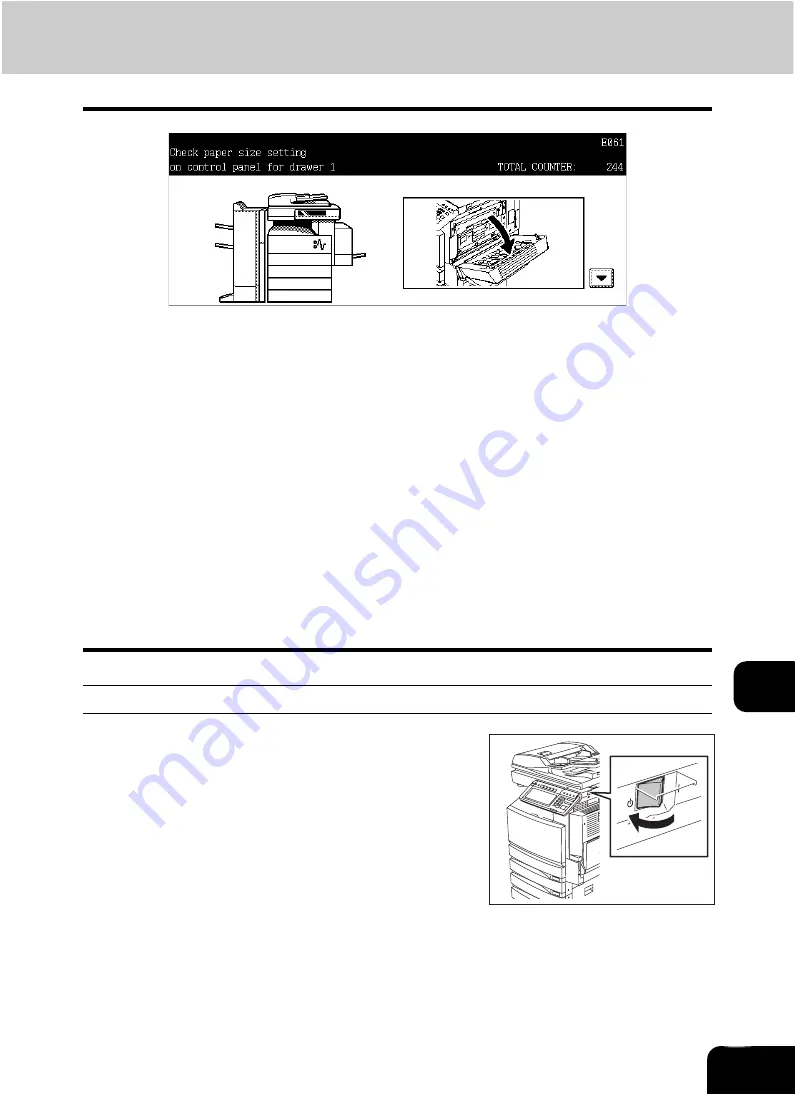
10. “Check paper size setting on control panel for drawer N”
This message appears when the size of the paper actually placed in the drawer or on the bypass tray dif-
fers from the one registered in the equipment for the corresponding drawer or the bypass tray. There are 5
messages of this type as shown below.
“Check paper size setting on control panel for drawer 1”
“Check paper size setting on control panel for drawer 2”
“Check paper size setting on control panel for drawer 3”
(Only when the Paper Feed Pedestal (optional) is installed)
“Check paper size setting on control panel for drawer 4”
(Only when the Paper Feed Pedestal and the Additional Drawer Module (optional) are installed)
“Check paper size setting on control panel for Bypass”
In case that a paper misfeed occurs and one of the above messages consequently appears, another
paper misfeed will occur if you just remove the jammed paper. Instead, be sure to follow the procedure
below.
•
Make a note of the position of the jammed paper and the number of the drawer displayed in the mes-
sage in advance because guidance for removing the jammed paper is not displayed while you are
working on the procedure.
This countermeasure differs depending on when the paper misfeeding has occurred – during copying or
during printing from the Fax or the Printer.
During copying (using a drawer)
2
Remove the jammed paper.
1
Turn the power of the equipment OFF.
• You cannot shut down the equipment.
Содержание CX 1145 MFP
Страница 1: ...Operator s Manual for Basic Functions CX1145 MFP 59315701 Rev 1 0...
Страница 5: ...5 CONTENTS Cont...
Страница 41: ...41 1 BEFORE USING EQUIPMENT 4 Setting Copy Paper Cont 1...
Страница 69: ...69 2 HOW TO MAKE COPIES 4 Proof Copy Cont 2...
Страница 72: ...72 3 2 Press the APS button 4 Press the START button...
Страница 86: ...86 3 4 Press the SORT or GROUP button Set other copy modes as required 5 Press the START button...
Страница 126: ...126 5 4 Press the ENTER button Set Book type original 2 sided copy P 102 in duplex copying as well...
Страница 171: ...171 6 e FILING 3 Changing Data of User Boxes Cont 6 7 Press the ENTER button The box settings are updated...
Страница 189: ...189 6 e FILING 8 Appendix Cont 6...
Страница 259: ...259 8 JOB STATUS 6 Error Code Cont 8...
Страница 270: ...270 9 4 Set a new toner bag and then close the front cover Check that the model name TB 281C is written on the toner bag...
Страница 321: ...10 321 10 WHEN THIS MESSAGE APPEARS...
Страница 322: ...322 11 11 MAINTENANCE 1 Daily Inspection 323 2 Simple Troubleshooting 324...
Страница 341: ...12 341 12 SPECIFICATIONS OPTIONS...


