201
4
6
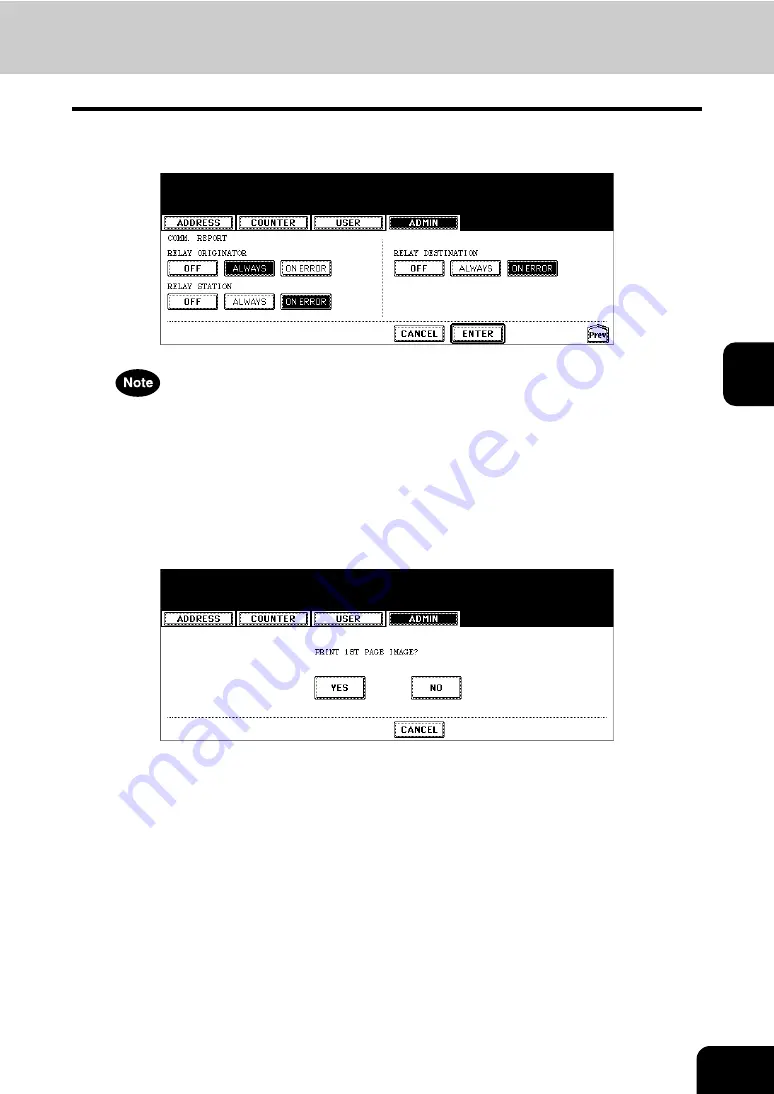
Press the [Next] button to display the next screen and specify the
condition for each transmission type.
“RELAY ORIGINATOR”, “RELAY STATION”, and “RELAY DESTINATION” are available only when the optional
Fax unit is installed.
7
When you press the [ALWAYS] or [ON ERROR] button for each trans-
mission type, the “PRINT 1st PAGE IMAGE?” message is displayed.
Press the [YES] button to print the communication report with the first
page image, or press the [NO] button to print the communication
report without the page image.
• Returns you to the COMM. REPORT screen.
8
Press the [ENTER] button.
Содержание CX 1145 MFP
Страница 1: ...User Functions Guide CX1145 MFP 59315801 Rev 1 0...
Страница 23: ...21 1 8 New Group is created and appears on the touch panel...
Страница 47: ...45 2 4 Press the SCAN COUNTER button 5 The Scan Counter for the specified department code is displayed...
Страница 99: ...97 3 10Press the ENTER button The default settings for each mode are changed as you specified...
Страница 110: ...3 108 3 SETTING ITEMS USER...
Страница 137: ...135 4 9 Press the YES button to apply the calibration setting or press the NO button to cancel the calibration setting...
Страница 179: ...177 4 4 Press the ENTER button Returns you to the FAX menu...
Страница 212: ...4 210 4 SETTING ITEMS ADMIN...
Страница 237: ...235 5 PS3 Font List An output example of the PS3 Font List...
Страница 238: ...236 5 APPENDIX 1 LIST PRINT FORMAT Cont 5 PCL Font List An output example of the PCL Font List...


