11
1
4
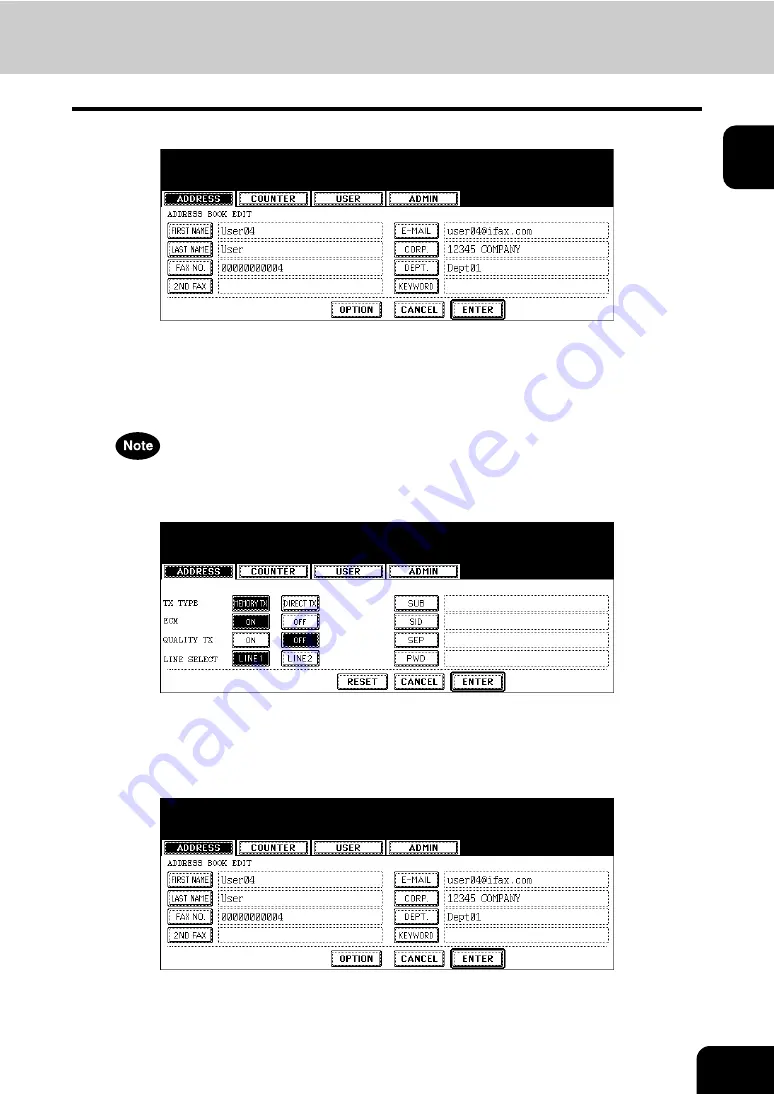
Press each button on the touch panel to edit the contact information.
• For the description of each item, see the Step 4 in the procedure of “Registering Contacts” in the previous sec-
tion.
5
Press the [OPTION] button to specify the default settings for a fax
transmission.
This is available only when the optional fax unit is installed.
6
Specify the items as you required.
• For the description of each item, see the Step 6 in the procedure of “Registering Contacts” in the previous sec-
tion.
7
Press the [ENTER] button to save option settings.
8
Press the [ENTER] button to save the contact.
• The contact is edited.
Содержание CX 1145 MFP
Страница 1: ...User Functions Guide CX1145 MFP 59315801 Rev 1 0...
Страница 23: ...21 1 8 New Group is created and appears on the touch panel...
Страница 47: ...45 2 4 Press the SCAN COUNTER button 5 The Scan Counter for the specified department code is displayed...
Страница 99: ...97 3 10Press the ENTER button The default settings for each mode are changed as you specified...
Страница 110: ...3 108 3 SETTING ITEMS USER...
Страница 137: ...135 4 9 Press the YES button to apply the calibration setting or press the NO button to cancel the calibration setting...
Страница 179: ...177 4 4 Press the ENTER button Returns you to the FAX menu...
Страница 212: ...4 210 4 SETTING ITEMS ADMIN...
Страница 237: ...235 5 PS3 Font List An output example of the PS3 Font List...
Страница 238: ...236 5 APPENDIX 1 LIST PRINT FORMAT Cont 5 PCL Font List An output example of the PCL Font List...


