


- 228 -
Setting the network from the web browser
5
1
2
4
3
Con
ven
ient print
functions
Appendix
Index
Checking a
nd
Cha
nging Printer
Settings Using
the Control P
anel
Network
Setup
Matching
Colors
Using Utilit
y
Softw
are
Encrypting communications
(SSL/TLS)
When setting from web pages, during IPP prints,
and when receiving prints using FTP protocols,
you can encrypt the communications between
the PC (client) and printer.
(Communications are encrypted using SSL/TLS)
Setup method
Display the methods for creating certificates on
the printer using the web.
There are 2 types of certificates that can be
created.
z
Personal signature certificate
z
Authenticator certificate (creates CSR)
Memo
z
If the device IP address is changed after the certificate
has been created, that certificate will become invalid. Do
not change the device IP address after the certificate has
been created.
1
Log in as an administrator.
Reference
z
See “Logging in as an administrator” (P.223)
.
2
Click [Admin Setup]>[Network
Setup]>[Security] tab.
3
Click [SSL/TLS].
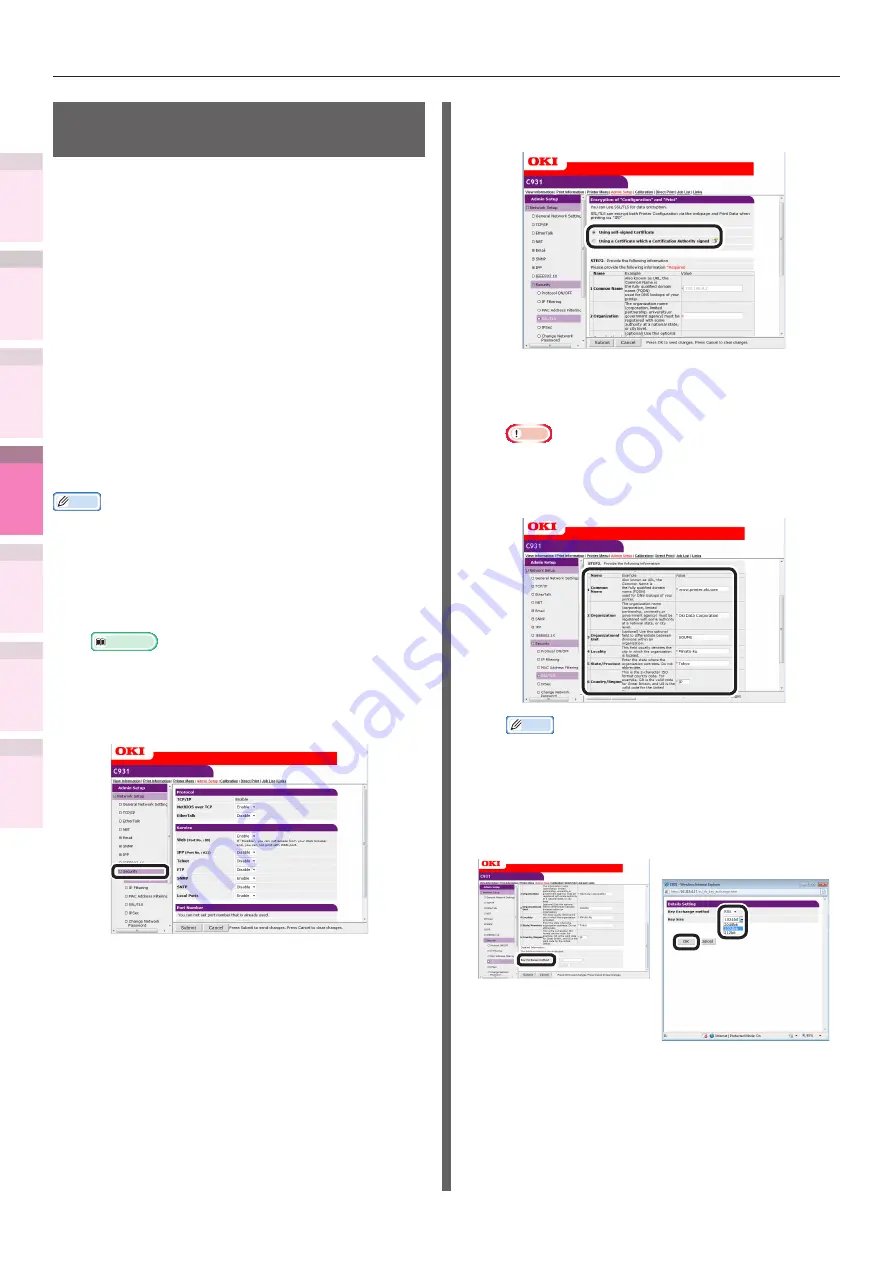
4
Select the type of certificate created in
Step 1.
5
Enter the Common Name, Organization,
and other items.
Note
z
If "Using a Certificate which a Certification Authority
signed" is selected, follow the authenticator
procedure for the advanced certificate issuing
procedures such as input details, etc.
Memo
z
If personal certificate is selected, the device IP
address will be set in "Common Name".
If changing the key exchange method and
key size, click
"Key Exchange method".
(Initial values are RSA, 1024bits. Normally,
use without making any changes.)


