


錯誤
!
使用
[
常用
]
索引標籤將
Heading
1
套用到您想要在此處顯示的文字。
錯誤
!
使用
[
常用
]
索引標籤將
Heading
2
套用到您想要在此處顯示的文字。
129
Step
3:
Synchronizing
The
following
provides
an
overview
of
the
synchronization
process
and
references
to
the
sections
with
more
details.
►
To
synchronize
your
Ogo:
1
Start
synchronization
by
doing
one
of
the
following:
•
Double
‐
clicking
the
OgoSync
icon
in
the
tray
to
open
the
OgoSync
window
and
then
clicking
the
Synchronize
button.
•
Right
‐
clicking
the
OgoSync
tray
icon
and
selecting
Synchronize
.
During
the
synchronization
process,
a
progress
window
is
displayed
and
the
OgoSync
icon
appears
orange
.
2
While
OgoSync
synchronizes
the
contacts
and
calendar
appointments
on
your
Ogo
and
in
Outlook,
you
may
need
to
perform
any
of
the
following:
•
Resolve
conflicts,
as
described
on
page
129.
•
Confirm
deletions
from
Outlook,
as
described
on
page
130.
•
Handle
warnings,
as
described
on
page
134.
3
Once
synchronization
is
complete,
the
message
Synchronization
Completed
appears.
You
can
then
click
the
View
Report
button
to
display
a
report
of
the
synchronization,
as
described
on
page
131.
Resolving
Conflicts
During
synchronization,
OgoSync
may
detect
that
an
item
(either
a
contact
or
a
calendar
appointment)
was
changed
both
on
the
Ogo
and
in
Outlook.
In
this
case,
its
default
option
(
Ask
Me
)
displays
a
question
asking
whether
to
use
the
Ogo
item
or
the
Outlook
item.
If
you
want
to
reconfigure
this
option,
see
OgoSync
Settings
on
page
131.
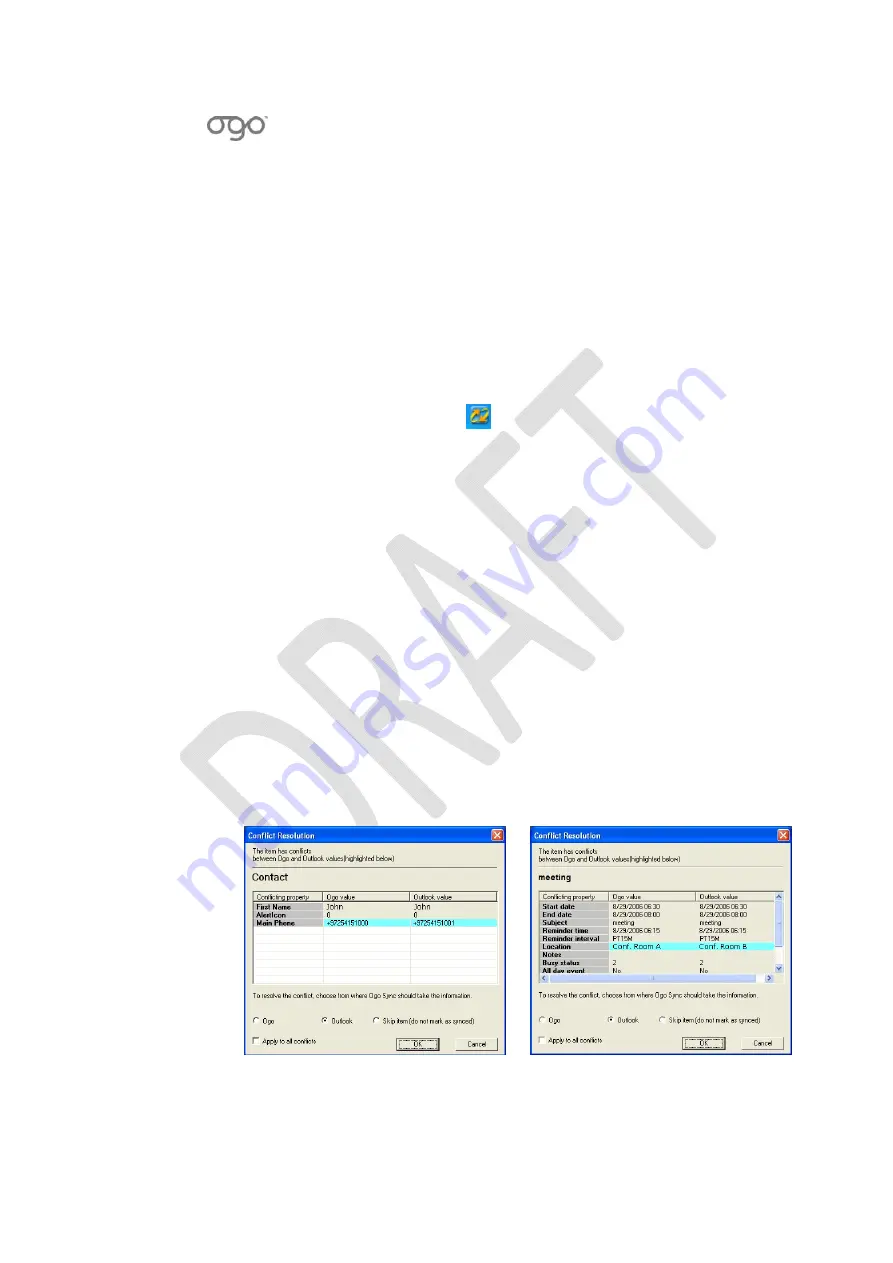
If
a
conflict
is
detected,
a
Conflict
Resolution
window
is
displayed,
indicating
the
properties
of
the
Contact
or
Meeting
for
which
a
conflict
has
been
encountered.
Contact
Conflict
Calendar Appointment Conflict
Содержание CC-10
Страница 1: ...CC 10 User Manual DRAFT...
Страница 8: ......
Страница 90: ...OGO User Manual 82 Heading 2...
Страница 154: ...OGO User Manual 146 Heading 2...


