


SAMM
User Manual
72
8
Working with Contacts
SAMM supports marking “contacts” from the raw data in the FLS PPI display, as well as from
the processed and mosaicked swaths. One benefit of post-processing data is enhancing the
imagery sufficiently to maximize detection of contacts. For contacts marked in SAMM, SAMM
stores the location, sonar image, and other properties. SAMM enables enlargement,
enhancement, measurement, and classification of these contacts in the Contacts window or
database. In addition, SAMM can export contact images and associated user-supplied
information in an *.html or *.xml report.
This section describes the contact analysis workflow and the elements of the Contacts window
as they are used in the process. It concludes with a brief tutorial to guide interaction with
SAMM's contact features. The general contact workflow is to:
1. Mark contacts
2. Adjust the contact display
3. Attribute, or provide data about, the contacts
4. Organize the contacts
5. Export a contact report
6. Optionally, broadcast contacts to a remote NMEA compatible plotter.
8.1
Mark Contacts
To build your contact database, you must first mark the contacts. You can mark the contacts in
the Forward Look window during acquisition or playback mode. You can also mark contacts in
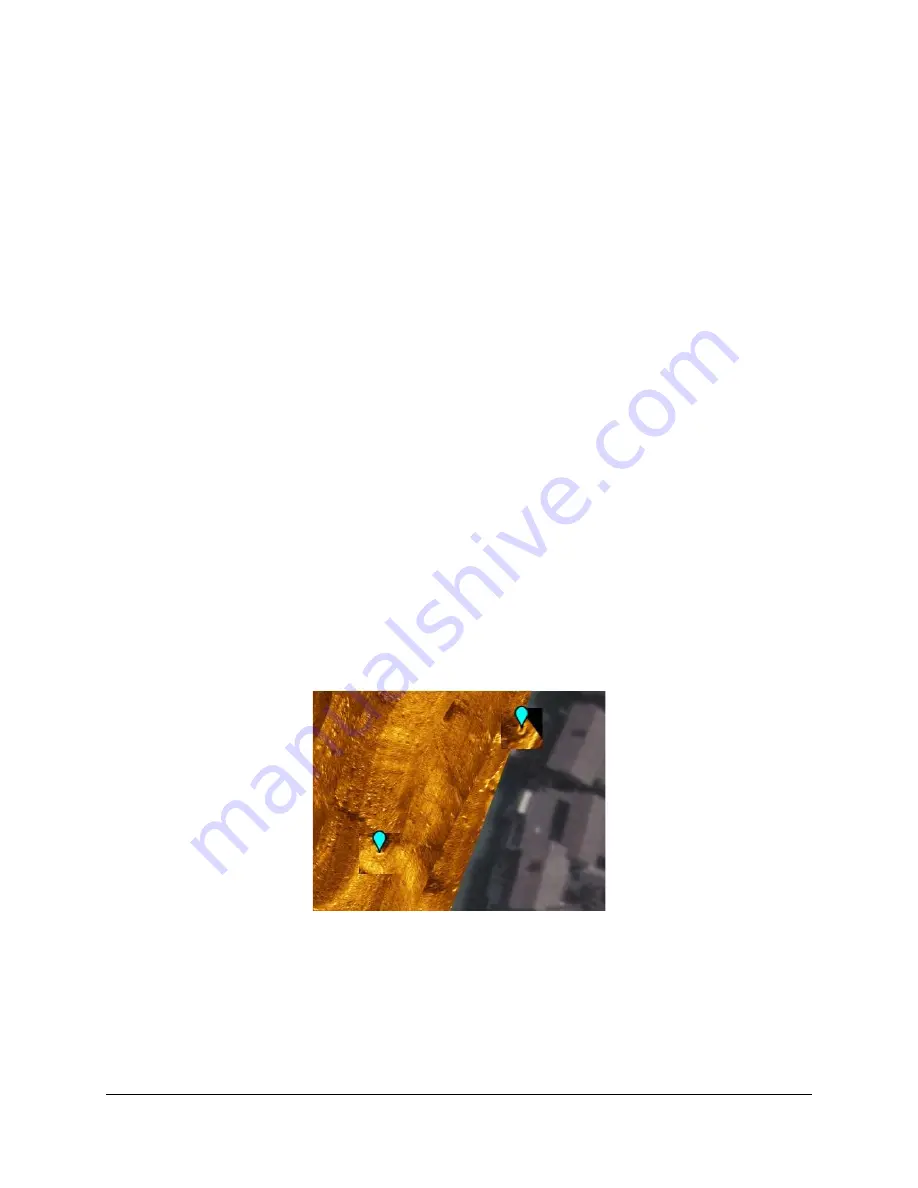
the mosaic window in any mode. Marked contacts appear as small blue pins on an image in the
mosaic window, as shown in Figure 64. The contact imagery is a square centered on the
marked position, from the data of origin. The contact, marked position, and all other associated
properties are saved locally in the contact database for later classification, organization and
export.
Figure 64. Contacts in Mosaic Window
To mark a contact in the Forward Look window in acquisition or playback mode:
1. Double-click on the object in the Forward Look window PPI.
A contact thumbnail is saved in the database.
If the Display Options item “Render the image over the swaths” is checked, the
thumbnail appears in the mosaic window.
Содержание SAMM
Страница 9: ...SAMM User Manual 7...
Страница 64: ...SAMM User Manual 62 This page is intentionally left blank...
Страница 73: ...SAMM User Manual 71 This page is intentionally left blank...
Страница 89: ...SAMM User Manual 87 This page is intentionally left blank...


