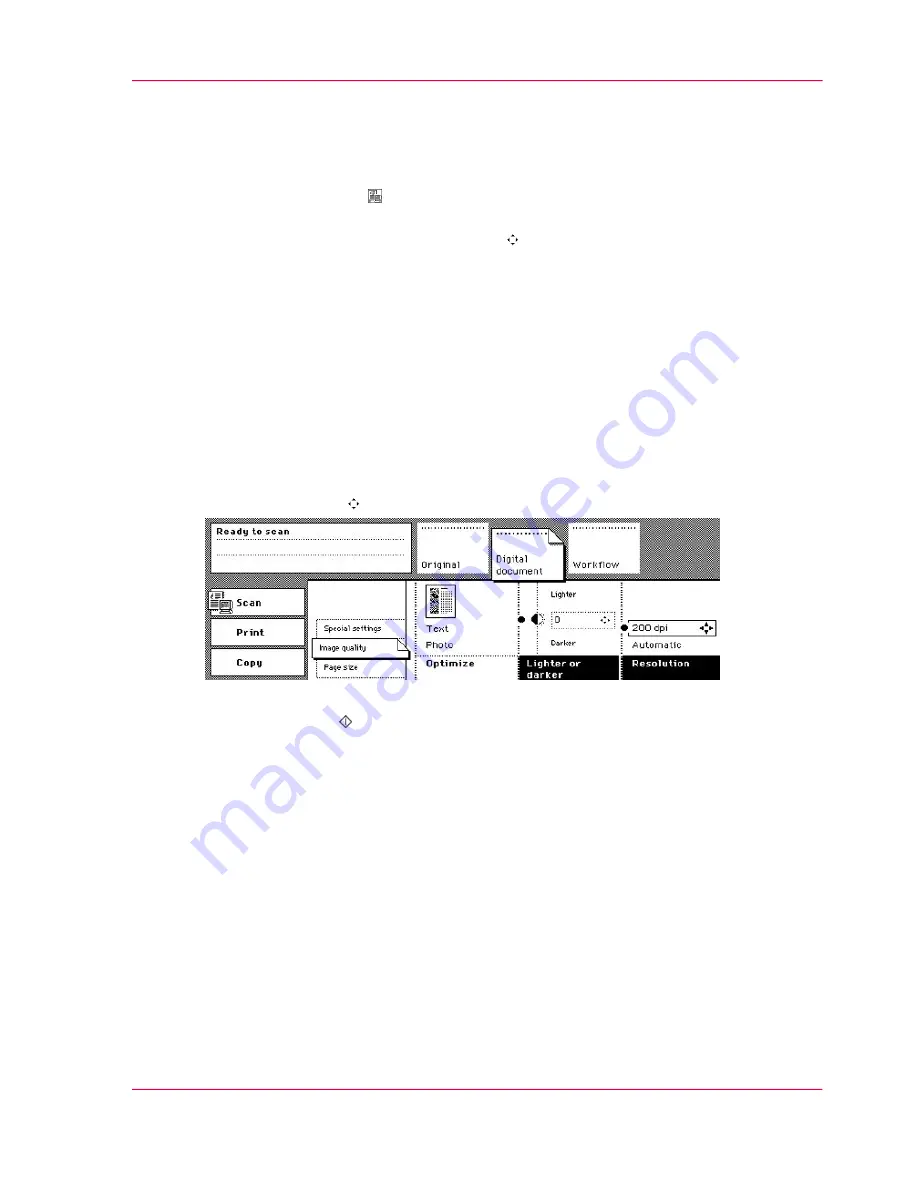
How to change the resolution
1.
Put and align the originals face down into the automatic document feeder.
2.
Select the 'Scan' mode .
The 'Workflow' section opens automatically.
3.
Select a 'Scan profile' with the Arrow keys .
4.
Activate the 'Original' section.
Select '1-sided' or '2-sided' in the 'Original' function box.
5.
Select the icon in the 'Original type' function box to define the orientation of the infor-
mation and the binding edge of the originals.
6.
Activate the 'Digital document' section.
Make sure that the 'Page size' card is open.
7.
Select the size and the orientation of the required page in the 'Size' function box.
Make sure that the orientation of the required page matches the feed direction of the
photo.
8.
Activate the 'Digital document' section.
Open the 'Image quality' card.
9.
Use the Arrow keys to adjust the 'Resolution'.
[155] Adjust the resolution
10.
Press the Start key .
Chapter 4 - The Scan Function
173
Improve the image quality of the digital document
Содержание VarioPrint 2070
Страница 1: ...Océ VarioPrint 2070 Prémia Class Print copy and scan jobs Océ User manual ...
Страница 8: ...8 Contents ...
Страница 9: ...Chapter 1 Introduction ...
Страница 37: ...Chapter 2 The Print Function ...
Страница 102: ...Chapter 2 The Print Function 102 Assign a print job to a user ...
Страница 103: ...Chapter 3 The Copy Function ...
Страница 147: ...Chapter 4 The Scan Function ...
Страница 176: ...Chapter 4 The Scan Function 176 Stop or correct a scan job ...
Страница 177: ...Chapter 5 Maintenance ...
Страница 185: ...Chapter 6 Errors ...
Страница 189: ...Appendix A Overview and Tables ...
Страница 197: ...Appendix B Safety Information ...
Страница 206: ...Appendix B Safety Information 206 Safety Data Sheets ...
Страница 207: ...Appendix C Miscellaneous ...


