9-24
Advanced
Mode
Designating Areas with the Markers
How to Designate Areas
❚
Specify “Entire Enclosed” or
“Desig. Area” for One-Point
Designation or “Entire Enclosed”
or “Enclosed Area” for Encircled
Designation. For details, see “To
make a one-point designation,” on
p. 9-26, and “To make an
encircled designation,” on p. 9-27.
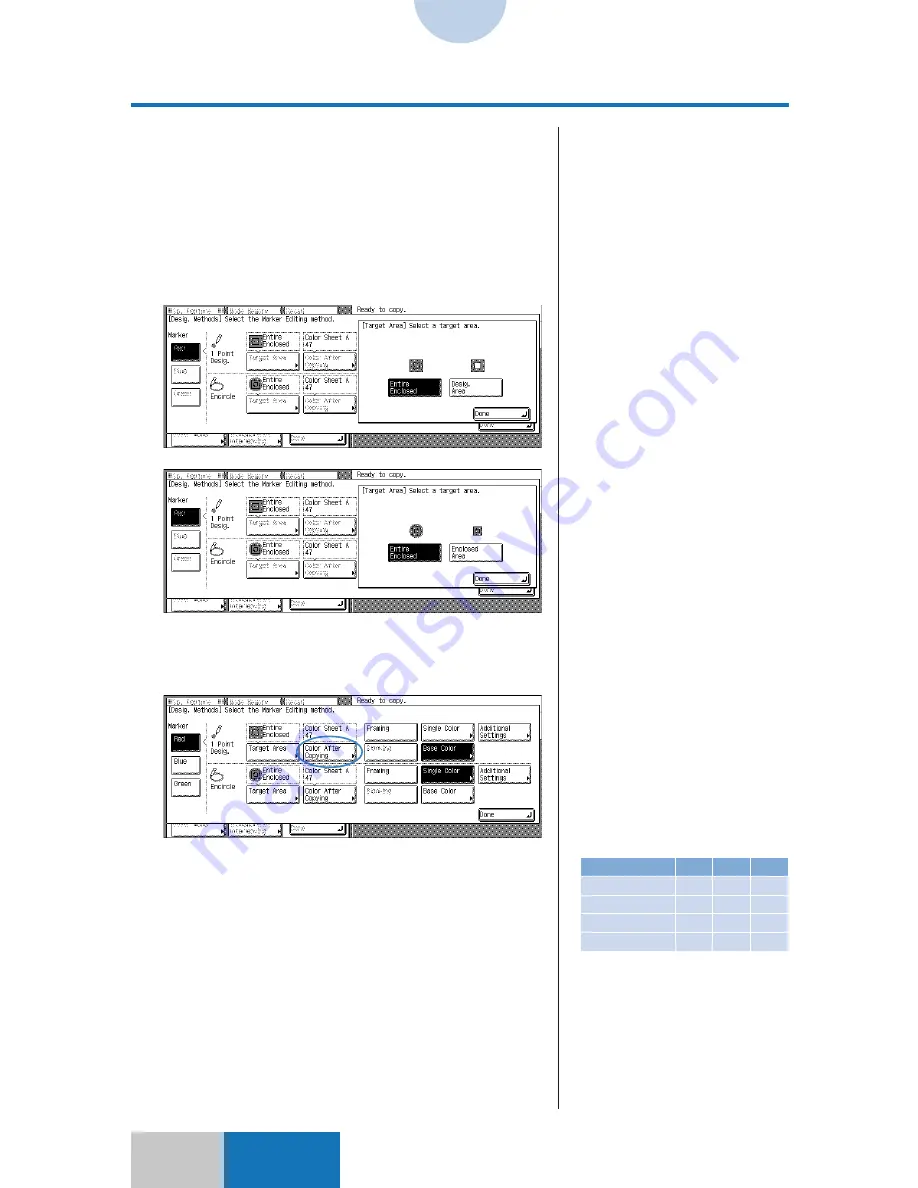
3
Press the [Target Area] key.
To make a one-point designation, press the [Target Area]
key on the right of One-Point Designation. To make an
encircled designation, press the [Target Area] key on the
right of Encircled Designation.
4
Select the target area, and then
press the [Done] key.
5
Press the [Color After Copying]
key.
6
Select a color.
❚
For details on One-point
Designation, see “To make a one-
point designation,” on p. 9-26.
For details on Encircled
Designation, see “To make an
encircled designation,” on p. 9-27.
❚
For details on the color numbers
of the color sheet, refer to the
Quick Index manual.
❚
Press the key corresponding to
the marker of another color so
that you can continue to make
settings for other Marker Editing
features.
❚
There are four methods for
selecting a color:
• Color Palette Selection
(see p. 7-2)
• Color Circle Selection
(see p. 7-7)
• Registered Color Selection
(see p. 7-9)
• Designated Color Selection
(see p. 7-11)
❚
The color on the copy has the
following initial settings:
A-47
C-18
B-2
C-13
A-59
C-53
B-3
C-10
A-55
C-34
B-4
C-7
Red
Blue Green
Vivid Colors
Tranquil Colors
Warm Colors
Cool Colors
Содержание COLOR SYSTEM 110
Страница 71: ...3 6 Advanced Zoom Functions Basic Mode 4 Press the OK key The copier is now ready to make copies Zoom Program...
Страница 232: ...CHAPTER 9 Designating Areas for Copying This chapter describes how to designate areas for image editing 9...
Страница 301: ...CHAPTER 12 Setting Recalling Mode Memory This chapter describes how to use the Mode Memory and Recall function 12...
Страница 380: ...A 1 Appendix APPENDIX This chapter describes how to use the following functions Guide Counter...


