9-17
Advanced
Mode
Designating Areas with the Edit Pen
9
Designating Areas f
or Cop
ying
Area Designation Type and Method
❚
To designate other areas of the
same type, continue specifying
the points. Upon completion of
consecutive area designation,
press the [OK] key.
❚
When designating an enclosed
area, make sure that the border
of the image is not broken. Even
if the borders of original images
are not broken, the image in the
enclosed area may not be
correctly processed when the
entire images are not contained
completely within the copy paper
resulting in broken borders
during enlarged copying.
❚
Do not designate a point on any
line composing the image.
6
Press the [OK] key.
The display returns to the screen for selecting an image
editing function.
❍
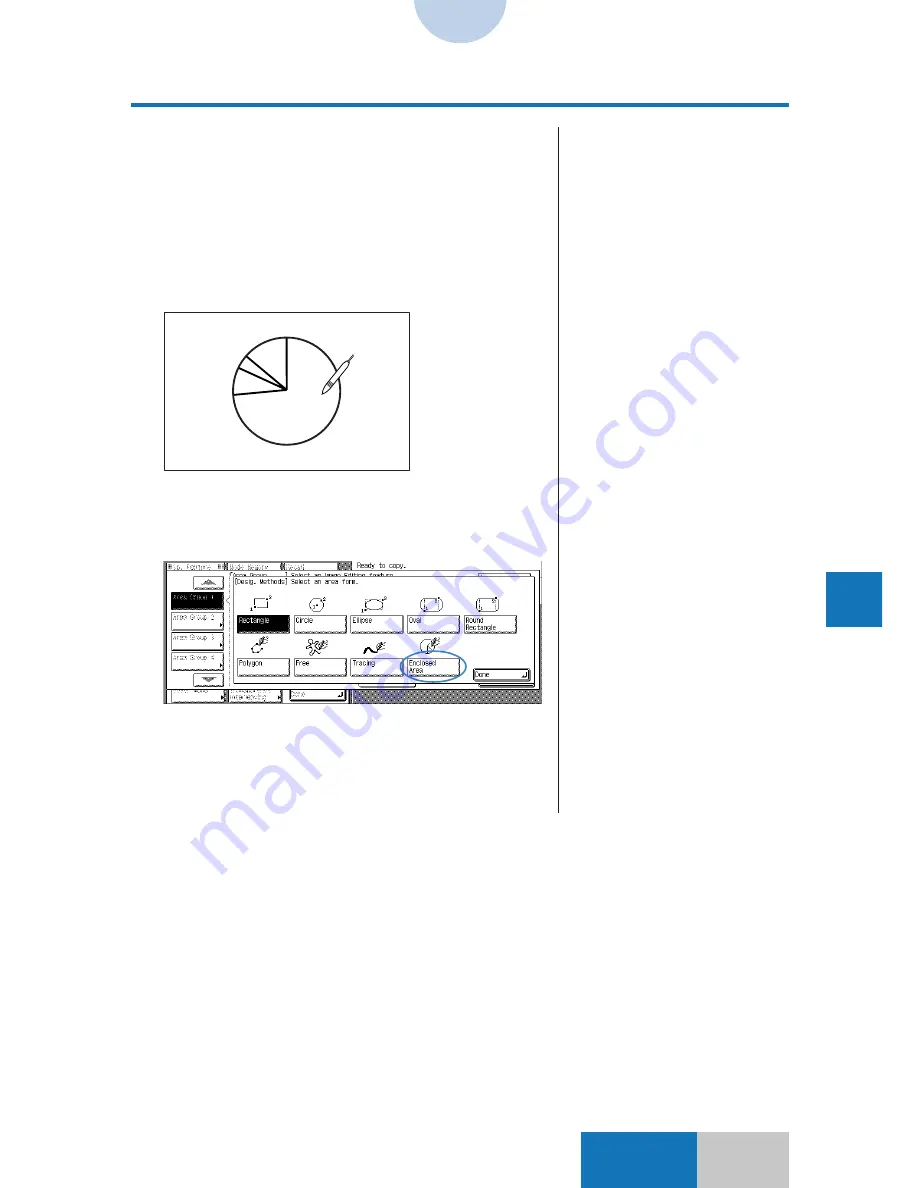
Enclosed Area
Press the edit pen on a point inside an enclosed area. An
enclosed area refers to as a graphic enclosed by contour
lines or equivalent.
1
Press the [Enclosed Area] and
then the [Done] key.
The screen to designate an area with the edit pen is
displayed.
2
Press one point inside the
enclosed area.
Содержание COLOR SYSTEM 110
Страница 71: ...3 6 Advanced Zoom Functions Basic Mode 4 Press the OK key The copier is now ready to make copies Zoom Program...
Страница 232: ...CHAPTER 9 Designating Areas for Copying This chapter describes how to designate areas for image editing 9...
Страница 301: ...CHAPTER 12 Setting Recalling Mode Memory This chapter describes how to use the Mode Memory and Recall function 12...
Страница 380: ...A 1 Appendix APPENDIX This chapter describes how to use the following functions Guide Counter...


