


4-4
Upgrading Your System
Removing a Side Panel
To install options in your system, you must remove the side panel on the left
side of the system (as viewed from the front). The side panel on the right side of
the system (as viewed from the front) only has to be removed when adding
removable media devices. The right side panel removes in the same manner as
the left side panel.
!
CAUTION
For proper cooling and airflow, do not operate the system
with the side panels removed. Always replace the panels
before powering on the system.
!
WARNING
If you are removing the side panel after the system is set up,
you must first power off the system and all external devices
and then
Unplug
the system power cord
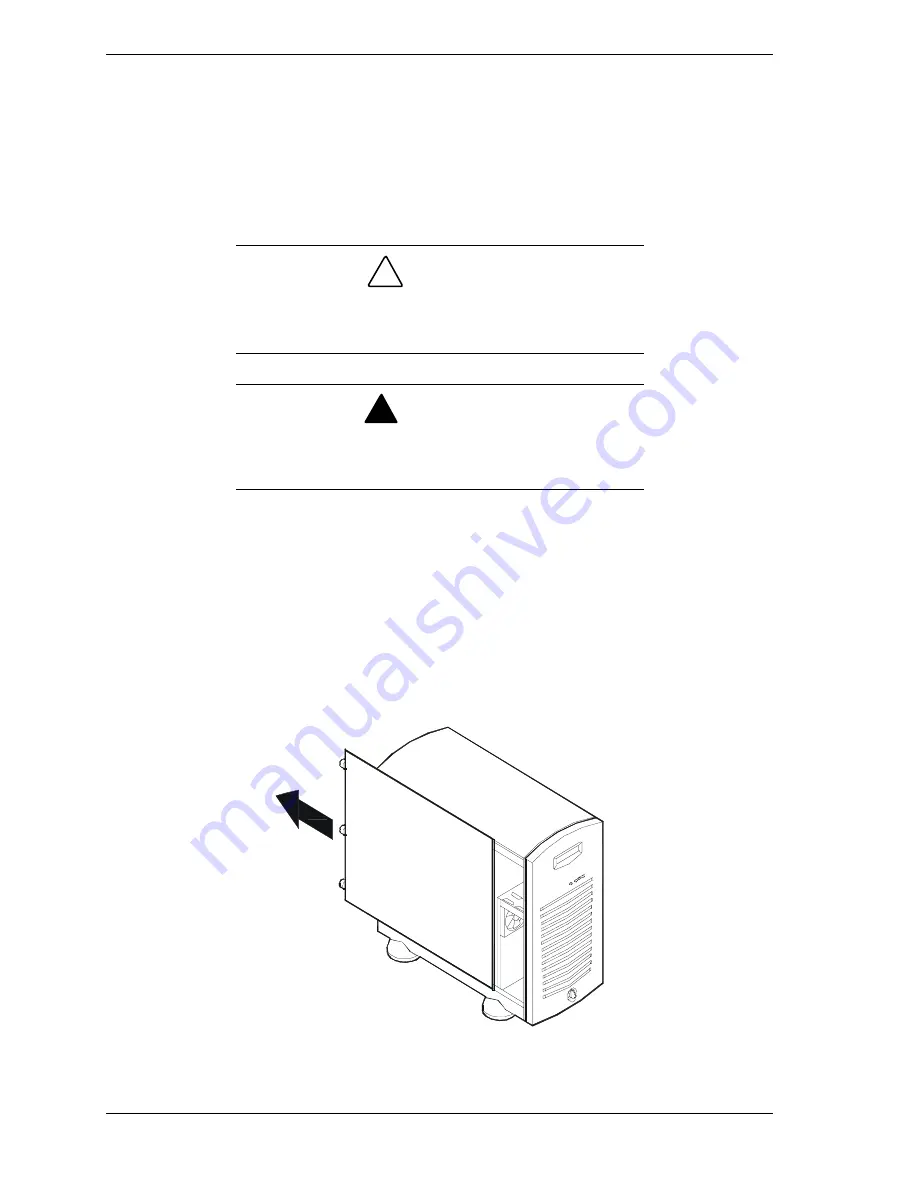
To remove a side panel:
1.
Power off the system and ensure it is disconnected from the ac wall outlet.
2.
The side panel is secured to the chassis with three thumbscrews. Loosen the
three thumbscrews securing the side panel.
3.
Slide the side panel toward the rear of the chassis. This unlocks the locking
fingers behind the side panel.
4.
Pull the side panel out and away from the chassis.
Removing a System Side Panel
Содержание Express5800/120Mc2 series
Страница 1: ... U s e r s G u i d e EXPRESS5800 120Mc2 ...
Страница 2: ...xxx ...
Страница 3: ... U s e r s G u i d e EXPRESS5800 120Mc2 ...
Страница 50: ...2 18 Setting Up the System ...
Страница 106: ...4 34 Upgrading Your System Plugging in the AC Power Cords ...
Страница 125: ...A System Cabling System Cabling Before You Begin Static Precautions Standard Configuration RAID Configuration ...
Страница 129: ...System Cabling A 5 A Ultra 160 M SCSI cable 68 pins B IDE cable 40 pins Standard System Cable Routing ...
Страница 132: ...A 8 System Cabling A Ultra 160 M SCSI cable 68 pins B IDE cable 40 pins RAID System Cable Routing ...
Страница 154: ...B 22 Management Workstation Application ...
Страница 155: ...C System Status Hardware Support Information ...
Страница 166: ...10 Glossary ...
Страница 171: ...xx ...
Страница 172: ... 456 01524 000 ...


