SNMP-SSL
66
Appendix A SNMP-SSL Upgrade Utility Software
General information
To be able to perform firmware upgrading, SNMP-SSL card must be connected to the
same network as the workstation from which the file is to be sent. In the SNMP-SSL
Control menu, check that the Network Upgrade is enabled and that you have the login
string information and the Community Read/Write Password.
Updating the SNMP-SSL card’s Firmware from Windows
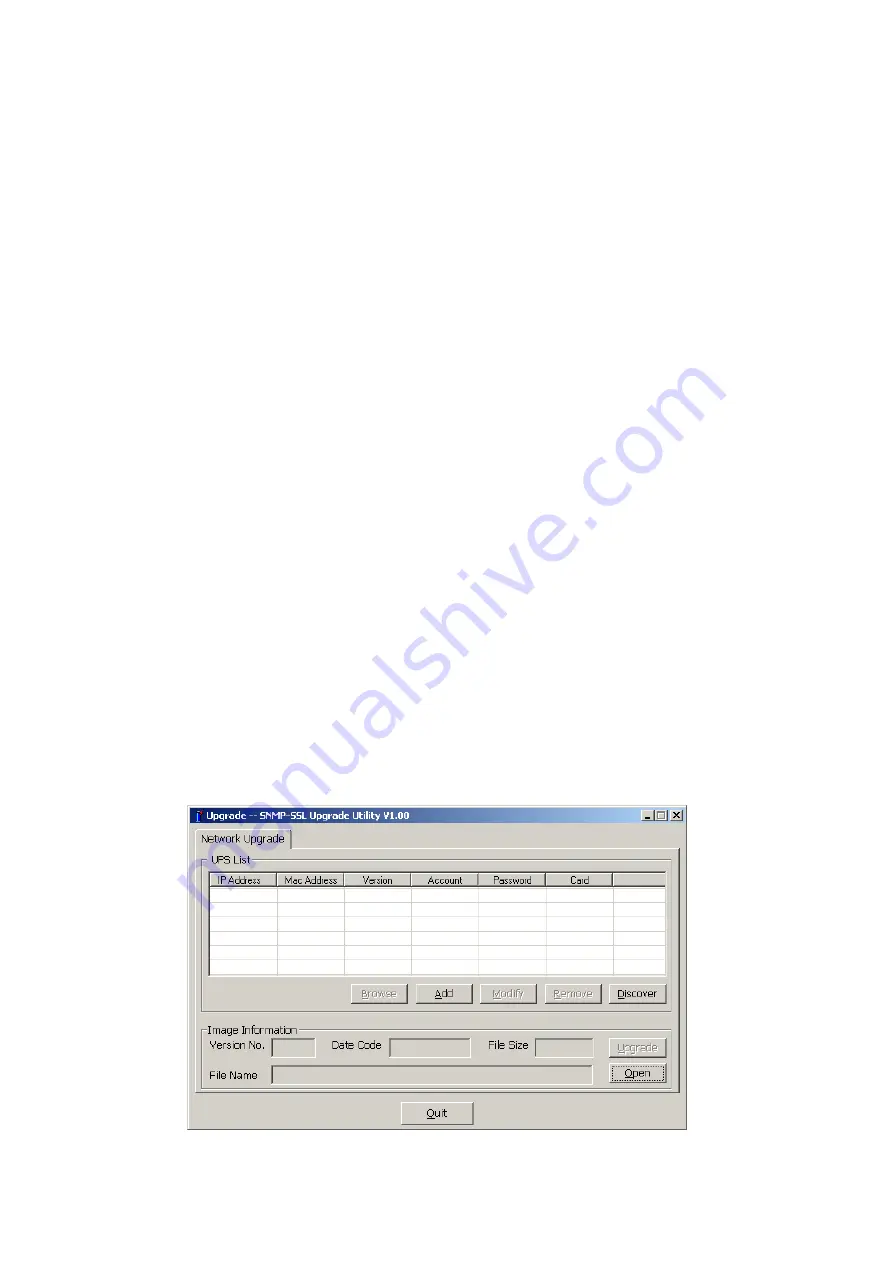
To perform firmware upgrade, use the SNMP-SSL Upgrade Utility program on the
SNMP-SSL CD-ROM. This program is compatible with Windows95/98/Me, Windows NT
3.51/4.0/2000/XP/2003 and higher.
1. Select
Discover
to find the SNMP-SSL cards on the local network.
2. Select an individual or select multiple SNMP-SSL cards to upgrade.
3. Select
Modify
and enter the User name and the Password.
4. Select
Open
to find and load the new firmware file (.BIN).
5. Select
Upgrade
to send the firmware file to the selected SNMP-SSL cards.
6. This completes the upgrade procedure.
a.
UPS List:
Displays the addresses of the SNMP-SSL cards present in the local
network.
b.
Browse:
Open SNMP-SSL card’s Web page of the SNMP-SSL card selected in
the UPS List.
c.
Add:
Lets you add the IP address of the SNMP-SSL cards to the UPS List
manually.
d.
Modify:
Allows you to upgrade the SNMP-SSL cards selected in the UPS List.
e.
Remove:
Removes the selected SNMP-SSL cards from the UPS List.
f.
Discover:
Search for the SNMP-SSL cards on the local network.
g.
Upgrade:
Sends the program to the selected SNMP-SSL card of the UPS List.
h.
Open:
Opens and loads the new firmware file (.BIN) for upgrading.
i.
Quit:
Exits the program.
Figure A-1 SNMP-SSL Upgrade Utility.


