


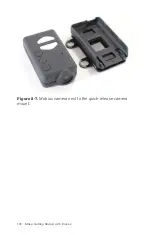

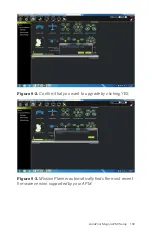


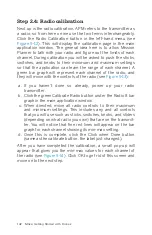


Figure 8-5.
Quick-release mount after being attached to the
Vibration Isolation Plate.
Step 2: Attach the Vibration Isolation
Plate
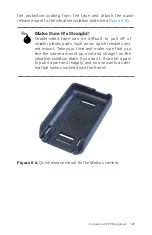
If you haven’t done so yet, now is a good time to attach the
vibration isolation plate to the rubber ball mounts on the frame.
A quick and easy way to do this is by using a piece of thread or
unwaxed dental floss to pull the ball mounts through the mount-
ing holes, as shown in
. Repeat this step for all four
rubber balls.
Are You Facing the Right Direction?
Make sure you have the camera mount facing in the
correct direction. The mount basically has three
sides with one end being open for the camera to
slide into. Make sure that the open end points
toward the front of the aircraft.
128 Make: Getting Started with Drones
Содержание Belinda Kilby
Страница 1: ......
Страница 3: ...Make Getting Started with Drones Terry Kilby and Belinda Kilby...
Страница 25: ...Figure 1 5 Basic quadcopter showing how the stick commands would move the craft Introduction 13...
Страница 26: ......
Страница 90: ......
Страница 126: ......
Страница 142: ...Figure 8 7 Mobius camera next to the quick release camera mount 130 Make Getting Started with Drones...
Страница 146: ...Figure 9 4 Firmware upload has begun Figure 9 5 Firmware verification in progress 134 Make Getting Started with Drones...
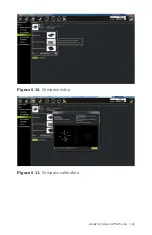
Страница 153: ...Figure 9 10 Compass setup Figure 9 11 Compass calibration ArduPilot Mega APM Setup 141...
Страница 198: ......


