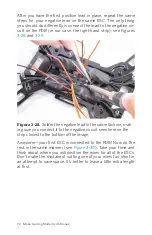


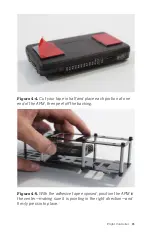


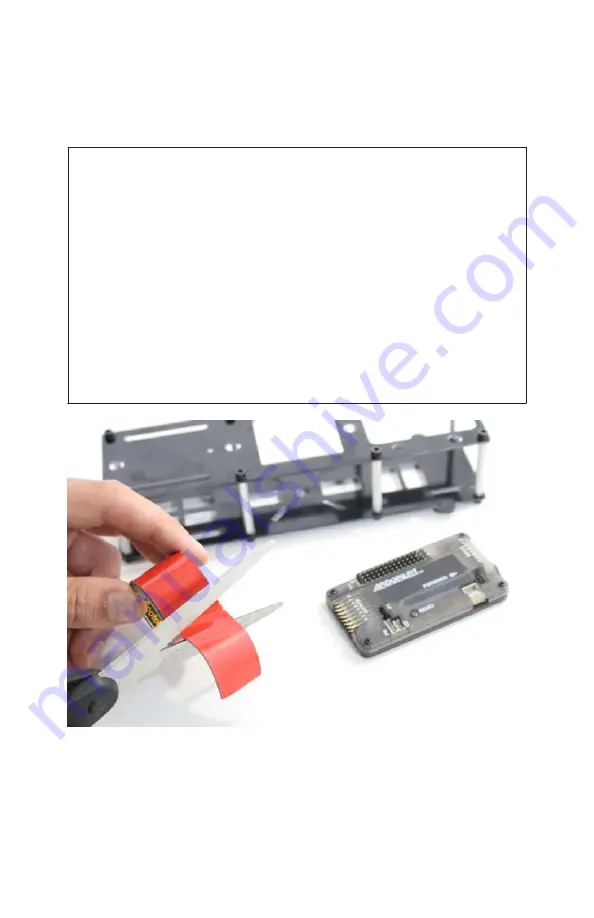
thick tape). Make sure that the forward arrow on the APM flight
controller is pointing forward on the UAV, and that the flight con-
troller is positioned directly in the center of the frame before
pushing it into place (see
).
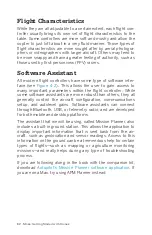
Which Way Is Forward?
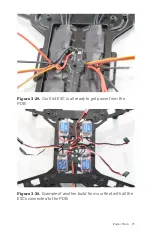
Recall from previous chapters that our airframe has a defined
front and back. The back has two long, narrow battery-strap
slots between the two rear standoff mounting holes. These will
appear on both the top and bottom plates of the clean frame.
Another indicator is that the booms fold
backward
on the
frame. Yet another indicator is that the large hole that the cam-
era mount will cover (covered in
) in the clean frame
sits in the front. Make sure that your autopilot is pointing
toward the front—look for the forward arrow on the APM case—
and is as centered as possible. Pointing it in the wrong direction
will make for a very short maiden flight!
Figure 4-3.
Cut off about an inch of double-sided tape to use in
the mounting of the APM.
84 Make: Getting Started with Drones
Содержание Belinda Kilby
Страница 1: ......
Страница 3: ...Make Getting Started with Drones Terry Kilby and Belinda Kilby...
Страница 25: ...Figure 1 5 Basic quadcopter showing how the stick commands would move the craft Introduction 13...
Страница 26: ......
Страница 90: ......
Страница 126: ......
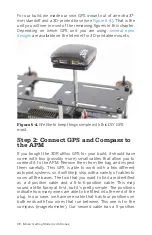
Страница 142: ...Figure 8 7 Mobius camera next to the quick release camera mount 130 Make Getting Started with Drones...
Страница 146: ...Figure 9 4 Firmware upload has begun Figure 9 5 Firmware verification in progress 134 Make Getting Started with Drones...
Страница 153: ...Figure 9 10 Compass setup Figure 9 11 Compass calibration ArduPilot Mega APM Setup 141...
Страница 198: ......


