47
47DR OPERATING MANUAL EM-9509-B Rev.7
4
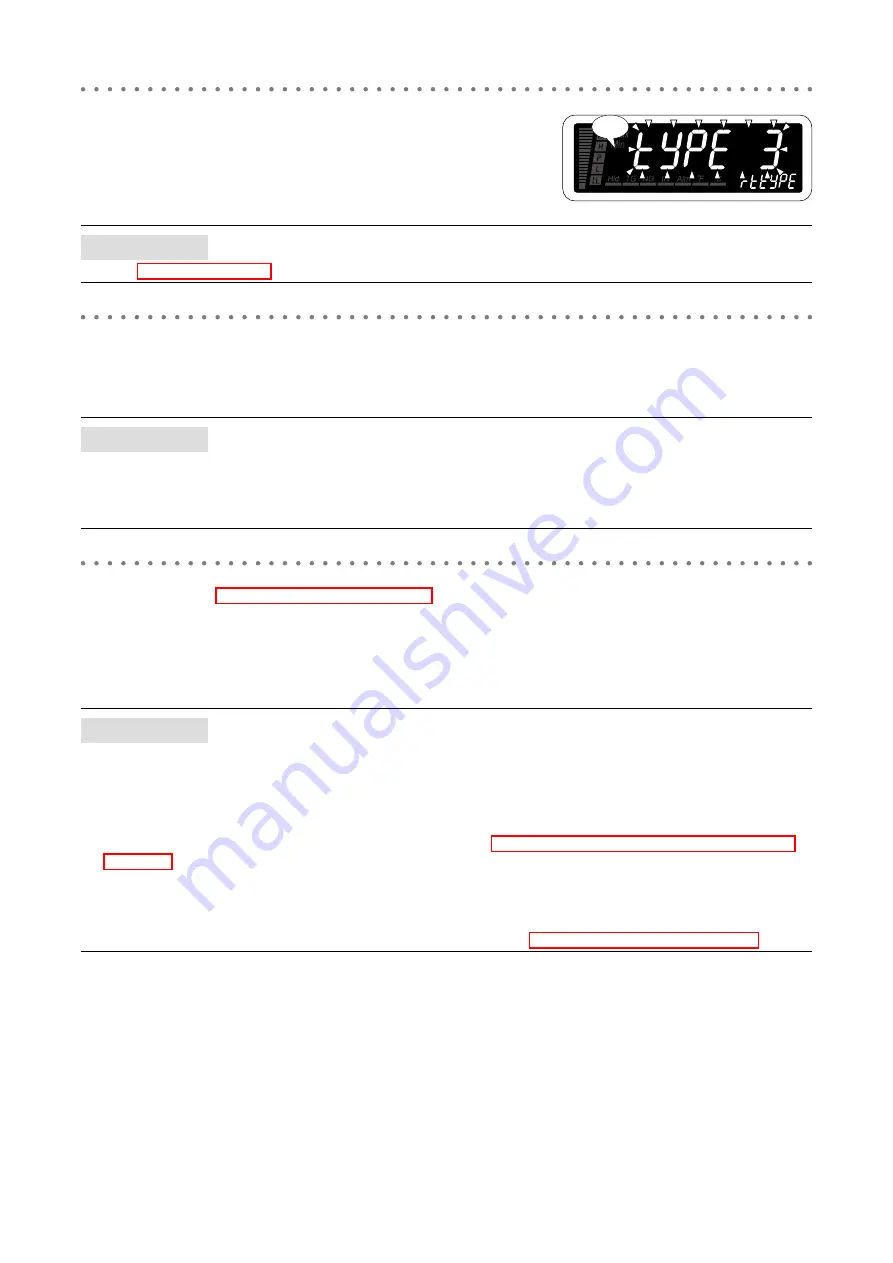
Press Up button to select the input type.
• Select ‘TYPE 3’ (Pt 100 (JIS ’89)).
NOTE
Refer to 3.1 INPUT TYPE LIST for selectable input types.
5
Press Alarm/
↓
or Init/
↑
button to apply the new setting.
• And the next parameter setting is indicated.
NOTE
• Press Alarm/
↓
button, and the temperature unit will be indicated (‘UNIT’ on the SD).
• Press Init/
↑
button, and the bargraph upper limit will be indicated (‘BAR-H’ on the SD), the bargraph type will be indi-
cated (‘BAR-GRH’ on the SD) with the bargraph type set to “no bargraph”, or the analog output 100% adjustment will be
indicated (‘AADJ H’ on the SD) with DC output (DC output code ‘1’).
6
■
TO GO ON TO SET THE SETTING TEMPERATURE UNIT,
Skip to Step 3 in “4. SETTING TEMPERATURE UNIT”.
■
TO QUIT,
Hold down Alarm/
↓
or Init/
↑
button for 1 second or more to return to Measuring Mode.
NOTE
■
IF THE FRONT BUTTONS ARE LEFT UNTOUCHED…
• The indication turns on with applying the last changes after the specified time period (default: 15 sec.) while it is in the
setting standby mode (indication blinking in Step 3 and 4).
• The display goes back automatically to Measuring Mode after the specified time period (default: 15 sec.) in one of the
other modes.
• This time period (automatic return time) is configurable. (Refer to 16. GOING BACK AUTOMATICALLY TO MEASUR-
■
TO ABORT A SETTING…
• Hold down Max/Min button for 1 second or more in the setting standby mode (indication blinking in Step 3 and 4) to
return to Measuring Mode without applying the last changes.
• If you get lost in a setting mode, you can execute initialization. (Refer to 36.2 INITIALIZING SETTING VALUES.)
Blinking


