23
Place Icon - Cursor Location
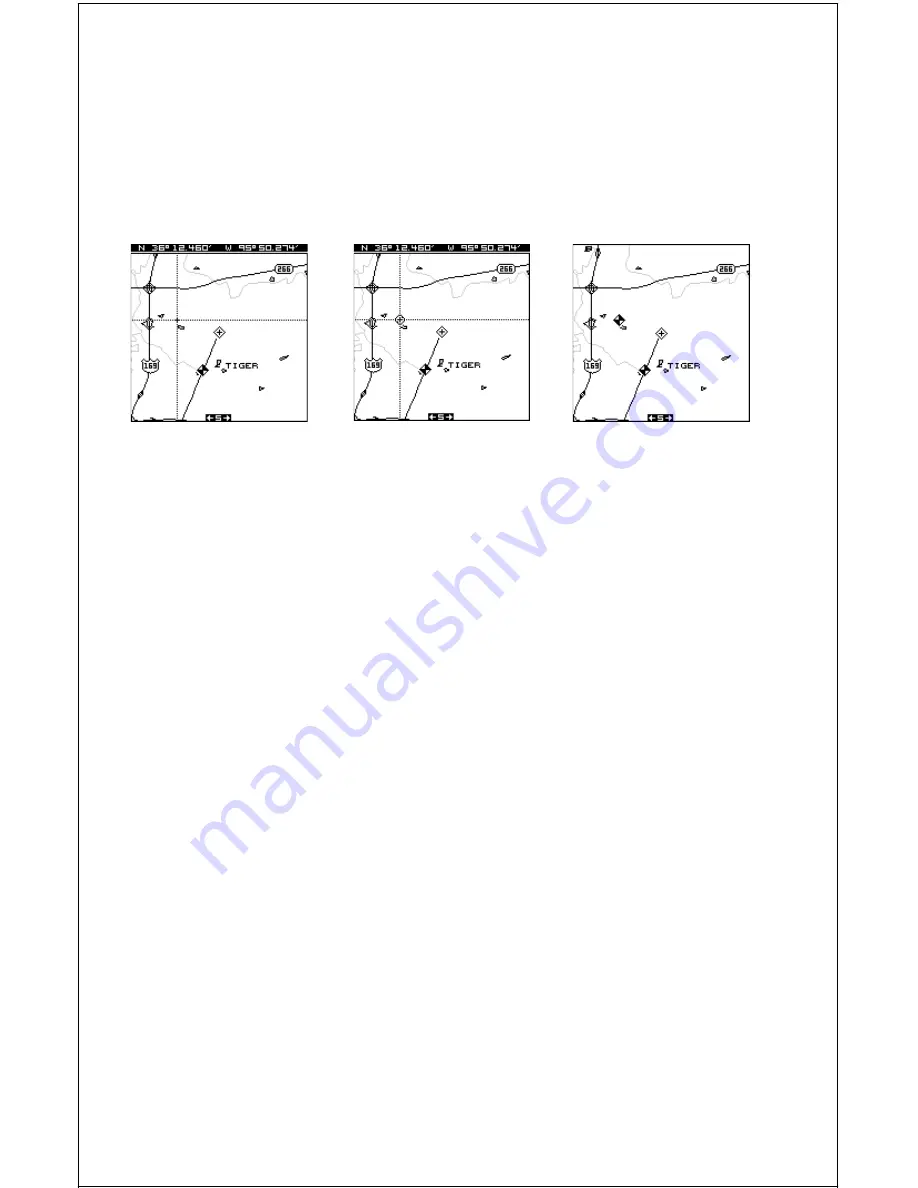
To place an icon at cursor's location, first use the arrow keys to move the
cursor to the position that you want to place the icon. Next, press the ENT
key. Now select the desired icon using the arrow keys. When it's selected,
press the ENT key. The mapping screen re-appears with the icon at the
cursor's location. Press the EXIT key to erase the cursor.
MOVE CURSOR TO
LOCATION
PRESS ENT, SELECT
ICON, PRESS ENT
PRESS EXIT TO ERASE
CURSOR
Erase Icons
To erase an icon from the screen, first press the MENU key, then select
the “Icon Options” menu as shown at the top of the previous page.
There are three methods used to erase icons from the screen. You can
delete all of the icons, regardless of their position on the display, delete all
of the icons of a certain type, or selectively erase individual icons.
To erase all of the icons, move the black box to the “Delete All Icons”
menu, then press the right arrow key. A message appears, asking you if
you want to delete all icons. Press the left arrow key to erase them. The
unit returns to the mapping screen with all icons deleted.
To remove only icons of a certain type, move the black box on the Icon
Options menu to the “Delete Icons By Type” label. Press the right arrow
key. The icon selection menu appears. Use the arrow keys to move the
black box to the icon style that you wish to erase. Press the ENT key
when you’re ready to erase the icons. A message appears, asking you if
you want to delete the icons of that type. Press the left arrow key to erase
them. The unit returns to the mapping screen with all icons of the type you
selected erased.
To remove only certain icons, move the black box on the Icon Options
menu to the “Delete Icons From Map” label. Press the right arrow key. The
unit returns to the mapping screen with the cursor centered on your present
position. Use the arrow keys to move the cursor to the icon on the map


