13
Getting Started
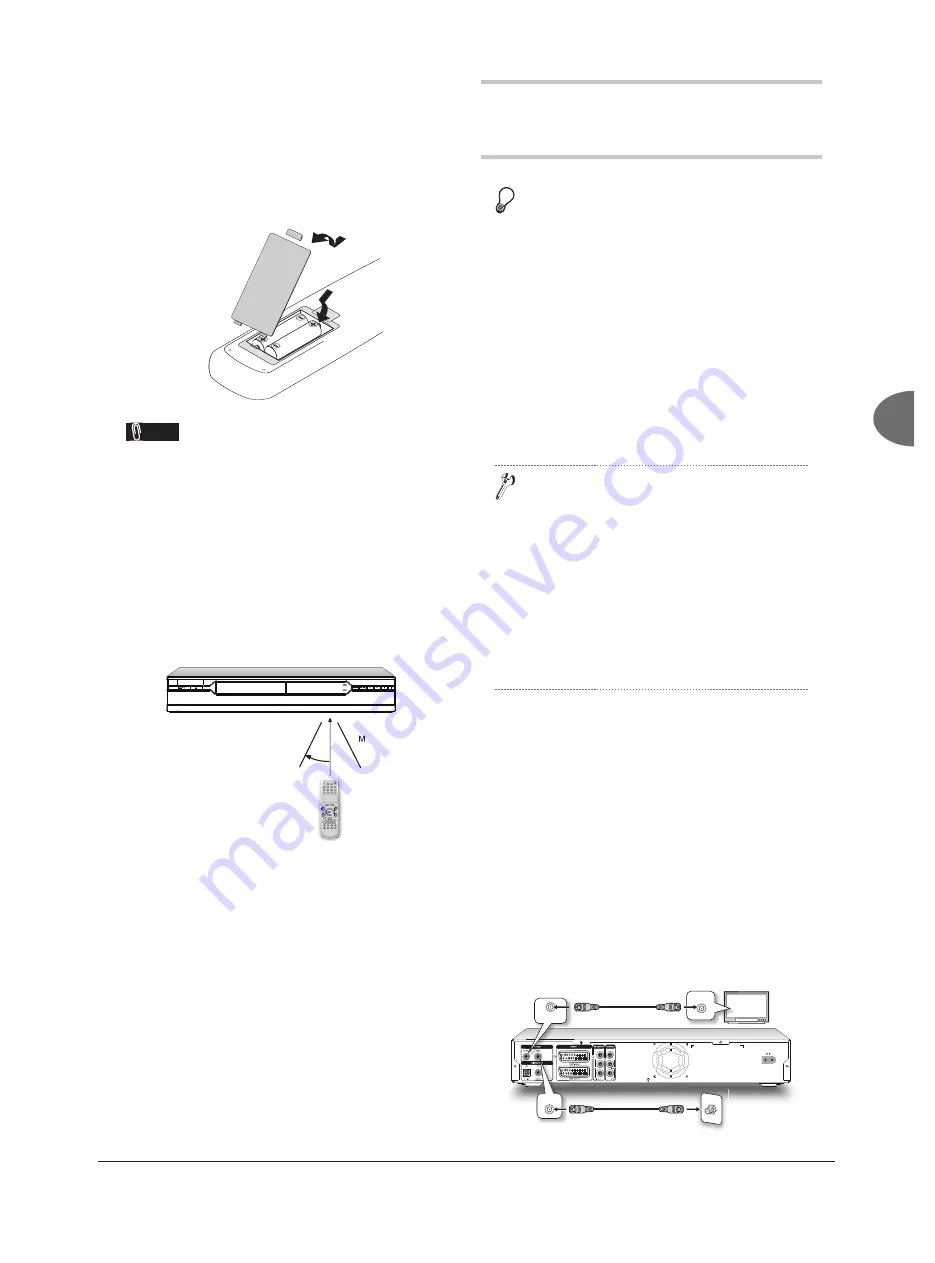
Using Remote Control
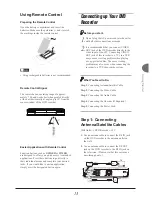
Preparing the Remote Control
Open the battery compartment and insert the
batteries. Make sure the polarities (+ and -) match
the markings inside the remote control.
Note
• Using rechargeable batteries is not recommended.
Remote Control Signal
The remote has an operating range of approxi-
mately 7 M, and works best when pointed directly
at the unit horizontally at angle up to 30° from the
sensor window of the DVD recorder.
30
0
7
ENTER
1
4
7
2
5
8
3
6
9
0
Easier Application with Remote Control
Function buttons, such as
GUIDER
or
TIMER
,
are designed to offer you a quick access to intended
applications. Press these buttons to go directly to
their individual menus and complete your desired
tasks. If you would like to quit an application,
simply press the designated button again.
Connecting up Your DVD
Recorder
Before you start...
1.
Do not plug the AC power cord into the outlet
until all other connections are made.
2.
It is recommended that you connect VIDEO
OUT jack of the DVD recorder directly to the
video input of your TV. Connecting VIDEO
OUT jack of this recorder to a TV via a VCR
may cause a viewing problem when playing
a copy-protected disc. The same viewing
problem may also occur when connecting the
recorder to a TV/Video combo system.
What You Need to Do:
Step 1
: Connecting Antenna/Satellite Cable
Step 2
: Connecting the Video Cable
Step 3
: Connecting the Audio Cable
Step 4
: Connecting the Decoder (If Required)
Step 5
: Connecting the Power Cord
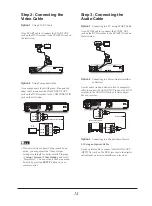
Step 1: Connecting
Antenna/Satellite Cables
Wall Outlet
DVD Recorder
TV
1.
Use an antenna cable to connect the RF IN jack
on the DVD recorder to the antenna outlet on
the wall.
2.
Use an antenna cable to connect the RF OUT
jack on the DVD recorder to the RF IN jack on
the television. (Please note that this serves as a
pass-through only.)
T V
Wall
RF IN
RF OUT
RF IN

