51
Recor
ding
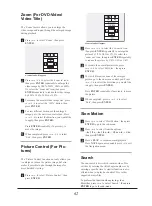
3
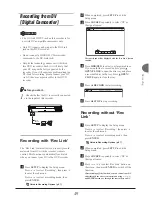
Press
to select ‘HDD’, then press
ENTER
.
4
Press
to select ‘Last Recorded’, then
press
ENTER
.
5
Playback of the last recorded title will then
start.
6
Press
PAUSE/STEP
to pause playback.
Press
PLAY
to resume normal playback.
Press
STOP
to stop playback at a marked
stop.
Press
STOP
again to bring the playback to
a full stop.
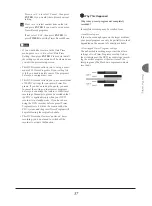
Using Chapter Mark
Important
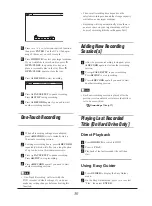
Manually or by default, this DVD recorder allows
you to add chapter marks in your recordings. De-
pending on the target medium you use, allowance
for maximum chapters and titles you can add may
vary. Please see the table listed below for details.
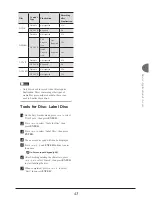
Media
Per Title
Per Disc
Maxi.
Chapter
Maxi.
Chapter
Maxi.
Title
HDD
999
NA
5994
DVD
99
254
49
CD
NA
NA
99 (Music)
98 (Video)
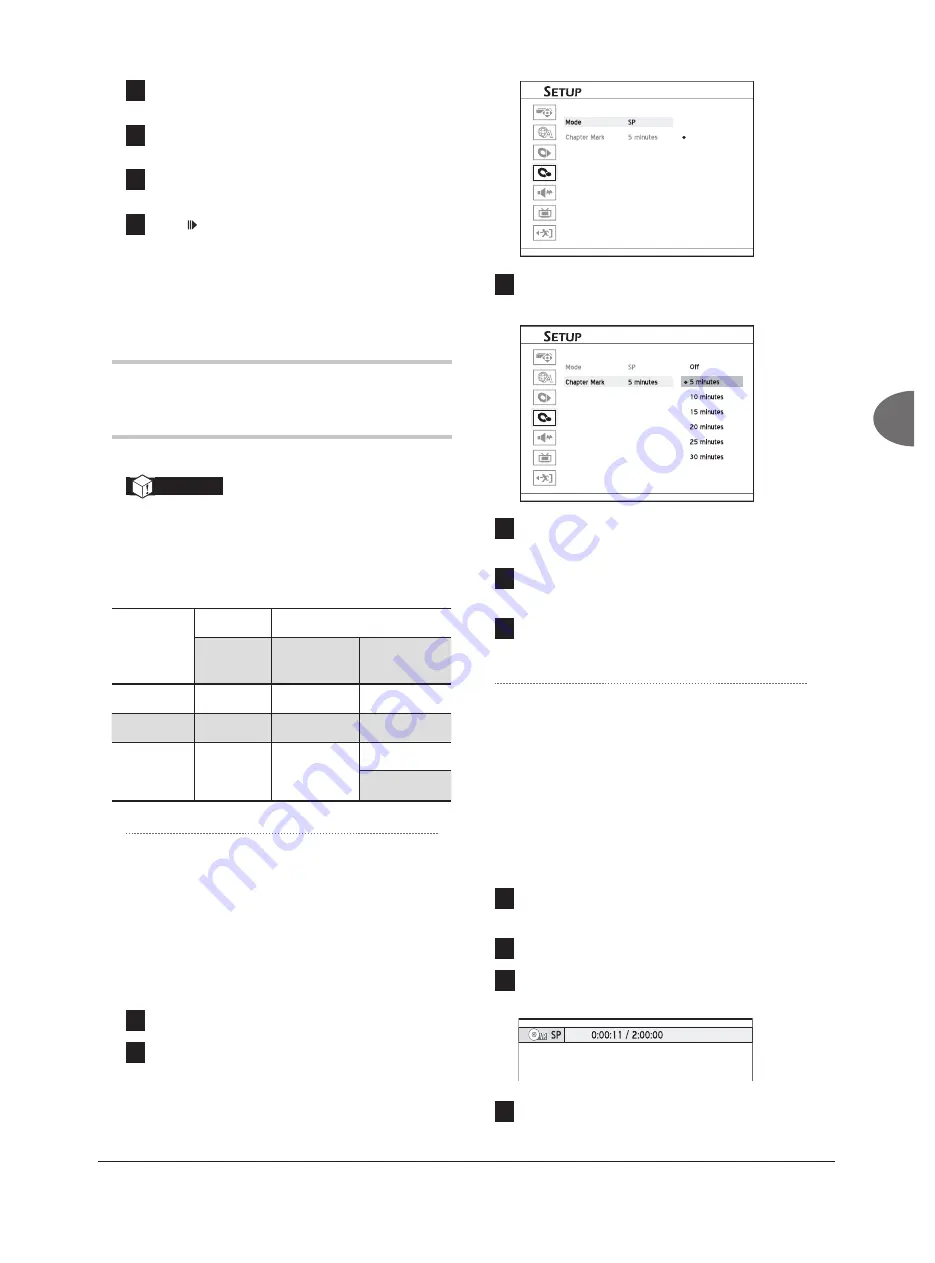
Changing Chapter Interval
During recording, this DVD recorder can automati-
cally divide a session into chapters by inserting
chapter marks. You can select a preferred interval
through the Setup menu.
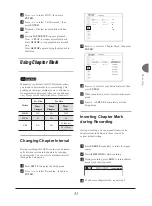
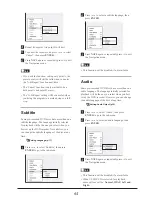
1
Press
SETUP
to display the Setup menu.
2
Press
to select ‘Recording’, then press
ENTER
.
Front AV
Composite
HQ
SP
LP
EP
SLP
Recording
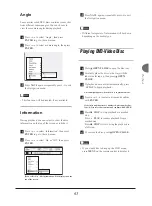
3
Press
to select ‘Chapter Mark’, then press
ENTER
.
Started_SystemSetup_00_01
Front AV
Composite
Recording
4
Press
to select your desired interval, then
press
ENTER
.
5
When completed, press
to return to the main
menu.
6
Press
or
SETUP
to completely exit the
Setup menu.
Inserting Chapter Mark
during Recording
During recording, you can manually insert extra
chapter marks in addition to those created by
system default setting.
1
Press
SOURCE
repeatedly to select the signal
source.
2
Press
RECORD
to start recording.
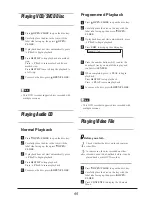
3
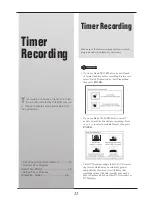
During recording, press
EDIT
to insert chapter
mark at your desired point.
Chpater Inserted
4
To add more chapter marks, repeat step 3.


