44
4
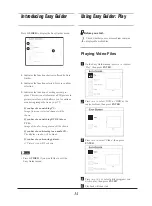
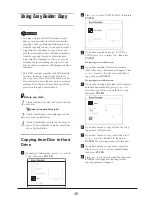
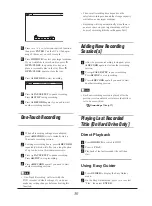
Press
to select ‘Go’, then press
ENTER
to start defragmenting hard drive.
5
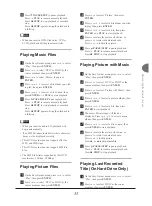
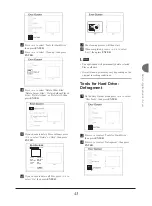
The defragmenting process will then start.
6
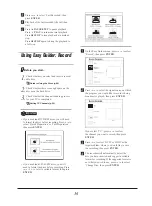
When completed, press
to select
‘Exit
’
, then press
ENTER
.
Note
• Materials on the hard drive will not be lost during
this process.
• Regular defragmenting is recommended, as it
helps improve overall performance of the hard
drive.
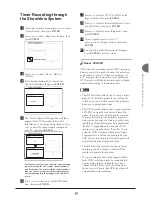
• If during the process you decide to cancel the
application, you can press
to select ‘Exit’,
then press
ENTER
to exit the present screen.
Tools for Disc: Erase
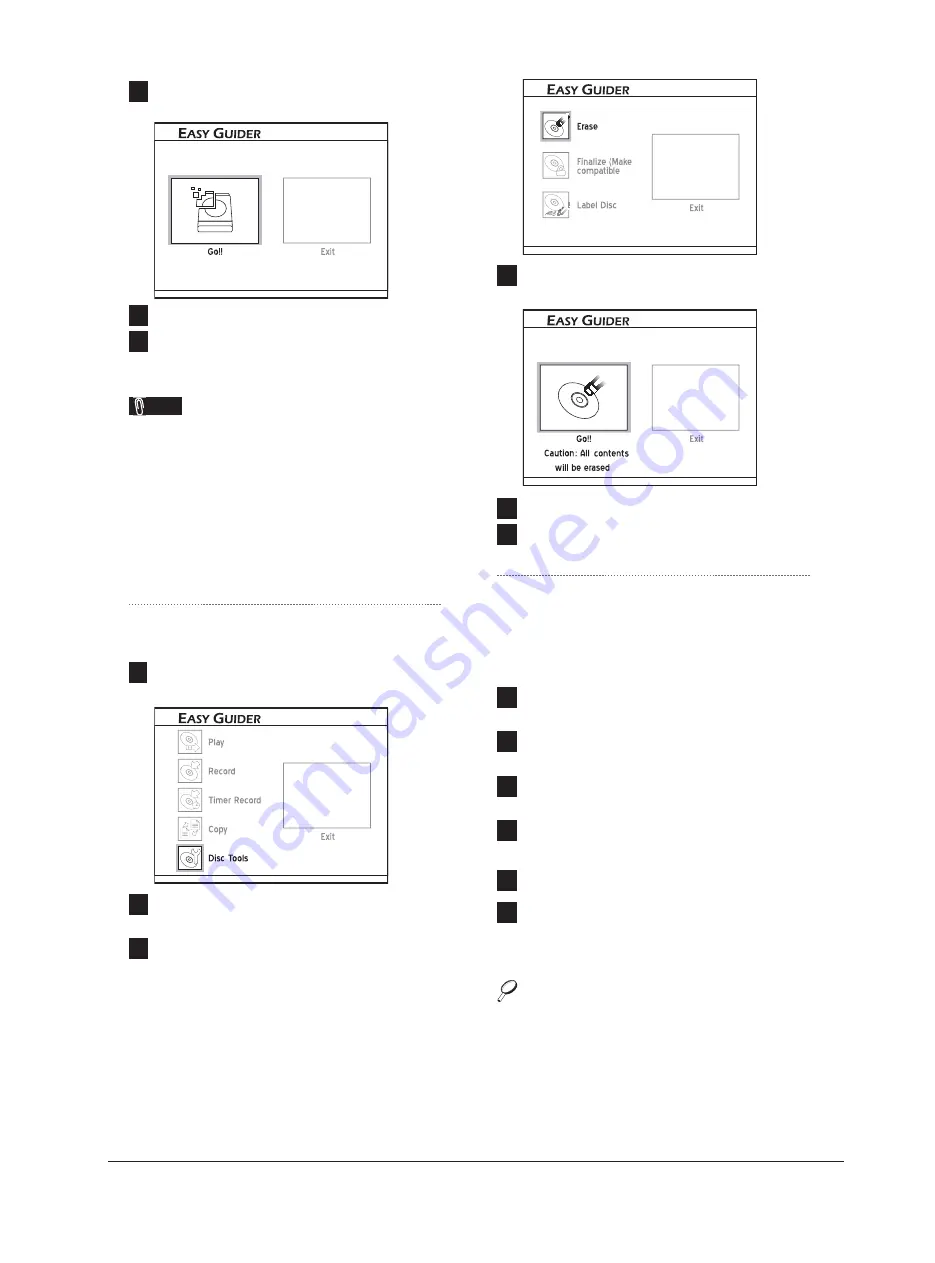
1
On the Easy Guider menu, press
to select
‘Disc Tools’, then press
ENTER
.
2
Press
to select ‘Tools for Disc’, then
press
ENTER
.
3
Press
to select ‘Erase’, then press
ENTER
.
4
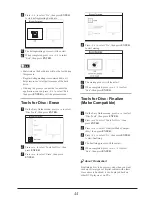
Press
to select ‘Go’, then press
ENTER
to start erasing.
5
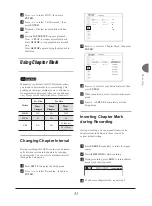
The erasing process will then start.
6
When completed, press
to select
‘Exit
’
, then press
ENTER
.
Tools for Disc: Finalize
(Make Compatible)
1
On the Easy Guider menu, press
to select
‘Disc Tools’, then press
ENTER
.
2
Press
to select ‘Tools for Disc’, then
press
ENTER
.
3
Press
to select ‘Finalize (Make Compat-
ible)’, then press
ENTER
.
4
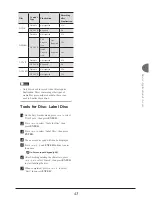
Press
to select ‘Go’, then press
ENTER
to start fi nalizing.
5
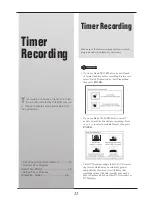
The fi nalizing process will then start.
6
When completed, press
to select
‘Exit’, then press
ENTER
.
About ‘Finalization’
Finalizing a disc is a necessary step when you want
to share certain types of digital content with others.
Once a disc is fi nalized, it can be played back on
other DVD players or on PCs.

