. LCD panel and front button usage
IP Setup
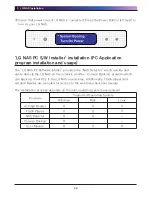
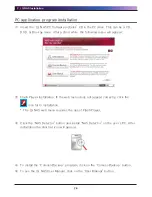
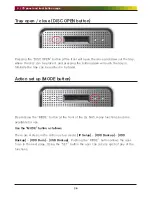
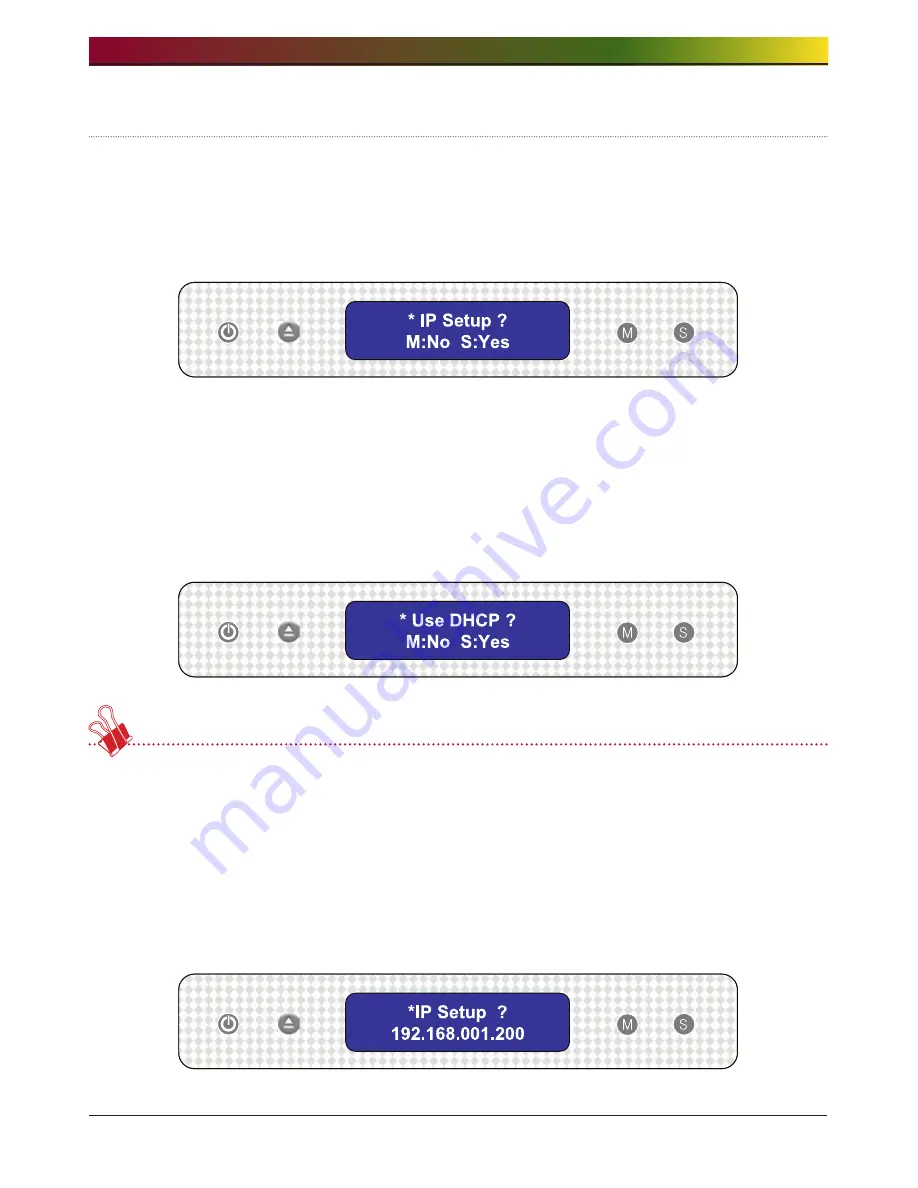
① The first time the “MODE” button is pressed will present the following display for
the IP set up mode.
After the first system files are installed, the LG NAS has a default IP address of
192.168.1.200. At that time a new user IP address and network can be created.
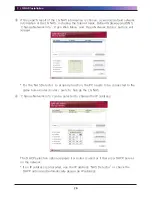
② The IP address set up can begin by pressing the “SET” button
③ By pushing the “MODE” button, the IP address can be created manually, along
with default network settings, where by pressing the “SET” button, and hence
the display showing “Use DHCP?”, the IP address and network settings will be
automatically set up.
It is recommended that the IP address of the LG NAS is set up manually to avoid
future clashes with other IP address connected to the same network. Using the
DHCP set up, the last IP address digit will be either a D (Dynamic), for automatic set
up, or an S (Static), for manual set up.
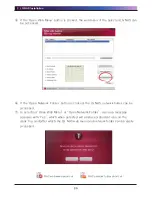
There are 3 steps in the manual set up of IP and network information:
IP Setup
-> Subnet Mask Setup -> Gateway Setup
. By pressing the “MODE” button, the
selected digit will be enlargened. By pressing the “SET” button, the cursor moves
to the right. By pressing the ”DISC OPEN” button, the cursor moves to the left. In
this way digits can be changed.
Содержание N4B1
Страница 1: ......
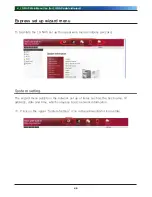
Страница 51: ...4 LG NAS Web Menu Use for LG NAS administrators 51 Configure cycle and method then click the Confirm button ...
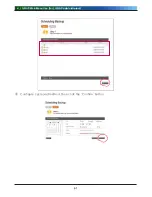
Страница 98: ...4 LG NAS Web Menu Use for LG NAS administrators 98 Click on Add ...
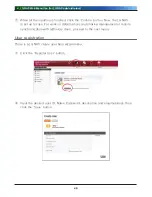
Страница 99: ...4 LG NAS Web Menu Use for LG NAS administrators 99 Hold the alt key down while clicking on More Printers ...
Страница 120: ...5 LG NAS web menu usage Regular users 120 Burning Burning the LG NAS data to disc is possible using the Blu ray Drive ...


