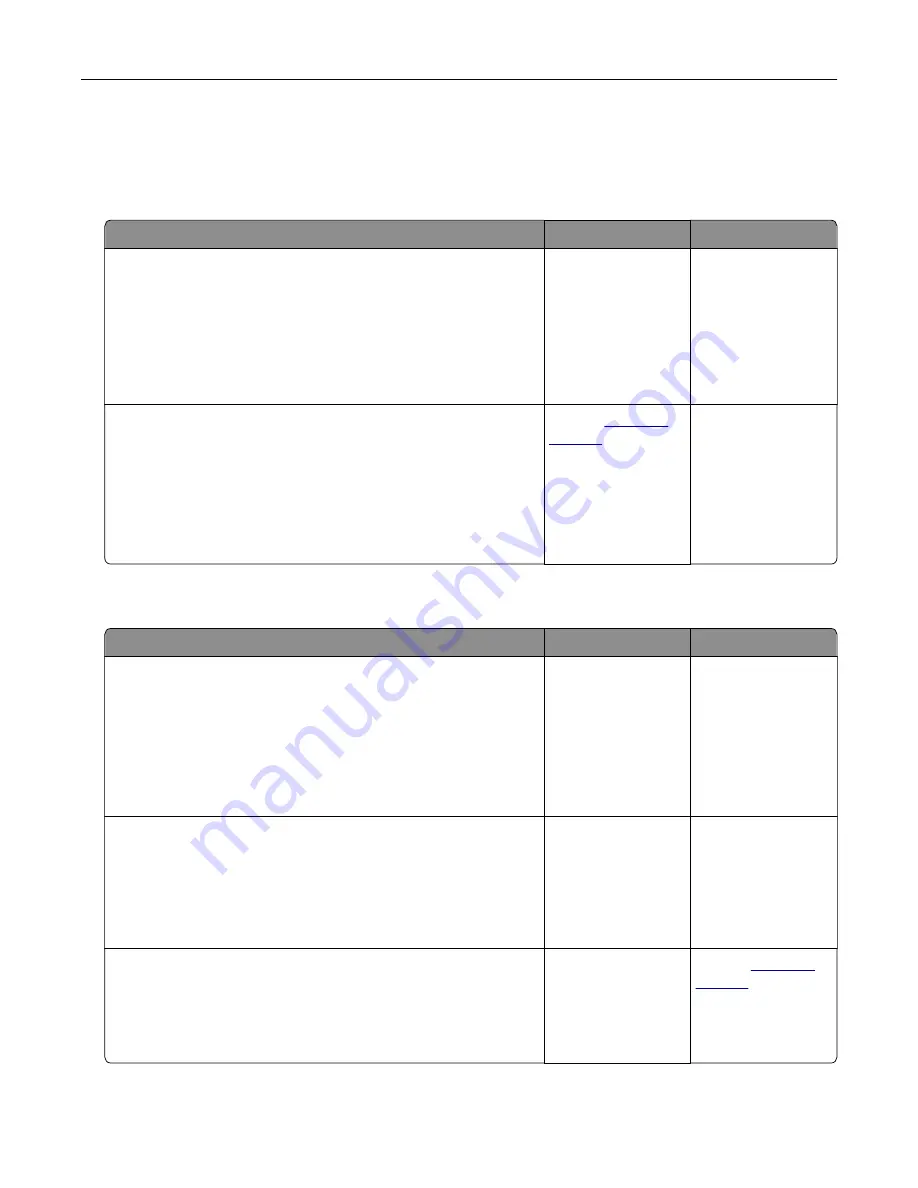
Paper feed problems
Envelope seals when printing
Action
Yes
No
Step 1
a
Use an envelope that has been stored in a dry environment.
Note:
Printing on envelopes with high moisture content can
seal the flaps.
b
Send the print job.
Does the envelope seal when printing?
Go to step 2.
The problem is
solved.
Step 2
a
Make sure that paper type is set to Envelope.
From the control panel, navigate to:
Settings
>
Paper
>
Tray Configuration
>
Paper Size/Type
b
Send the print job.
Does the envelope seal when printing?
Contact
The problem is
solved.
Collated printing does not work
Action
Yes
No
Step 1
a
From the control panel, navigate to:
Settings
>
>
Layout
>
Collate
b
Touch
On [1,2,1,2,1,2]
.
c
Print the document.
Is the document collated correctly?
The problem is
solved.
Go to step 2.
Step 2
a
From the document that you are trying to print, open the Print
dialog, and then select
Collate
.
b
Print the document.
Is the document collated correctly?
The problem is
solved.
Go to step 3.
Step 3
a
Reduce the number of pages to print.
b
Print the document.
Are the pages collated correctly?
The problem is
solved.
Contact
Troubleshooting
197
Содержание XC4140
Страница 60: ...5 Touch Scan Here If necessary change the scan settings 6 Scan the document Scanning 60 ...
Страница 154: ...4 Insert the new toner cartridge 5 Close door B Replacing the imaging unit 1 Open door B Maintaining the printer 154 ...
Страница 155: ...2 Remove the waste toner bottle 3 Remove the imaging kit Maintaining the printer 155 ...
Страница 157: ...8 Insert the black toner cartridge 9 Insert the imaging kit Maintaining the printer 157 ...
Страница 158: ...10 Insert the waste toner bottle 11 Close door B Replacing the imaging kit 1 Open door B Maintaining the printer 158 ...
Страница 159: ...2 Remove the waste toner bottle 3 Remove the imaging kit Maintaining the printer 159 ...
Страница 161: ...8 Insert the toner cartridges 9 Insert the new imaging kit Maintaining the printer 161 ...
Страница 173: ...4 Insert the new ADF separator roller until it clicks into place 5 Close door E Maintaining the printer 173 ...
Страница 187: ...2 Remove the jammed paper Note Make sure that all paper fragments are removed Clearing jams 187 ...
Страница 189: ...2 Open the duplex cover 3 Remove the jammed paper Note Make sure that all paper fragments are removed Clearing jams 189 ...
Страница 190: ...4 Close the duplex cover and door A Clearing jams 190 ...
Страница 236: ...4 Insert the memory card until it clicks into place Upgrading and migrating 236 ...
Страница 239: ...5 ISP extended cable 4 Install the ISP into its housing Upgrading and migrating 239 ...
Страница 240: ...5 Attach the housing to the controller board access cover Upgrading and migrating 240 ...
Страница 246: ...5 Open door B 6 Open door C Upgrading and migrating 246 ...


