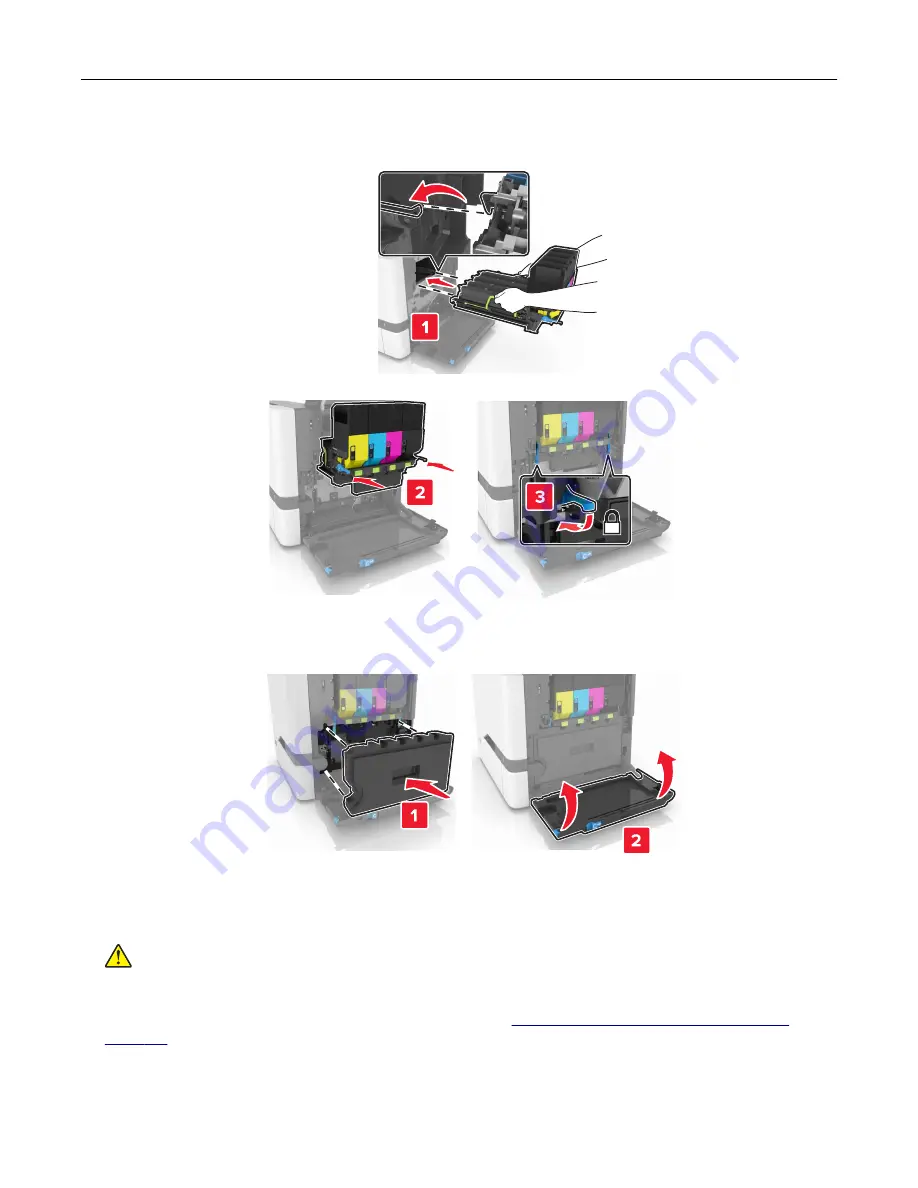
10
Insert the imaging kit.
11
Insert the waste toner bottle.
12
Close door B.
13
Connect the power cord to the electrical outlet, and then turn on the printer.
CAUTION—POTENTIAL INJURY:
To avoid the risk of fire or electrical shock, connect the power cord
to an appropriately rated and properly grounded electrical outlet that is near the product and easily
accessible.
14
Reset the maintenance counter. For more information, see
“Resetting the maintenance counter” on
Maintaining the printer
177
Содержание XC4140
Страница 60: ...5 Touch Scan Here If necessary change the scan settings 6 Scan the document Scanning 60 ...
Страница 154: ...4 Insert the new toner cartridge 5 Close door B Replacing the imaging unit 1 Open door B Maintaining the printer 154 ...
Страница 155: ...2 Remove the waste toner bottle 3 Remove the imaging kit Maintaining the printer 155 ...
Страница 157: ...8 Insert the black toner cartridge 9 Insert the imaging kit Maintaining the printer 157 ...
Страница 158: ...10 Insert the waste toner bottle 11 Close door B Replacing the imaging kit 1 Open door B Maintaining the printer 158 ...
Страница 159: ...2 Remove the waste toner bottle 3 Remove the imaging kit Maintaining the printer 159 ...
Страница 161: ...8 Insert the toner cartridges 9 Insert the new imaging kit Maintaining the printer 161 ...
Страница 173: ...4 Insert the new ADF separator roller until it clicks into place 5 Close door E Maintaining the printer 173 ...
Страница 187: ...2 Remove the jammed paper Note Make sure that all paper fragments are removed Clearing jams 187 ...
Страница 189: ...2 Open the duplex cover 3 Remove the jammed paper Note Make sure that all paper fragments are removed Clearing jams 189 ...
Страница 190: ...4 Close the duplex cover and door A Clearing jams 190 ...
Страница 236: ...4 Insert the memory card until it clicks into place Upgrading and migrating 236 ...
Страница 239: ...5 ISP extended cable 4 Install the ISP into its housing Upgrading and migrating 239 ...
Страница 240: ...5 Attach the housing to the controller board access cover Upgrading and migrating 240 ...
Страница 246: ...5 Open door B 6 Open door C Upgrading and migrating 246 ...


