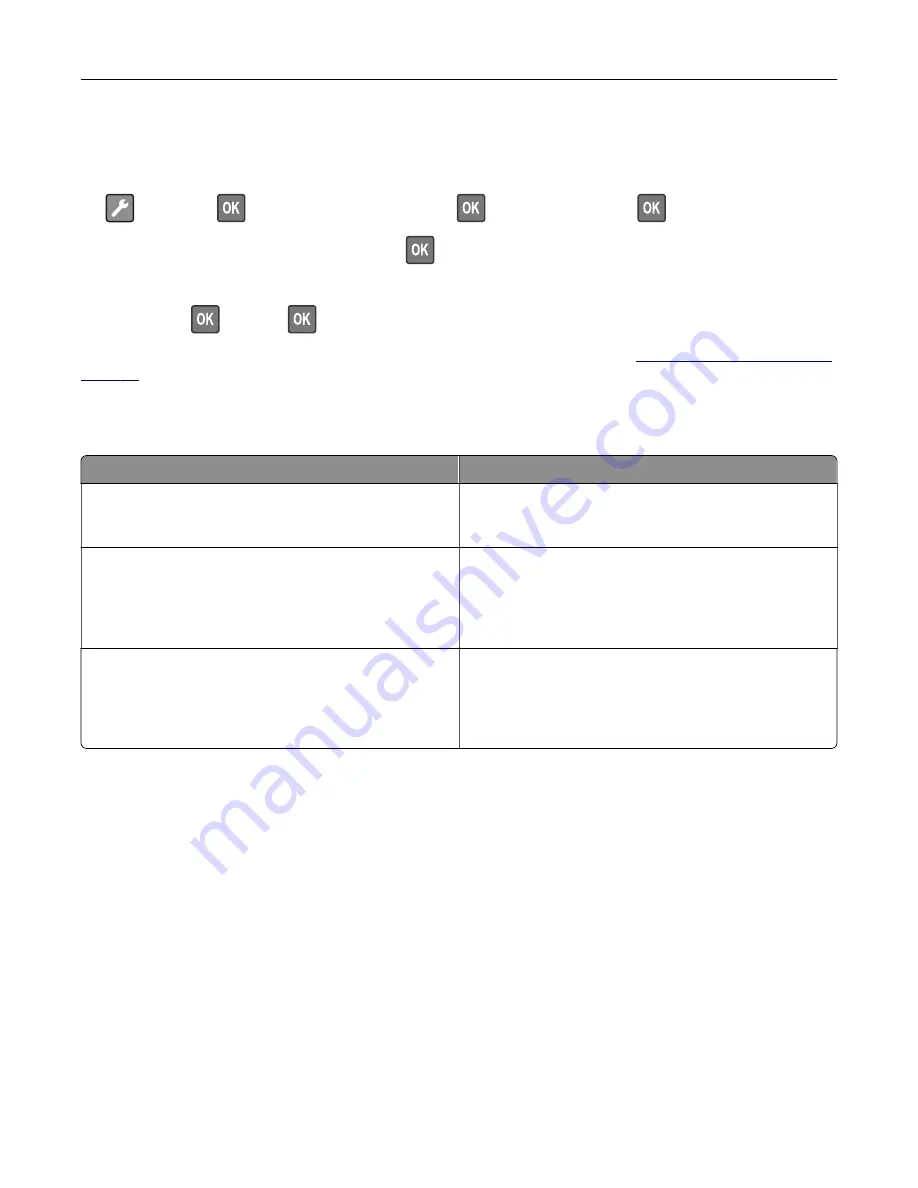
Restoring factory default settings
1
From the control panel, navigate to:
>
Device
>
>
Restore Factory Defaults
>
>
Restore Settings
>
2
Select
Restore all settings
, and then press
.
3
To start the process, navigate to:
RESTORE
>
>
Start
>
For a more comprehensive method of restoring the factory default settings, see
Statement of Volatility
Type of memory
Description
Volatile memory
The printer uses standard random access memory (RAM)
to buffer temporarily user data during simple print and
copy jobs.
Non-volatile memory
The printer may use two forms of non-volatile memory:
EEPROM and NAND (flash memory). Both types are used
to store the operating system, printer settings, network
information, scanner and bookmark settings, and
embedded solutions.
Hard disk memory
Some printers may have a hard disk drive installed. The
printer hard disk is designed for printer-specific
functionality. The hard disk lets the printer retain buffered
user data from complex print jobs, form data, and font
data.
Erase the content of any installed printer memory in the following circumstances:
•
The printer is decommissioned.
•
The printer hard disk is replaced.
•
The printer is moved to a different department or location.
•
The printer is serviced by someone from outside your organization.
•
The printer is removed from your premises for service.
•
The printer is sold to another organization.
Disposing of a printer hard disk
•
Degaussing
—Flushes the hard disk with a magnetic field that erases stored data
•
Crushing
—Physically compresses the hard disk to break component parts and render them unreadable
•
Milling
—Physically shreds the hard disk into small metal bits
Note:
To guarantee that all data are completely erased, destroy physically each hard disk where data is
stored.
Securing the printer
54
Содержание M1242
Страница 4: ...Software 123 Firmware 124 Notices 126 Index 137 Contents 4 ...
Страница 65: ...4 Remove the used pick tires one after the other 5 Unpack the new pick tires Maintaining the printer 65 ...
Страница 67: ...4 Remove the tray insert and then flip the tray base Maintaining the printer 67 ...
Страница 68: ...5 Remove the used pick roller assembly 6 Unpack the new pick roller assembly Maintaining the printer 68 ...
Страница 76: ...Paper jam in door A 1 Remove the tray 2 Open door A 3 Remove the toner cartridge Clearing jams 76 ...


