


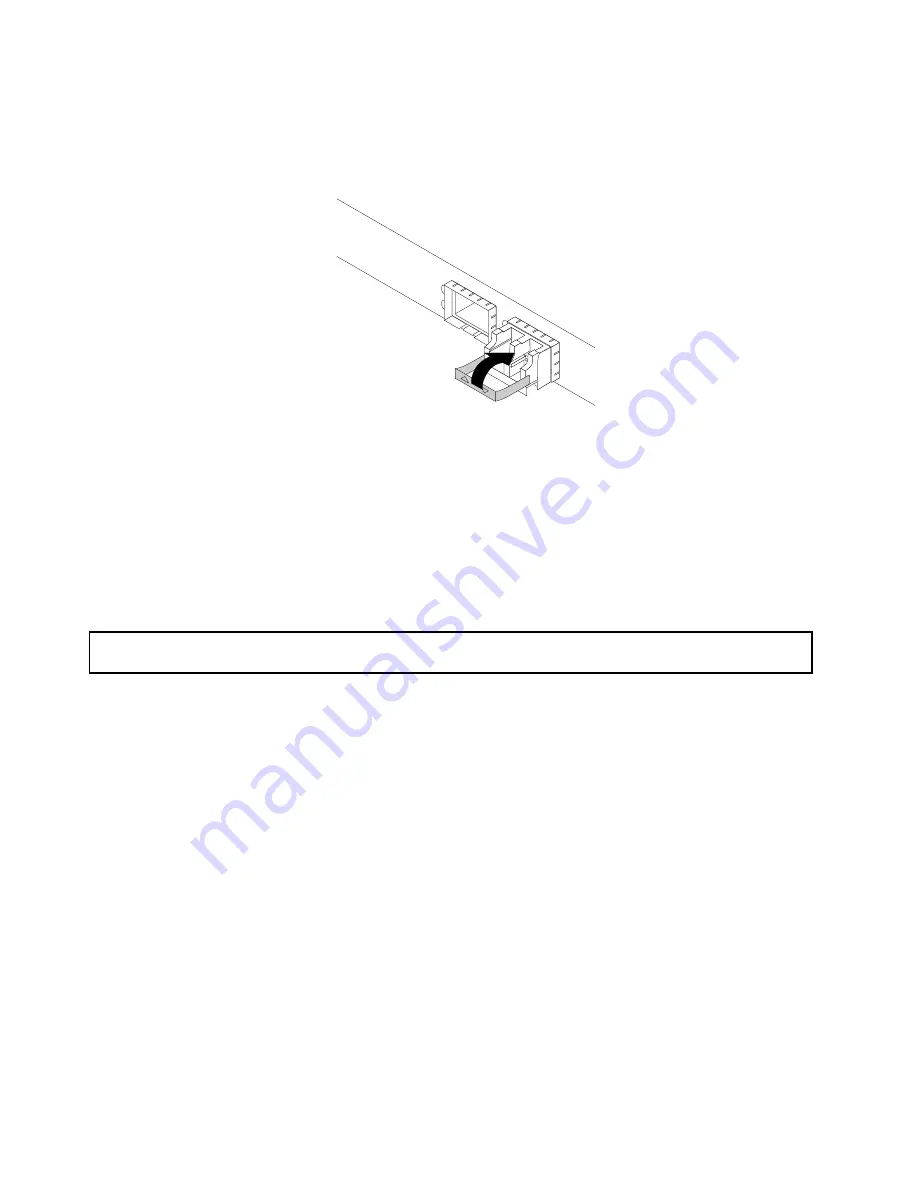
4. Pivot the optical module handle to the closed position to secure the optical module in place.
Figure 49. Pivoting the optical module handle to the closed position
What to do next:
• To work with another piece of hardware, go to the appropriate section.
• To complete the installation, go to “Completing the parts replacement” on page 131.
Removing the optical module
Attention:
Do not open your server or attempt any repair before reading and understanding “Safety information”
on page iii and “Guidelines” on page 53.
Before you begin, print all the related instructions or ensure that you can view the PDF version on another
computer for reference.
Note:
The optical module and the PCIe card might look different from the illustration in this topic.
To remove the optical module, do the following:
1. Locate the optical module at the rear of your server.
86
ThinkServer RD350 User Guide and Hardware Maintenance Manual
Содержание ThinkServer RD350
Страница 1: ...ThinkServer RD350 User Guide and Hardware Maintenance Manual Machine Types 70D6 70D7 70D8 and 70D9 ...
Страница 14: ...xii ThinkServer RD350 User Guide and Hardware Maintenance Manual ...
Страница 18: ...4 ThinkServer RD350 User Guide and Hardware Maintenance Manual ...
Страница 20: ...6 ThinkServer RD350 User Guide and Hardware Maintenance Manual ...
Страница 52: ...38 ThinkServer RD350 User Guide and Hardware Maintenance Manual ...
Страница 66: ...52 ThinkServer RD350 User Guide and Hardware Maintenance Manual ...
Страница 148: ...134 ThinkServer RD350 User Guide and Hardware Maintenance Manual ...
Страница 158: ...144 ThinkServer RD350 User Guide and Hardware Maintenance Manual ...
Страница 169: ... Low power memory states Appendix A Notices 155 ...
Страница 170: ...156 ThinkServer RD350 User Guide and Hardware Maintenance Manual ...
Страница 175: ......
Страница 176: ......


