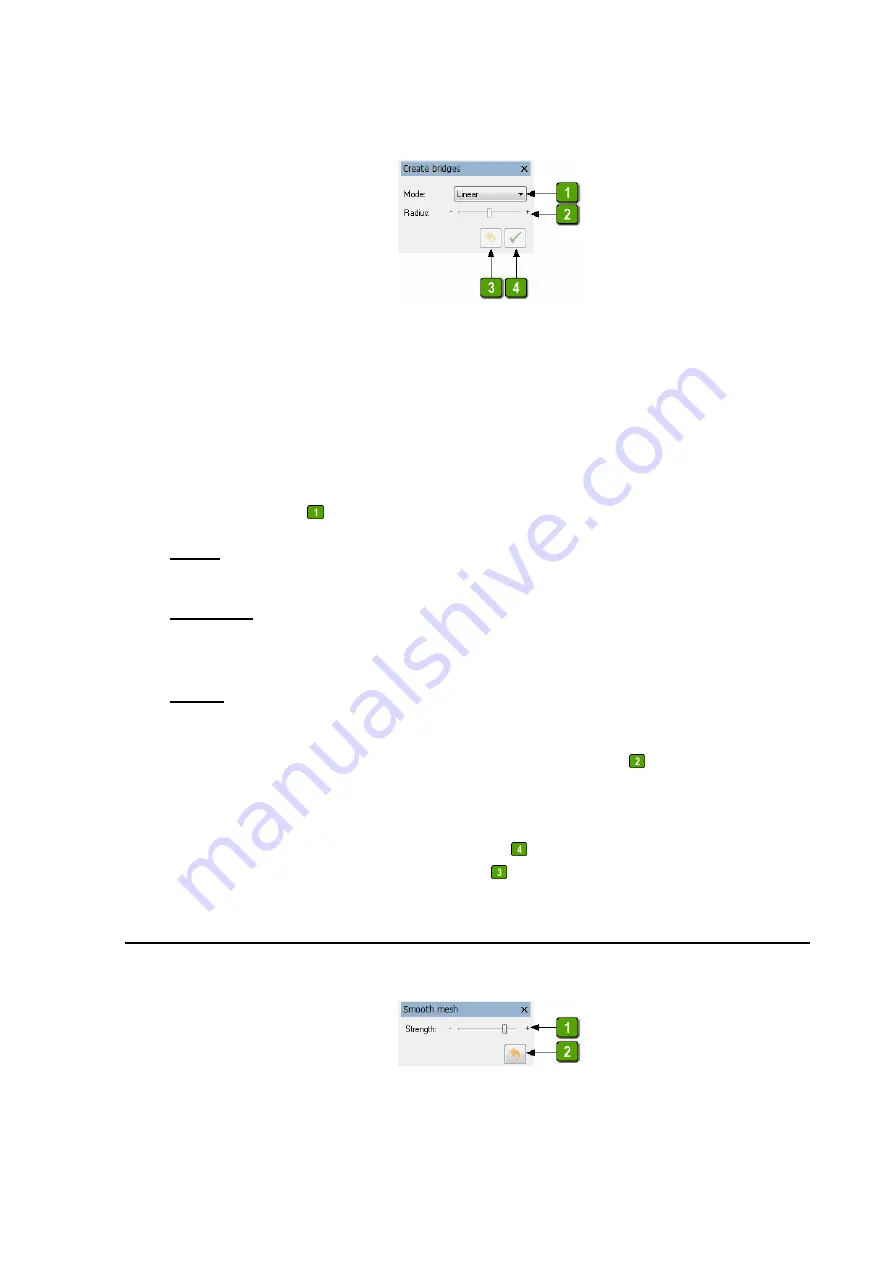
Move the mouse over the triangle mesh area you want to edit. If view mode is currently active,
change to tool mode by pressing <Space Bar> in the 3D viewer.
To create bridges, move the mouse over the area to be edited until the area is highlighted in
yellow. Click on it with the left mouse button to define the start edge for the bridge. Then
select the end edge with the left mouse button. A preview bridge with the currently selected
parameters is displayed between the two selected edges.
In the
Mode
list box
, you can choose between the following bridge modes:
Linear
This mode creates a linear data bridge as the shortest connection between the selected edges.
Tangential
This mode creates a data bridge between the selected edges, taking the surface orientation of
the adjacent triangles into account.
Corner
This mode creates two linear data bridges, one from each selected edge. The surface
orientation of the adjacent triangles is taken into account. The edge that is formed where the
two linear bridges meet can then be rounded with the
Radius
slider
.
The selected mode can be changed even after you have selected the start and end edges. This
way you can visually adjust the generated bridge to the surrounding area.
To accept the generated bridge, press the
Apply
button or right-click in the 3D viewer. If
you are not satisfied with the result, click
Undo
to undo the last action or actions you made.
8.8 Smoothing (Triangle Mesh)
With this tool, you can interactively smooth areas in a triangle mesh. This functionality is
available if a single triangle mesh is loaded. The following toolbox appears:


