SoundAdvisor Model 831C
Setting Up the Event History Measurement
17-2
TAKE NOTE
The G4 LD Utility also provides a simple, file transfer-style interface for
configuring, saving, and transferring Setup files to your PC or to another
meter. For more information, refer to the
G4 LD Utility Manual
.
Step 2
Highlight the name of the Setup you want to configure with Event History.
TAKE NOTE
If you’re using
Continuous
Run Mode with Event History, see
to predict how events will be logged when they persist from one
Auto-Store
Period
into the next.
Step 3
Press the top-left softkey (
*//
) until the
Event Triggers
tab displays.
Step 4
If needed, edit the
Trigger Source
, and
Trigger Level
values.
Using Running Le as a Trigger Source
Using this setting, if the L
eq
for the most recent period is greater than
the set
Trigger Level
, the meter creates an event.
a.
Select
Running Le
from one of the
Trigger Source
drop-
downs, and enter a
Trigger Level
in dB.
b.
Use the top softkeys (
*/*
) to navigate to the SLM Tab of the
Setup Manager.
c.
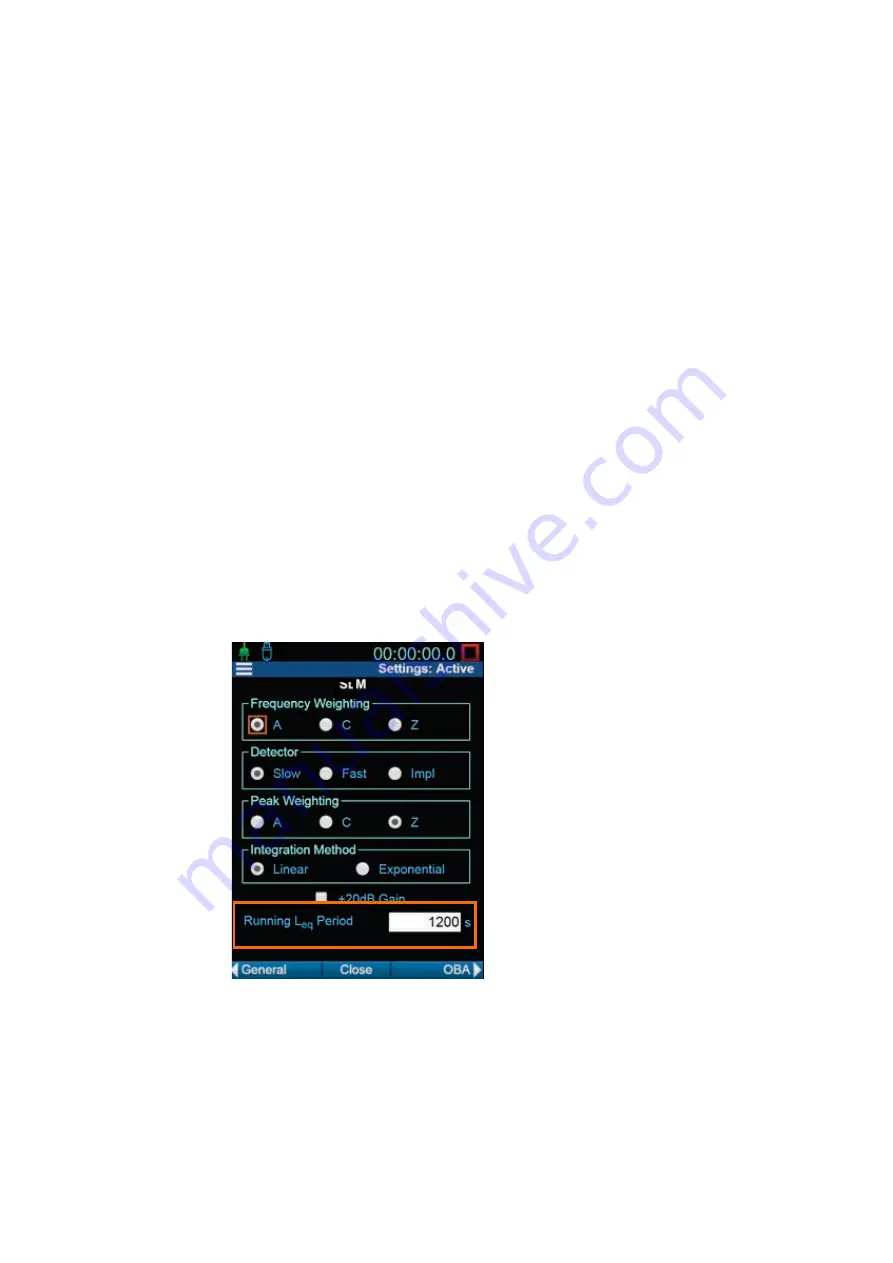
Enter a
Running Le
period in seconds. Enter whole numbers
1–3600 (1 hour).
FIGURE 17-2
Setup Manager: SLM Tab
Step 5
Press the top-left softkey (
*//
) to navigate to the
Event History
tab.
Step 6
Select the checkbox in-line with Event History, and enter values for the
Min/Cont Duration
.
About the Minimum Duration
: To prevent many small events of short
duration, you can select a
Minimum Duration
. This is the length of
In this example, the period is the Leq of
the last 1200 seconds of the
measurement run time.


