Configuration
1-103
Resource Protection
When you switch from the PCL 6 emulation to another, all downloaded
fonts and macros are lost. Resource protection preserves these PCL
resources in memory so that they are intact when you change the
emulation back to PCL 6.
Resource protection requires extra memory to store the downloaded
fonts and macros. The total size of the printer memory recommended for
using the resource protection option is affected by several factors. See
Appendix B
.
1
Press the
MENU
key.
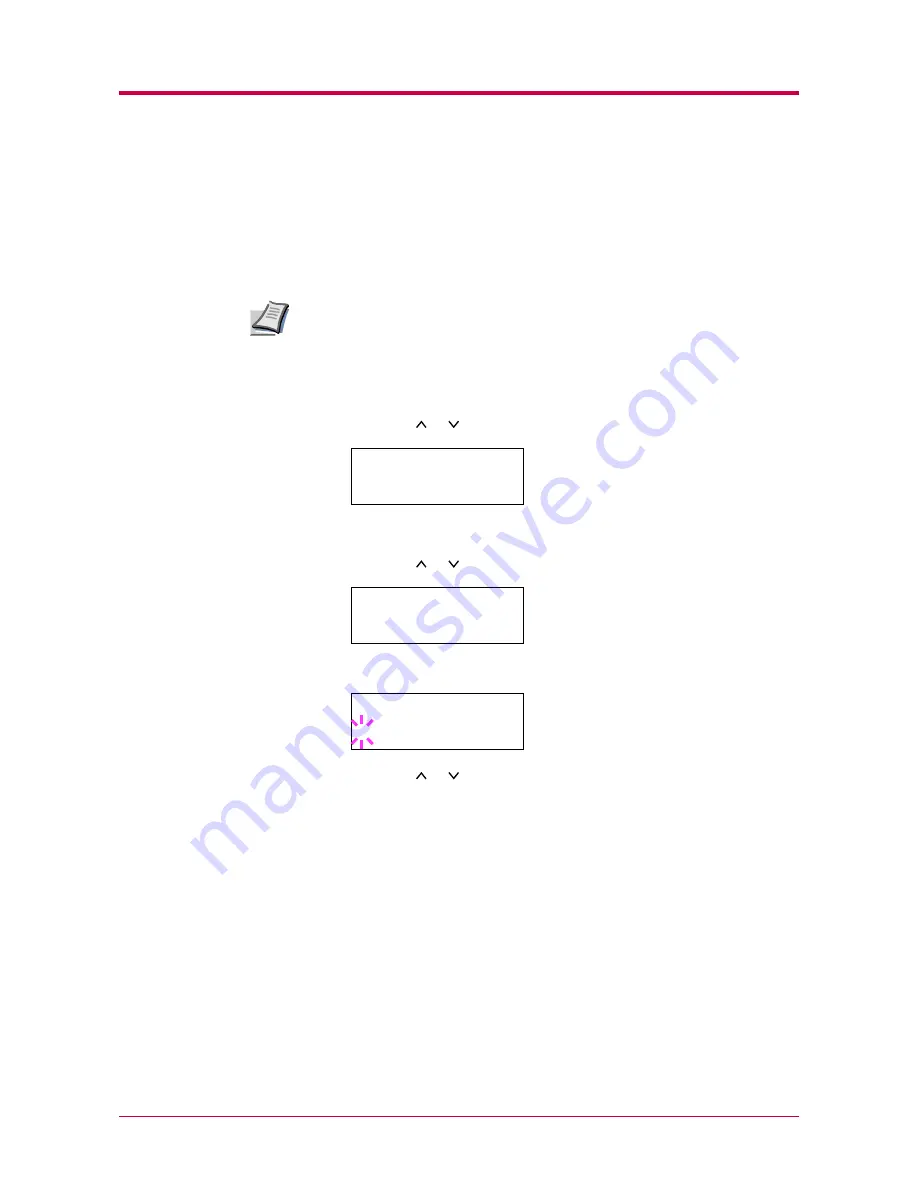
2
Press the or key repeatedly until
Others >
appears.
3
Press the
>
key.
4
Press the or key repeatedly until
>Resource Prot.
appears.
5
Press the
ENTER
key. A blinking question mark (
?
) appears.
6
Press the or key to display the desired mode. The display
changes as shown below.
Off
(default)
Permanent
Perm / Temp
7
When the desired mode is displayed, press the
ENTER
key.
8
Press the
MENU
key. The message display returns to
Ready
.
Note
Others >
>Resource Prot.
Off
>Resource Prot.
? Off
Содержание 1900N - B/W Laser Printer
Страница 1: ...FS 1900 Page Printer Operation Guide Table of Contents...
Страница 27: ...Printing Test Pages 1 13 MENU MAP FS 1900 Page Printer Sample MENU MAP...
Страница 36: ...Printing Test Pages 1 22 Font Lists...
Страница 121: ...2 1 Chapter 2 Paper Selection 2 This chapter explains the following topics General Guidelines Special Paper Paper Type...
Страница 163: ...Correcting a Paper Jam 4 19 3 Close the rear cover of the option sorter Close rear cover HELP END Press Key...
Страница 168: ...A 4 Font number Font samples 68 69 70 71 72 73 74 75 76 77 78 79 80...
Страница 169: ...A 5 KPDL Fonts 1...
Страница 170: ...A 6 KPDL Fonts 2...
Страница 214: ...D 1 Appendix D Specifications D...
Страница 217: ...Glossary 1 Glossary D...
Страница 220: ...Index 1 Index...
Страница 223: ...2002 2EC...
Страница 224: ...Printer Driver Guide Printer Driver Guide FS 1800 for FS 1900...
Страница 286: ...2002 2EC...