2
Basic Functions
20
QuickGene-Auto240L Operation Manual
2
No.
Screen
Description
16
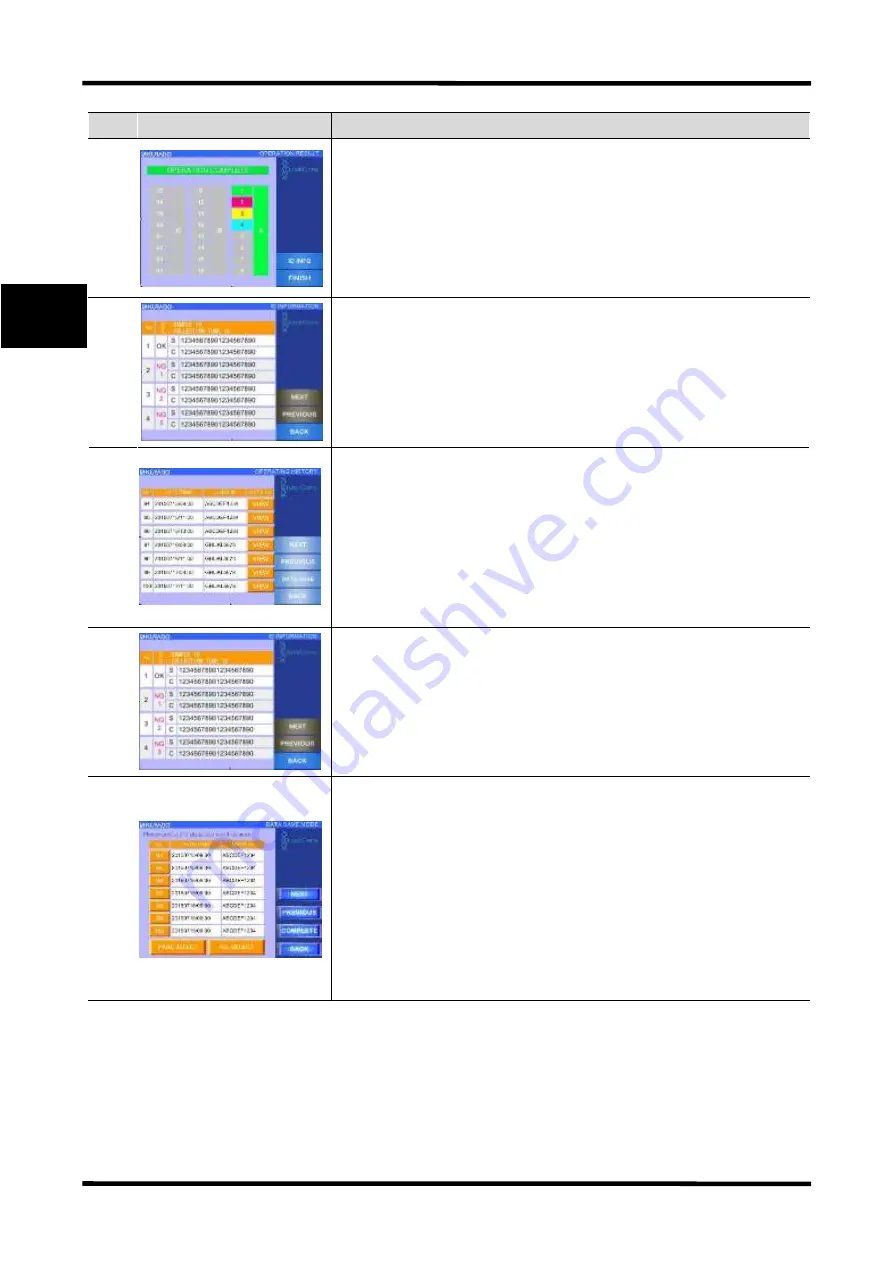
■ Processing Result Confirmation Screen
A screen displayed when the automatic operation is complete.
The background color for sample
number indicates the operation result: green for normal completion, red (NG1) for chip
clogging at sample suction, yellow (NG2) for pressure leakage of cartridge, blue (NG3) for
clogged cartridge.
NG 1 to 3 become improper isolation. In addition, gray for unset samples.
Press [ID INFO] to move on to the operation ID information screen (only when the sample ID
reading function is ON).
After completion of ID confirmation, press [FINISH].
17
■ Operation ID Information Screen
A screen for confirmation of sample ID information for which an isolating operation has been
conducted. The "Sample No.", "Isolation Result", "Sample ID information (S)" and "Collection
ID Information (C)" are displayed at the left side of the screen. Press [NEXT] to move on to the
next item; press [PREVIOUS] to return to the previous item. Press [BACK] to go back to the
operation result confirmation screen.
18
■ Operating History Screen
A screen for confirmation of operation history, displayed after pressing the [OPERATING
HISTORY] button in the mode select screen. "Operation Management No.” (numbers allocated
to the past 100 operating records), "Operation Date and Time", "User ID of operator" and
"Display of Details (VIEW)” buttons are displayed at the left side of the screen. Press [VIEW]
to move on to the history ID information screen. Press [NEXT] to move on to the next item,
press [PREVIOUS] to go back to the previous item. Press [DATA SAVE] to move on to the
operating history save screen. Press [BACK] for returning to the mode select screen.
19
■ History ID Information Screen
A screen for confirmation of ID information is displayed after pressing [VIEW] on the
operating history screen. "Sample No.", "Isolation Result", "Sample ID Information (S)" and
"Collection ID information (C)" are displayed at the left side of screen. Press [NEXT] to move
on to the next item, and press [PREVIOUS] to go back to the previous item. Press [BACK] to
return to the operating history screen.
20
■ Operating History Save Screen
A screen for saving operating history data is displayed after pressing [DATA SAVE] on the
operating history screen. "Operation Management No.” (numbers allocated to the past 100
operating records), "Operation Date and Time" and "User ID of Operator" are displayed at the
left side of the screen. Select the management number of an operating history to be saved using
the combination of operation management number [No.] button, page selection [PAGE
SELECT] button and select all [ALL SELECT] button. Press [NEXT] to move on to the next
item; press [PREVIOUS] to go back to the previous item. Press [COMPLETE] while selecting
data to save, and then the data can be saved in an external memory after a confirmation
message. Press [BACK] to return to the operating history screen.
Содержание QuickGene-Auto240L
Страница 1: ...Automated Nucleic Acid Isolation System QuickGene Auto240L Ver 1 0 1 Operation Manual ...
Страница 2: ......
Страница 14: ...xii QuickGene Auto240L Operation Manual ...
Страница 44: ...2 Basic Functions 30 QuickGene Auto240L Operation Manual 2 ...
Страница 78: ...3 Operation Method Full Auto Protocol 64 QuickGene Auto240L Operation Manual 3 ...


