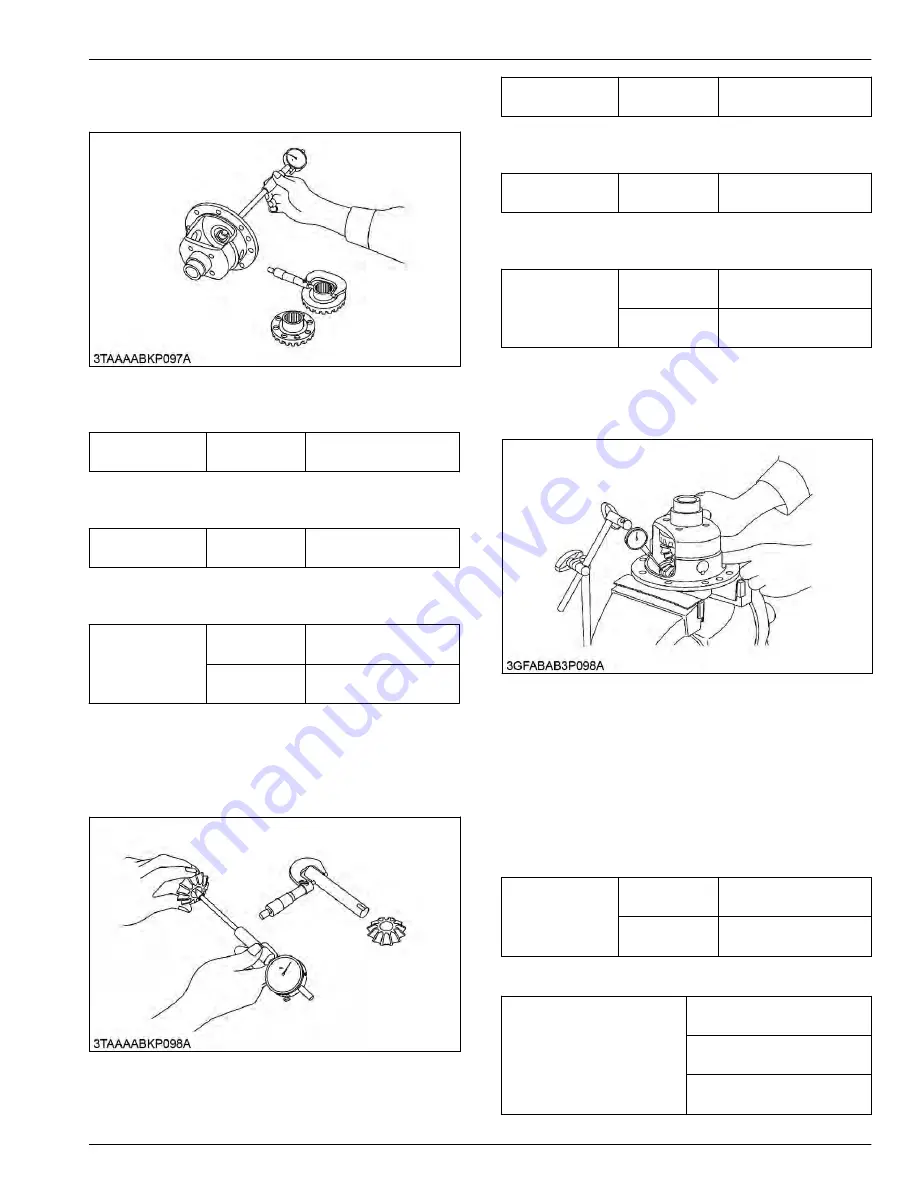
6.2.8 Checking clearance between
differential case and differential side gear
1. Measure the differential side gear boss O.D. with an
outside micrometer.
Differential side
gear O.D.
Factory specifi-
cation
37.911 to 37.950 mm
1.4926 to 1.4940 in.
2. Measure the differential case I.D. with a cylinder
gauge and calculate the clearance.
Differential case
I.D.
Factory specifi-
cation
38.000 to 38.062 mm
1.4961 to 1.4985 in.
3. If the clearance exceeds the allowable limit, replace
damaged parts.
Clearance be-
tween differential
case and differen-
tial side gear
Factory specifi-
cation
0.0500 to 0.151 mm
0.00197 to 0.00594 in.
Allowable limit
0.30 mm
0.012 in.
6.2.9 Checking clearance between
differential pinion shaft and differential
pinion
1. Measure the differential pinion shaft O.D. with an
outside micrometer.
Differential pinion
shaft O.D.
Factory specifi-
cation
19.959 to 19.980 mm
0.78579 to 0.78661 in.
2. Measure the differential pinion I.D. with a cylinder
gauge, and calculate the clearance.
Differential pinion
I.D.
Factory specifi-
cation
20.060 to 20.081 mm
0.78977 to 0.79059 in.
3. If the clearance exceeds the allowable limit, replace
damaged parts.
Clearance be-
tween differential
pinion shaft and
differential pinion
Factory specifi-
cation
0.0800 to 0.122 mm
0.00315 to 0.00480 in.
Allowable limit
0.30 mm
0.012 in.
6.2.10 Checking backlash between
differential pinion and differential side gear
1. Secure the differential case with a vise.
2. Set the dial indicator (lever type) with its finger on
the tooth of the differential side gear.
3. Press differential pinion and side gear against the
differential case.
4. Hold the differential pinion and move the differential
side gear to measure the backlash.
5. If the backlash exceeds the allowable limit, adjust it
with differential side gear shims.
Backlash between
differential pinion
and differential
side gear
Factory specifi-
cation
0.15 to 0.30 mm
0.0059 to 0.011 in.
Allowable limit
0.40 mm
0.016 in.
(Reference)
Thickness of shims
1.5 mm
0.059 in.
1.6 mm
0.063 in.
1.7 mm
0.067 in.
SERVICING
6. Servicing
4. TRANSAXLE
BX1880,BX2380,BX2680,RCK60B-23BX,RCK54-23BX,RCK48-18BX,RCK60D-26BX,RCK54D-26BX
4-61
KiSC issued 03, 2019 A
Содержание ,RCK60B-23BX
Страница 19: ...1 INFORMATION KiSC issued 03 2019 A ...
Страница 42: ...2 GENERAL KiSC issued 03 2019 A ...
Страница 111: ...3 ENGINE KiSC issued 03 2019 A ...
Страница 190: ...4 TRANSAXLE KiSC issued 03 2019 A ...
Страница 255: ...5 FRONT AXLE KiSC issued 03 2019 A ...
Страница 274: ...6 STEERING KiSC issued 03 2019 A ...
Страница 291: ...7 HYDRAULIC SYSTEM KiSC issued 03 2019 A ...
Страница 344: ...8 ELECTRICAL SYSTEM KiSC issued 03 2019 A ...
Страница 399: ...9 MOWER KiSC issued 03 2019 A ...


