


2
Getting to Know Your System
2-48
Di5510/Di7210
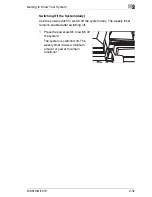
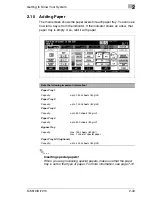
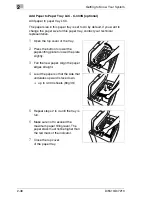
Add Paper to Paper Tray LCC - C-403N (optional)
Add paper to paper tray LCC.
The paper size in this paper tray is set to A4 by default. If you want to
change the paper size for this paper tray, contact your technical
representative.
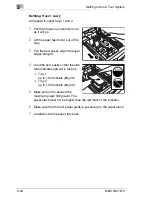
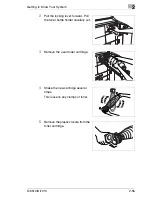
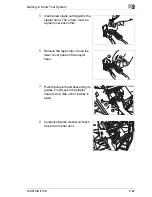
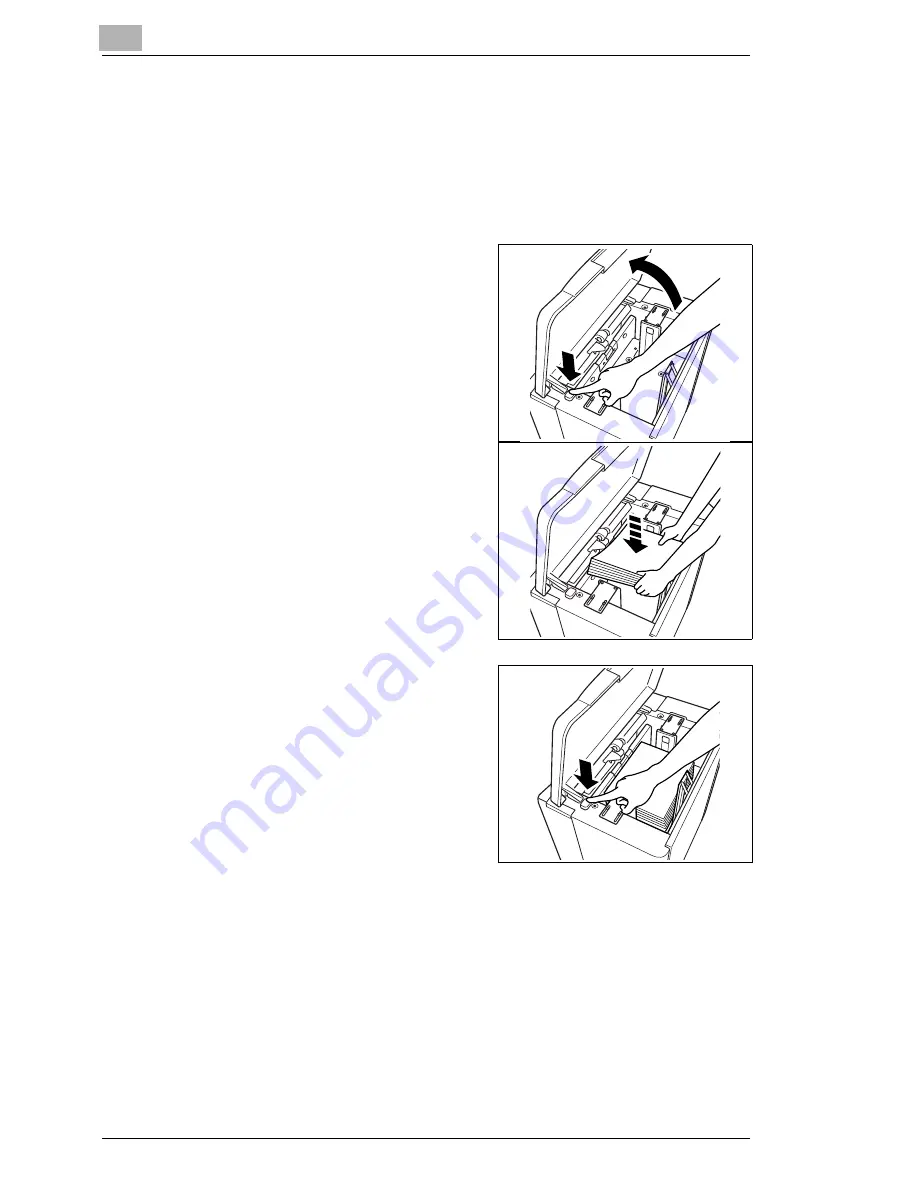
1
Open the top cover of the tray.
2
Press the button to lower the
paper-lifting plate to lower the plate
slightly.
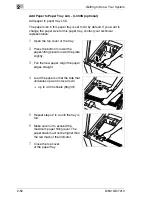
3
Fan the new paper. Align the paper
edges straight.
4
Load the paper so that the side that
undulates upward is face down.
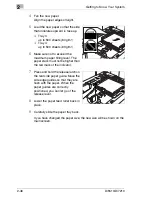
H
up to 4,000 sheets (80 g/m²)
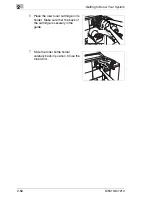
5
Repeat steps 2 to 4 until the tray is
full.
6
Make sure not to exceed the
maximum paper filling level. The
paper stack must not be higher than
the red mark of the indicator.
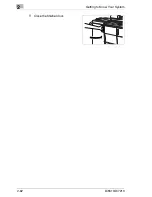
7
Close the top cover
of the paper tray.
Содержание Di5510
Страница 1: ...Di5510 Di7210 Advanced Information...
Страница 2: ......
Страница 28: ...1 Introduction 1 16 Di5510 Di7210...
Страница 90: ...2 Getting to Know Your System 2 62 Di5510 Di7210 9 Close the finisher door...
Страница 96: ...2 Getting to Know Your System 2 68 Di5510 Di7210...
Страница 148: ...3 Initial Steps 3 52 Di5510 Di7210...
Страница 236: ...4 Basic Functions 4 88 Di5510 Di7210...
Страница 346: ...6 Network functions 6 48 Di5510 Di7210 4 Click Back to return to the Scan Transmission Setting window...
Страница 352: ...6 Network functions 6 54 Di5510 Di7210 3 Configure settings as required...
Страница 387: ...Settings in Key Operator Mode 7 Di5510 Di7210 7 17 7 Press the Return key The key operator mode menu is displayed again...
Страница 427: ...Settings in Key Operator Mode 7 Di5510 Di7210 7 57 7 Press the Return key The key operator mode menu is displayed again...
Страница 434: ...7 Settings in Key Operator Mode 7 64 Di5510 Di7210 8 Press the Return key The key operator mode menu is displayed again...
Страница 455: ...Troubleshooting 8 Di5510 Di7210 8 13 5 Close the finisher door...
Страница 457: ...Troubleshooting 8 Di5510 Di7210 8 15 5 Close the finisher door...
Страница 458: ...8 Troubleshooting 8 16 Di5510 Di7210...


