


3
Initial Steps . . .
3-6
Di5510/Di7210
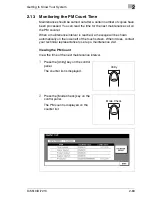
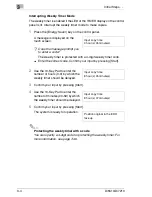
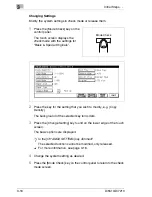
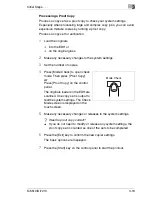
Entering the E.K.C. Password
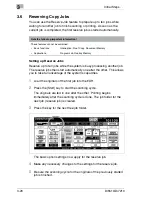
The system provides the ability to count copies and assign copy limits with
the aid of passwords. Use key operator mode to set up the passwords and
copy limits. For more information, see page 7-38.
If the plug-in counter (E.K.C.) is enabled, you cannot make copies until the
system is unlocked using an E.K.C. password.
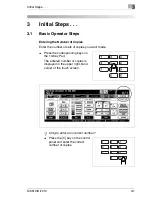
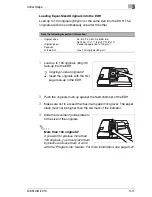
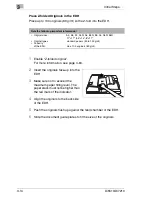
To unlock the system, enter an E.K.C. password.
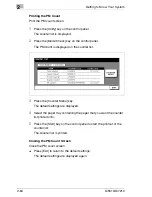
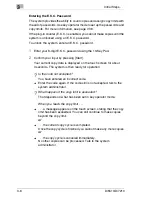
1
Enter your 8-digit E.K.C. password using the 10-Key Pad.
2
Confirm your input by pressing [Start].
Your current copy data is displayed on the touch screen for about
3 seconds. The system is then ready for operation.
?
Is the code not accepted?
You have entered an incorrect code.
§
Enter the code again. If the code still is not accepted, talk to the
system administrator.
?
What happens if the copy limit is exceeded?
That depends on what has been set in key operator mode.
When you reach the copy limit . . .
§
. . . a message appears on the touch screen, stating that the copy
limit has been exceeded. You can still continue to make copies
beyond the copy limit.
or
§
. . . the current copy cycle is completed.
Once the copy cycle is finished you cannot make any more copies.
or
§
. . . the copy cycle is canceled immediately.
No other copies can be processed. Talk to the system
administrator.
Содержание Di5510
Страница 1: ...Di5510 Di7210 Advanced Information...
Страница 2: ......
Страница 28: ...1 Introduction 1 16 Di5510 Di7210...
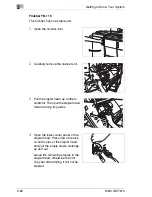
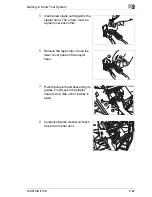
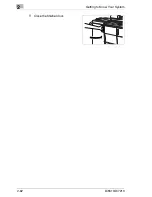
Страница 90: ...2 Getting to Know Your System 2 62 Di5510 Di7210 9 Close the finisher door...
Страница 96: ...2 Getting to Know Your System 2 68 Di5510 Di7210...
Страница 148: ...3 Initial Steps 3 52 Di5510 Di7210...
Страница 236: ...4 Basic Functions 4 88 Di5510 Di7210...
Страница 346: ...6 Network functions 6 48 Di5510 Di7210 4 Click Back to return to the Scan Transmission Setting window...
Страница 352: ...6 Network functions 6 54 Di5510 Di7210 3 Configure settings as required...
Страница 387: ...Settings in Key Operator Mode 7 Di5510 Di7210 7 17 7 Press the Return key The key operator mode menu is displayed again...
Страница 427: ...Settings in Key Operator Mode 7 Di5510 Di7210 7 57 7 Press the Return key The key operator mode menu is displayed again...
Страница 434: ...7 Settings in Key Operator Mode 7 64 Di5510 Di7210 8 Press the Return key The key operator mode menu is displayed again...
Страница 455: ...Troubleshooting 8 Di5510 Di7210 8 13 5 Close the finisher door...
Страница 457: ...Troubleshooting 8 Di5510 Di7210 8 15 5 Close the finisher door...
Страница 458: ...8 Troubleshooting 8 16 Di5510 Di7210...


