


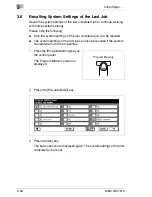
3
Initial Steps . . .
3-20
Di5510/Di7210
3.6
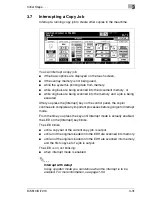
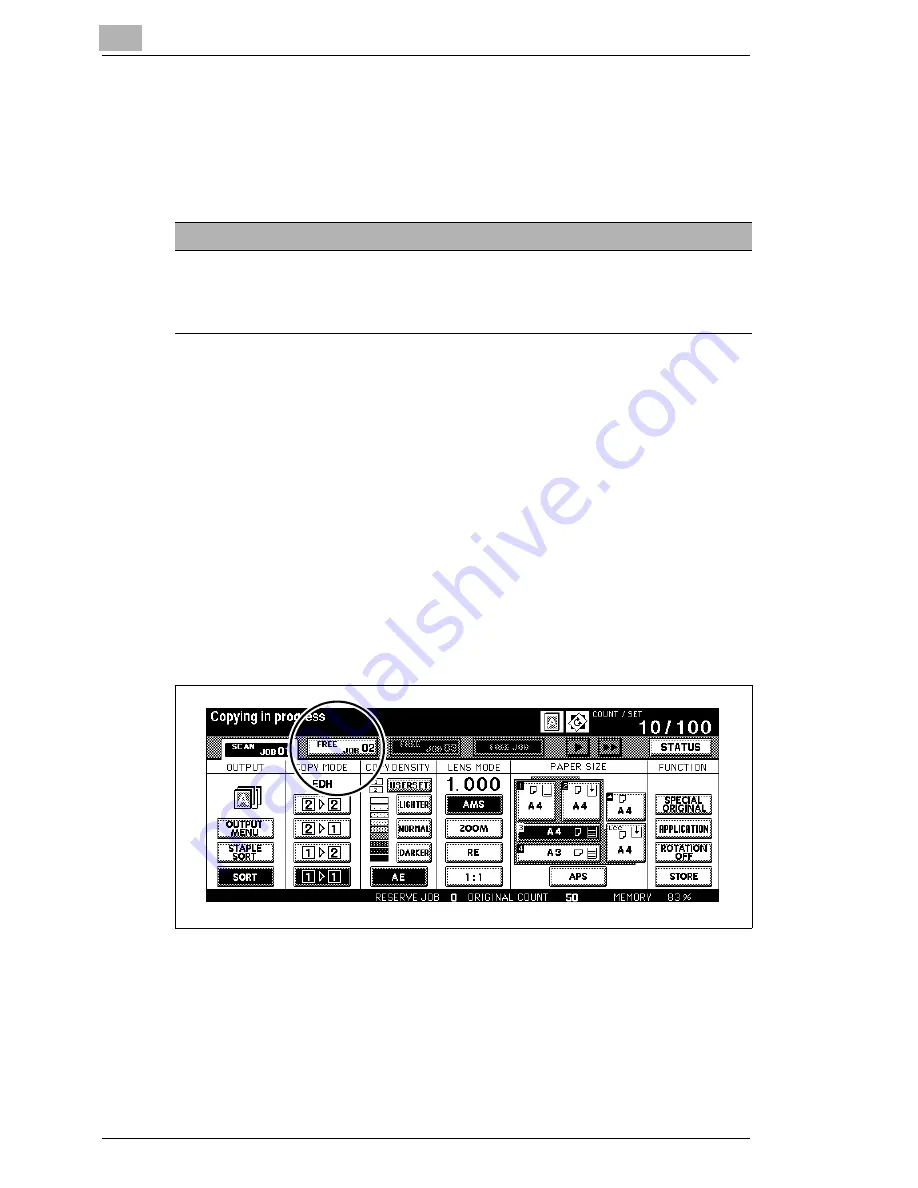
Reserving Copy Jobs
You can use the Reserve Job feature to prepare up to ten jobs while
waiting for another job to finish scanning or printing. As soon as the
current job is completed, the first reserve job is started automatically.
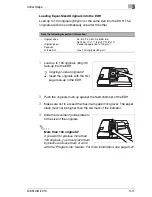
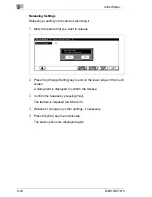
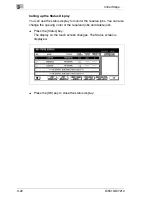
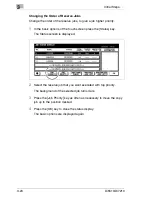
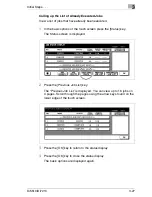
Setting up Reserve Jobs
Reserve up to ten jobs while the system is busy processing another job.
The reserve jobs then start automatically one after the other. This allows
you to take full advantage of the system's capacities.
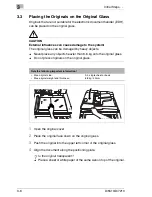
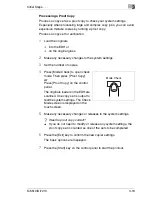
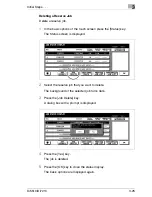
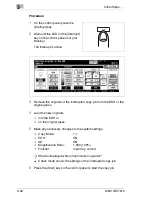
1
Load the originals of the first job into the EDH.
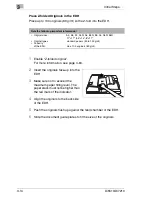
2
Press the [Start] key to start the scanning cycle.
The originals are fed in one after the other. Printing begins
immediately after the scanning cycle is done. The job folder for the
next job (reserve job) is cleared.
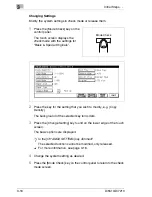
3
Press the key for the next free job folder.
The basic option settings now apply for the reserve job.
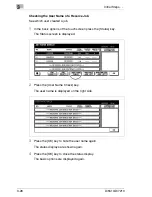
4
Make any necessary changes to the settings for the reserve job.
5
Be sure the scanning cycle for the originals of the previously started
job is finished.
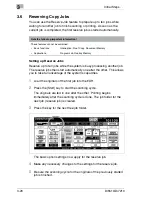
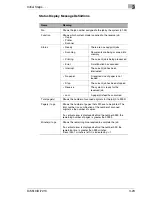
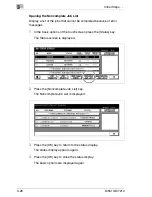
Note the following important information!
These features cannot be combined:
• Basic functions:
Interruption, Proof Copy, Document Memory
• Applications:
Program Job, Overlay Memory
Содержание Di5510
Страница 1: ...Di5510 Di7210 Advanced Information...
Страница 2: ......
Страница 28: ...1 Introduction 1 16 Di5510 Di7210...
Страница 90: ...2 Getting to Know Your System 2 62 Di5510 Di7210 9 Close the finisher door...
Страница 96: ...2 Getting to Know Your System 2 68 Di5510 Di7210...
Страница 148: ...3 Initial Steps 3 52 Di5510 Di7210...
Страница 236: ...4 Basic Functions 4 88 Di5510 Di7210...
Страница 346: ...6 Network functions 6 48 Di5510 Di7210 4 Click Back to return to the Scan Transmission Setting window...
Страница 352: ...6 Network functions 6 54 Di5510 Di7210 3 Configure settings as required...
Страница 387: ...Settings in Key Operator Mode 7 Di5510 Di7210 7 17 7 Press the Return key The key operator mode menu is displayed again...
Страница 427: ...Settings in Key Operator Mode 7 Di5510 Di7210 7 57 7 Press the Return key The key operator mode menu is displayed again...
Страница 434: ...7 Settings in Key Operator Mode 7 64 Di5510 Di7210 8 Press the Return key The key operator mode menu is displayed again...
Страница 455: ...Troubleshooting 8 Di5510 Di7210 8 13 5 Close the finisher door...
Страница 457: ...Troubleshooting 8 Di5510 Di7210 8 15 5 Close the finisher door...
Страница 458: ...8 Troubleshooting 8 16 Di5510 Di7210...


