


7
Settings in Key Operator Mode
7-18
Di5510/Di7210
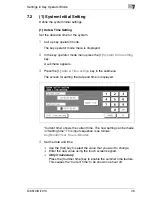
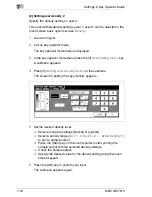
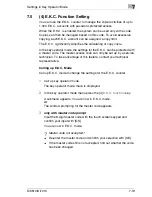
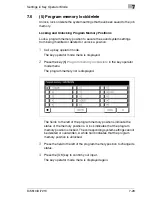
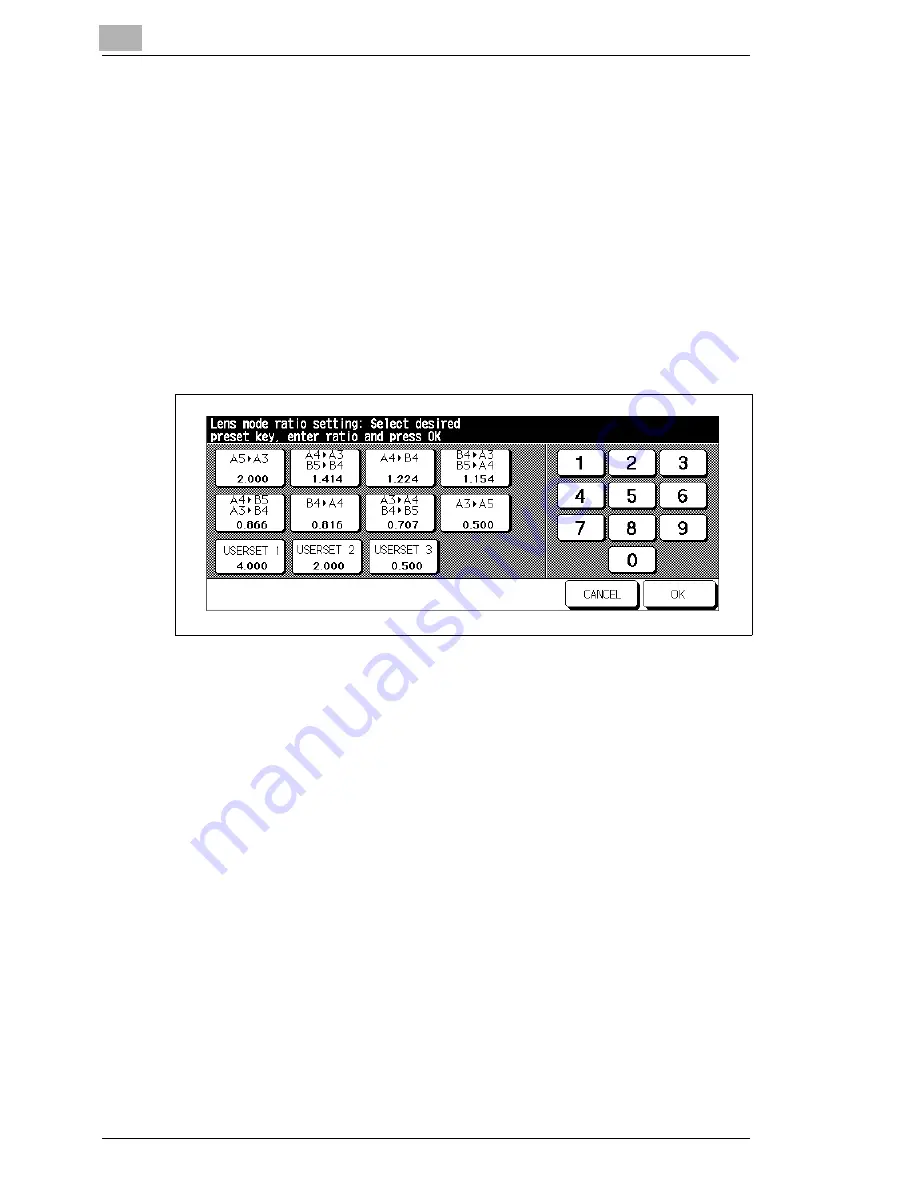
(3) Setting the Zoom Ratio (Lens Mode)
Specify the user defaults for the zoom ratio.
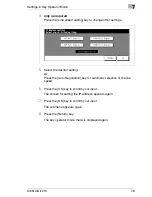
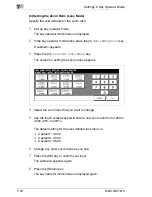
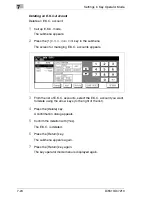
1
Call up key operator mode.
The key operator mode menu is displayed.
2
In the key operator mode menu press the [3]
User setting menu
key.
A submenu appears.
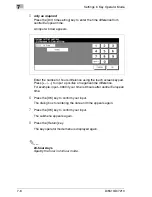
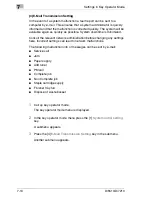
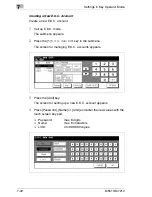
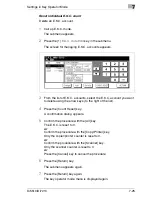
3
Press the [3]
Lens mode ratio setting
key.
The screen for setting the zoom ratios appears.
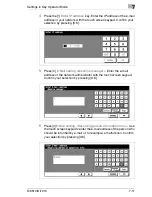
4
Select the zoom ratio that you want to change.
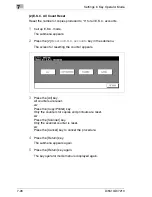
5
Use the touch screen keypad to enter a new zoom ratio from 0.250 to
4.000 (25% to 400%).
The default setting for the user-defined lens ratios is:
H
Userset 1: 4.000
H
Userset 2: 2.000
H
Userset 3: 0.500
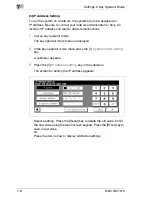
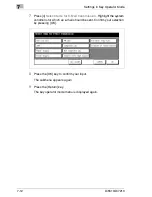
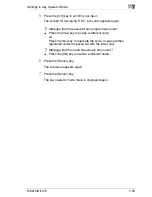
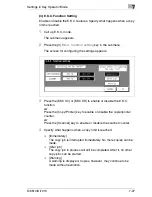
6
Change any other zoom ratios as you like.
7
Press the [OK] key to confirm your input.
The submenu appears again.
8
Press the [Return] key.
The key operator mode menu is displayed again.
Содержание Di5510
Страница 1: ...Di5510 Di7210 Advanced Information...
Страница 2: ......
Страница 28: ...1 Introduction 1 16 Di5510 Di7210...
Страница 90: ...2 Getting to Know Your System 2 62 Di5510 Di7210 9 Close the finisher door...
Страница 96: ...2 Getting to Know Your System 2 68 Di5510 Di7210...
Страница 148: ...3 Initial Steps 3 52 Di5510 Di7210...
Страница 236: ...4 Basic Functions 4 88 Di5510 Di7210...
Страница 346: ...6 Network functions 6 48 Di5510 Di7210 4 Click Back to return to the Scan Transmission Setting window...
Страница 352: ...6 Network functions 6 54 Di5510 Di7210 3 Configure settings as required...
Страница 387: ...Settings in Key Operator Mode 7 Di5510 Di7210 7 17 7 Press the Return key The key operator mode menu is displayed again...
Страница 427: ...Settings in Key Operator Mode 7 Di5510 Di7210 7 57 7 Press the Return key The key operator mode menu is displayed again...
Страница 434: ...7 Settings in Key Operator Mode 7 64 Di5510 Di7210 8 Press the Return key The key operator mode menu is displayed again...
Страница 455: ...Troubleshooting 8 Di5510 Di7210 8 13 5 Close the finisher door...
Страница 457: ...Troubleshooting 8 Di5510 Di7210 8 15 5 Close the finisher door...
Страница 458: ...8 Troubleshooting 8 16 Di5510 Di7210...


