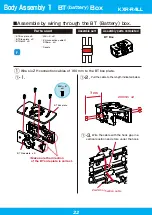
23
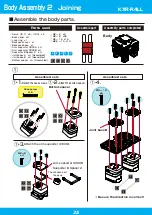
Body Assembly 1
BT
(battery)
Box
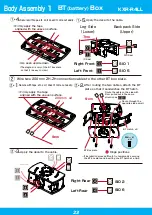
SIO 5
SIO 1
Left Rear
Right Rear
Left Front
Right Front
SIO 6
SIO 2
Leg Side
(Lower)
Backpack Side
(Upper)
ID Seal
SIO Seal
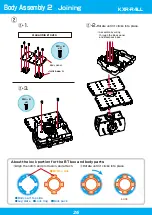
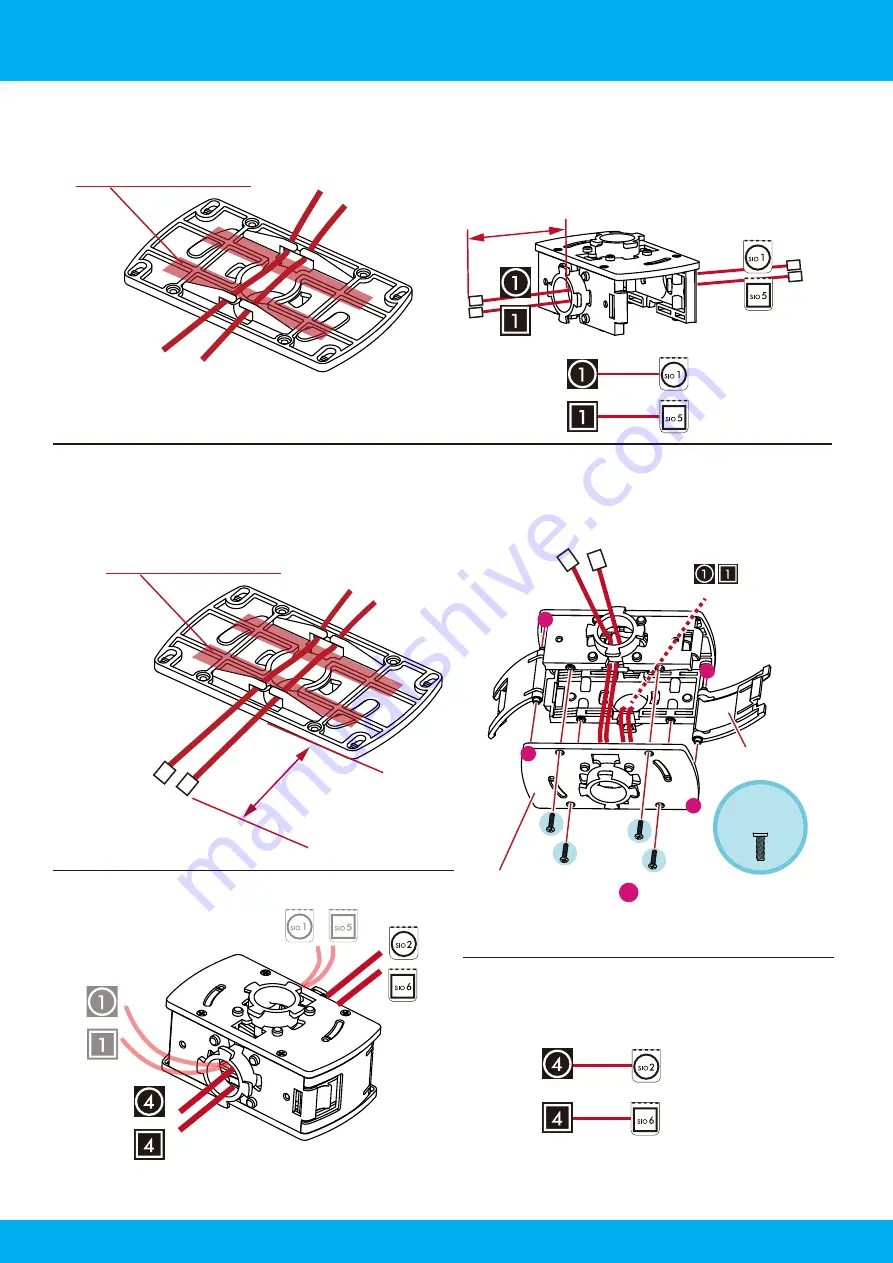
Route through the
opposite side as well.
Route the cable on the side with
9 cm pulled out in the same
direction as
②-3.
Apply the decal to the cable.
M2 ー 6
x4
7cm
9cm
9cm
①-4.
Secure with tape, etc. so it doesn't come out easily.
*As seen upside down
*Firmly apply the tape
aligned with the uneven surface.
*Firmly apply the tape
aligned with the uneven surface.
①-5.
Apply the decal to the cable.
(The diagram is only of the BT box plate
so that it is easy to view.)
BT Hatch x2
*If installation proves difficult, try temporarily securing
the BT box plate and inserting one BT hatch at a time.
Hinge positions
BT Box plate
②
Wire two 200 mm ZH-ZH connection cables to the other BT box plate.
②-1
.Secure with tape, etc. so it doesn't come out easily.
②-2.
After routing the two cables, attach the BT
plate so that it sandwiches the BT hatch.
(Wired cable)
200mm x2
KXR-R4LL
Содержание KXR-R4LL
Страница 28: ...28 Body Assembly 2 Joining Body Attach all four areas 200mm x4 KXR R4LL...
Страница 31: ...31 Attach the cable 120mm 120mm Wheel Leg Assemble 4 sets Wheel leg KXR R4LL...
Страница 37: ...37 Complete Assembly completed The following will explain how to mount the battery and run motions KXR R4LL...
Страница 60: ......


