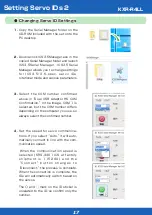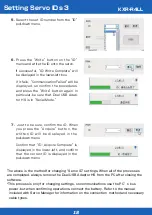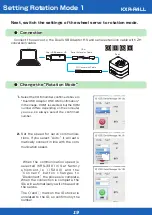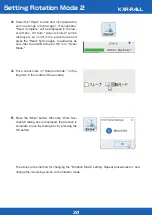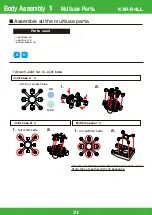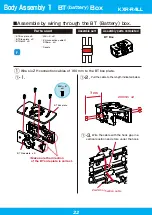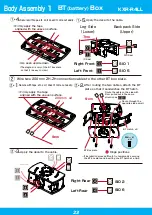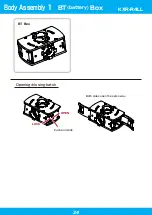
14
Prior to Assembly
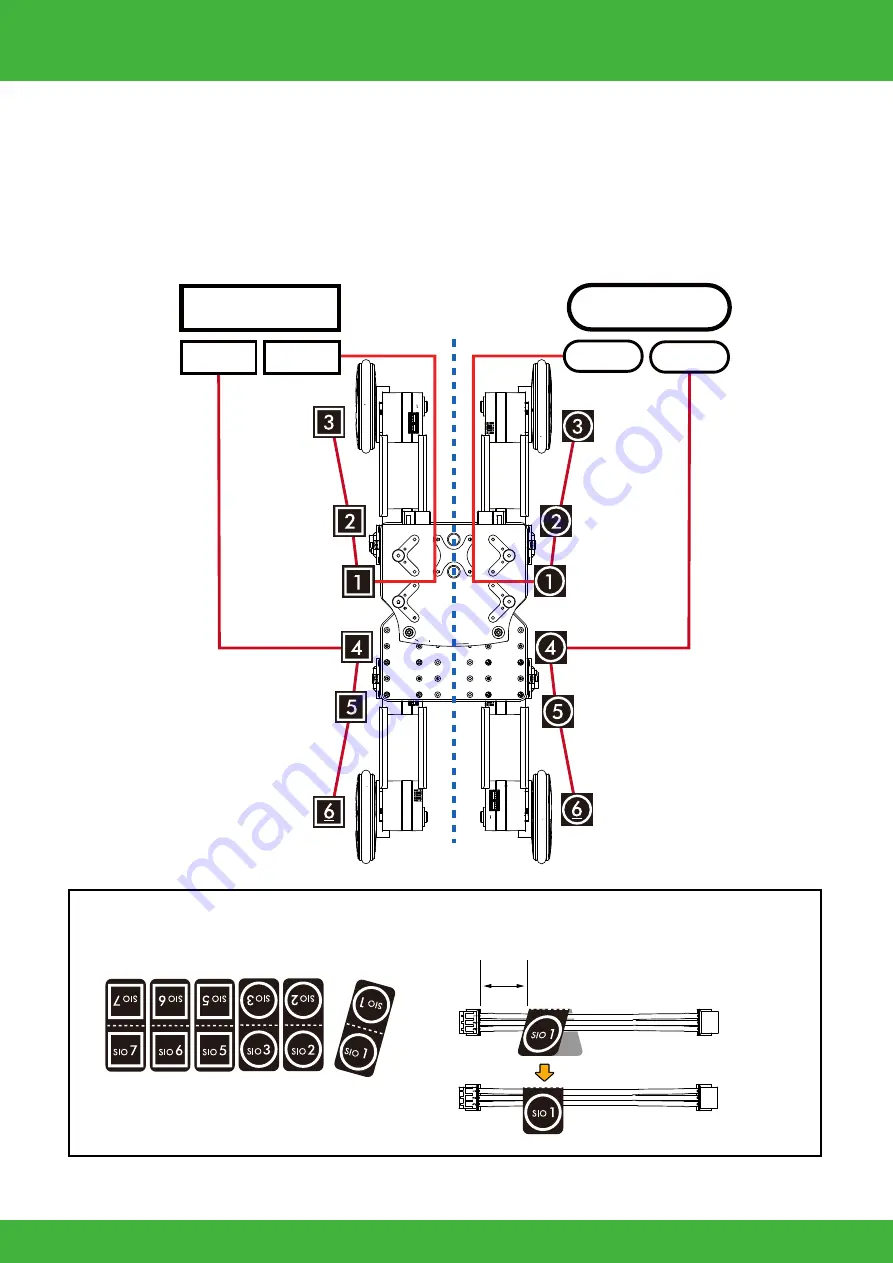
Servo ID and Position
*SIO 3 is not used.
*SIO 7 is not used.
Connect servo to servo and servo to RCB-4mini using ZH-ZH connection cable.
RCB-4mini s SIO ports (servo connectors) are divided into two systems, SIO1-3 and SIO5-7.
Within the same system, changing the port does not impact operations, but be aware that if
the system is incorrect, the robot won t function properly. Servo ID stickers are classified
with the symbols ◯ and □. *Always connect ID 0 to the SIO5-7 system.
The explanations in this manual use the following wiring layout.
Putting on Connection Cable Decals
①Remove the decal.
*Put the number sticker on the blank decal sticker
or write on it directly as necessary.
*Leave around 1 cm open near the
terminal so the cable can bend easily.
1cm
②Put the decal around the cable.
SIO 1〜3
SIO 5〜7
200mm
200mm
200mm
200mm
120mm
120mm
120mm
120mm
120mm
120mm
120mm
120mm
<Front>
<Rear>
<Right>
<Left>
SIO 2
SIO 1
SIO 5
SIO 6
KXR-R4LL
Содержание KXR-R4LL
Страница 28: ...28 Body Assembly 2 Joining Body Attach all four areas 200mm x4 KXR R4LL...
Страница 31: ...31 Attach the cable 120mm 120mm Wheel Leg Assemble 4 sets Wheel leg KXR R4LL...
Страница 37: ...37 Complete Assembly completed The following will explain how to mount the battery and run motions KXR R4LL...
Страница 60: ......


