174
24.8 Optical Plummet
·
Inspection
1. Set the instrument on the tripod and place a piece of white paper with two perpendicular lines, then intersect
drawn on it directly under the instrument.
2. Adjust the focus of the optical plummet and move the paper so that the intersection point of the lines on the
paper comes to the center of the field of view.
3. Adjust the leveling screws so that the center mark of the optical plummet coincides with the intersection point of
the cross on the paper.
4. Rotate the instrument around the vertical axis and at every 90°observe whether the center mark position
coincides with the intersection point of the cross.
5. If the center mark always coincides with intersection point, no adjustment is necessary.
Otherwise, the following adjustment is necessary.
Adjustment
1. Take off the protective cover between the optical plummet eyepiece and focusing knob.
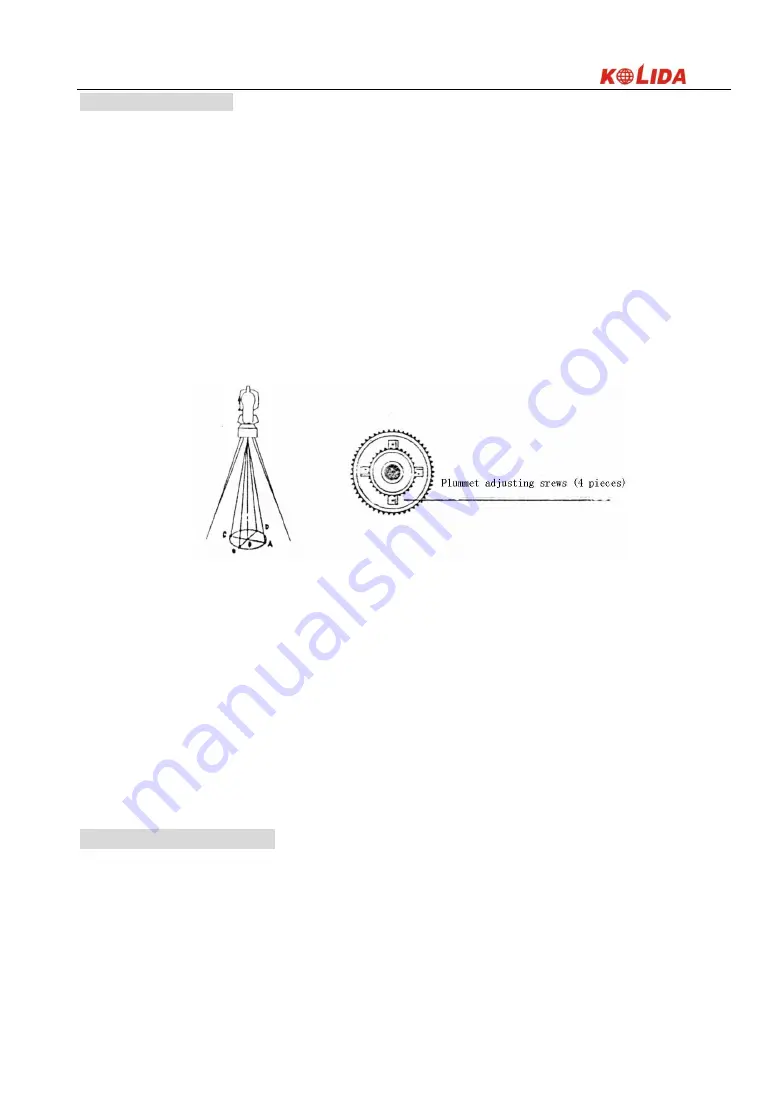
2. Fix the paper. Rotate the instrument and mark the point of fall of the center of optical plummet on the paper at
every 90
. As illustrated: Point A, B, C, D.
3. Draw lines that attach AC and BD and mark the intersection point of the two lines as O.
4. Adjust the four adjusting screws of the optical plummet with an adjusting pin until the center mark coincides
with Point O.
5. Repeat the inspection and adjusting steps to be sure the adjustment is correct.
6. Replace the protective cover.
24.9 Instrument Constant
(
K
)
Instrument constant has been checked and adjusted in the factor, K=0. It seldom changes and it is suggested to
check one or two times every year. The inspection should be made on the base line, also can be made according to
the following method.
Inspection
1. Mount and level the instrument on Point A in a plain place. Use the vertical hair to mark Point B and Point C on
the same line with the distance of 50m on the same line, and set the reflector accurately.
Содержание KTS440 L Series
Страница 9: ...9 3 NOMENCLATURE ...
Страница 10: ...10 ...


