151
⑵
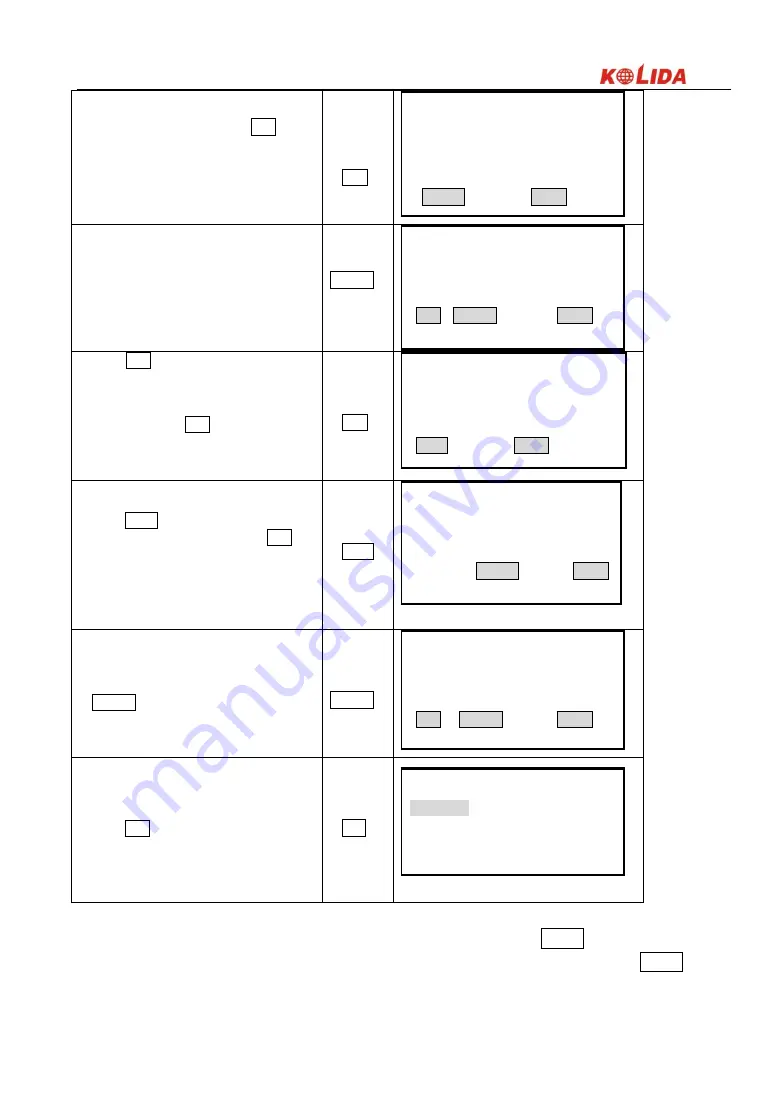
Select “3. Angle data” and press ENT (or
press numeric key 3), the “Angle Measurement
Data Recording Screen” is displayed.
“3. Angle
data”
+
ENT
REC/Angle
ZA 45°18′23″
HAR 87°23′09″
Pt.
:
POINT2000
ANGLE AUTO
⑶
Sight the target and press ANGLE, the
measurement results are displayed on line3 and 4
(lines indicated by *) of the “Measurement Data
Display Screen”. Values with no * are the angle
measurement values displayed in real time.
ANGLE
REC/Angle
*ZA 76°34′17″
*HAR 64°22′10″
Pt.
:
POINT2000
REC ANGLE AUTO
⑷
Press REC to record the angle measurement
data indicated by the “*”.
Set the following items: point number, code,
target height.
After each entry press ENT.
·
Maximum point number size: 14(alphanumeric)
·
Maximum code size: 16 (alphanumeric)
REC
*ZA 76°34′17″
*HAR 64°22′10″
Pt.
:
k2009
Code
:
KOLIDA
Tgt. h
:
1.67 m
SAVE CODE
⑸
Press SAVE to record data. Because the same
data can not be recorded a second time. REC is
not displayed after recording.
SAVE
REC/Angle
Pt.
:
POINT2000
ZA 45°18′23″
HAR 87°23′09″
ANGLE AUTO
⑹
ANGLE :measure the angle again.
ANGLE
REC/Angle
*ZA
*HAR
Pt.
:
POINT2001
REC ANGLE AUTO
⑺
Press ESC to restore the “Record Mode
Screen.”
ESC
1. Stn data A:\JOB01
2. back sight data
3. angle data
4. dist data
5. Coord data
6. dist+ coord data
·
·
Perform distance measurement to record automatically by pressing a single key: AUTO.
When this key is used, it is unnecessary to perform distance measurement in MEAS Mode. Press AUTO on the
“Record Mode Screen” to perform distance measurement and automatically record the results. When this is done,
Содержание KTS440 L Series
Страница 9: ...9 3 NOMENCLATURE ...
Страница 10: ...10 ...


